Got out into the shop again, finally. No errands to run, nothing to keep me out. So... back to work. I cut the shelves again, and this time they went in as planned originally. I used the original spacer to install the bottom shelf, cutting it in half and using it to insure the shelf was properly spaced from the bottom. NO 1/16 error this time. square and properly aligned.
I took the opportunity while driving around to think about the top shelf. I had originally wanted to use a small box containing storage drawers on that top shelf, but it was going to come up short, so what I decided to do was eliminate one drawer and lower that top shelf to give me the room I need. Besides, that box is sweet.

Now a bigger upper cubbie, and eight drawers.
The shelves are done, square, and secure.
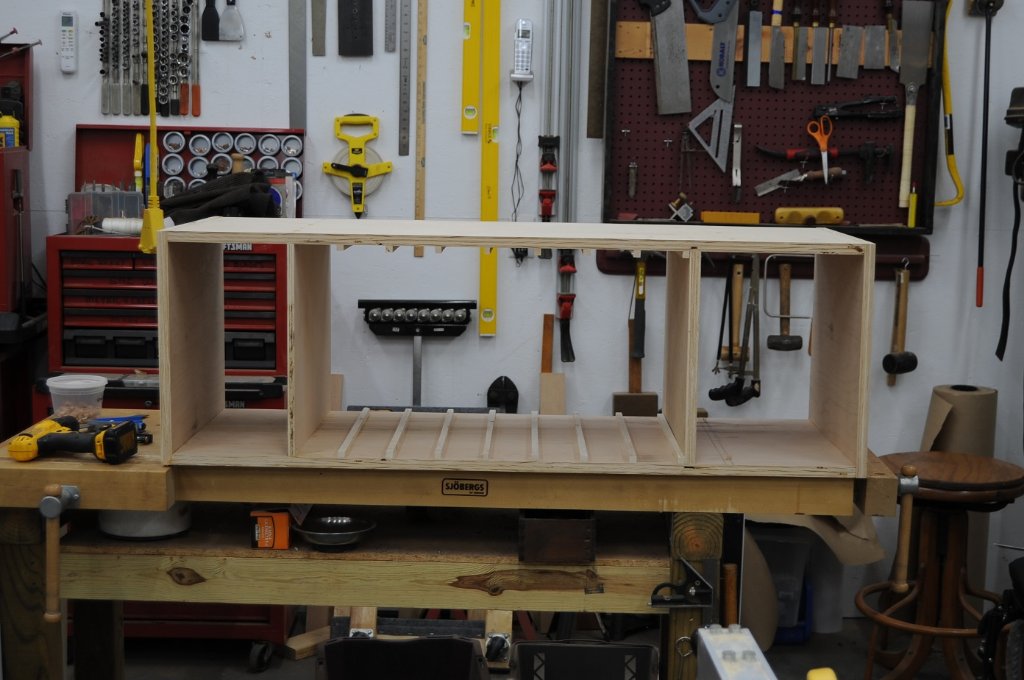
- shelves redone.jpg (154.25 KiB) Viewed 4162 times
Then I cut a 16 inch strip off the 1/2 panel, then cut the proper length for each back panel and installed that. The back panels are installed and secure and the box is square.
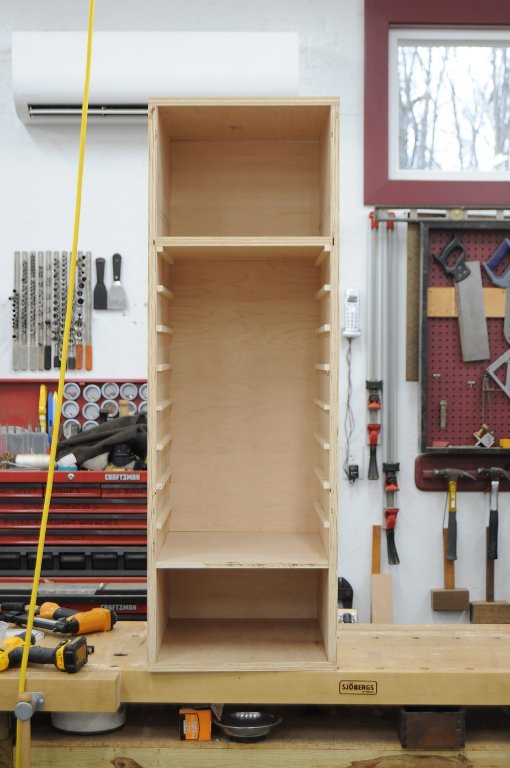
- back panels installed.jpg (103.31 KiB) Viewed 4162 times
The cabinet, when complete, will go in here:
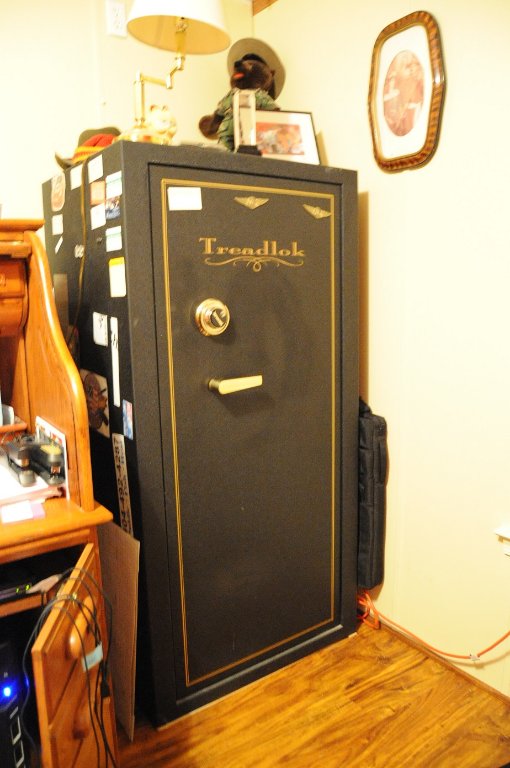
- into this safe.jpg (106.04 KiB) Viewed 4162 times
This is the safe someone asked about earlier. It's pretty big, and the room it sits in is at the back of the house. After all my time in the last career, it's covered. Door alarm to the room, glass break alarm, and motion.

Plus, it's bolted to the floor and won't fit through the fit thru the door without removing the door and the frame. Too much time with the alarm horn screaming.
There are still plenty of steps to do, the finish work on the outside of the cabinet and the drawers to build. But, it's coming along nicely. Backed up and redid the part I messed up, and it gave me a chance to add the extra space for the drawer stack I wasn't going to be able to use, and now I can. Sweet. Things have a way of working out. I hope it does what I want it to do... Maximizes the use of the interior space.



 then gave Miss T the nod and she shot a brad in each end of the shelf to hold them in place while the glue dries. In about a half hour, I will go back out and screw them into place for added strength. Next comes the back panels.