Went out this morning and got started...

Six degrees outside, 68 in the shop. Things were going good, and I stained the tray, tray rests, and the inside of the box. Off to a great start.

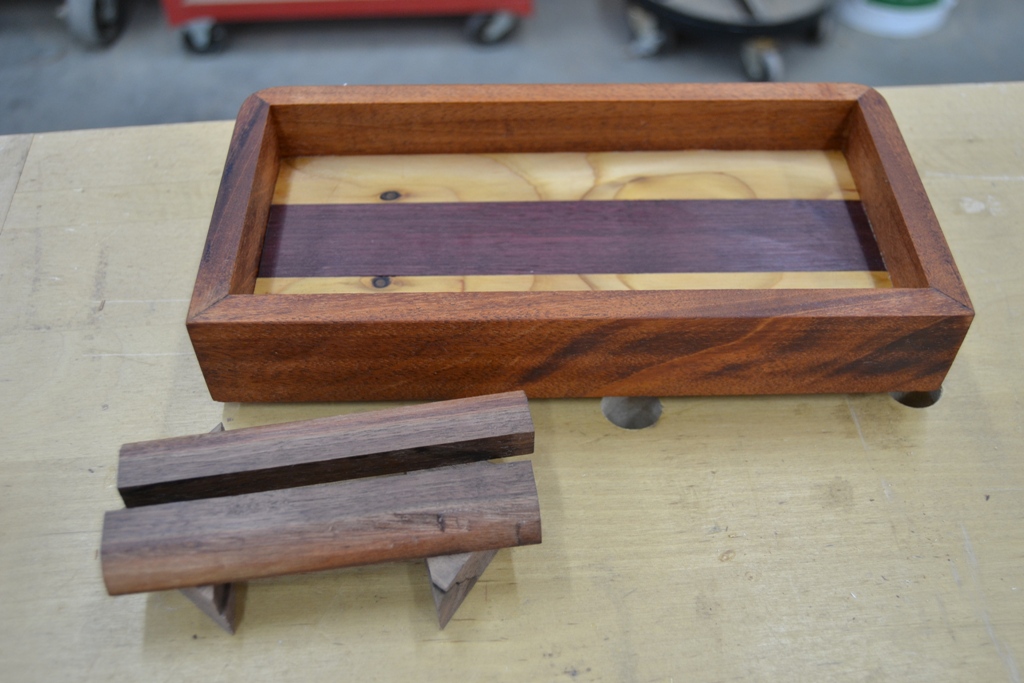
- 01 Finish applied to tray.jpg (269.57 KiB) Viewed 5757 times
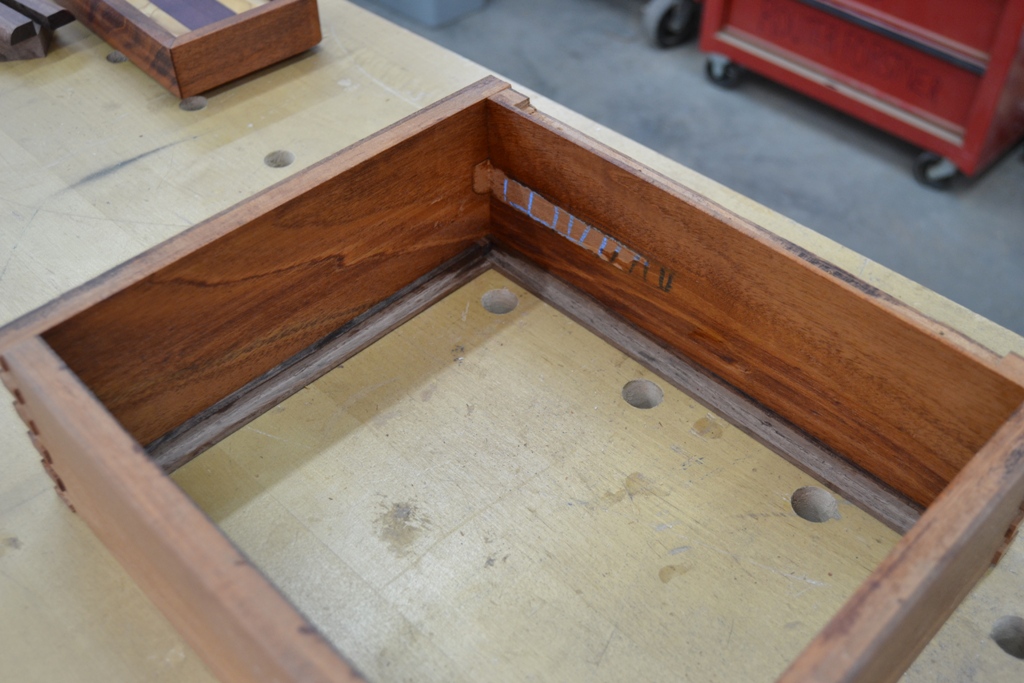
- 02 and the box.jpg (290.15 KiB) Viewed 5757 times
I checked on the flocked bottom panel and it looked good, so I sealed it back up in the Rubbermaid tub to keep it clean and safe. Back to work.
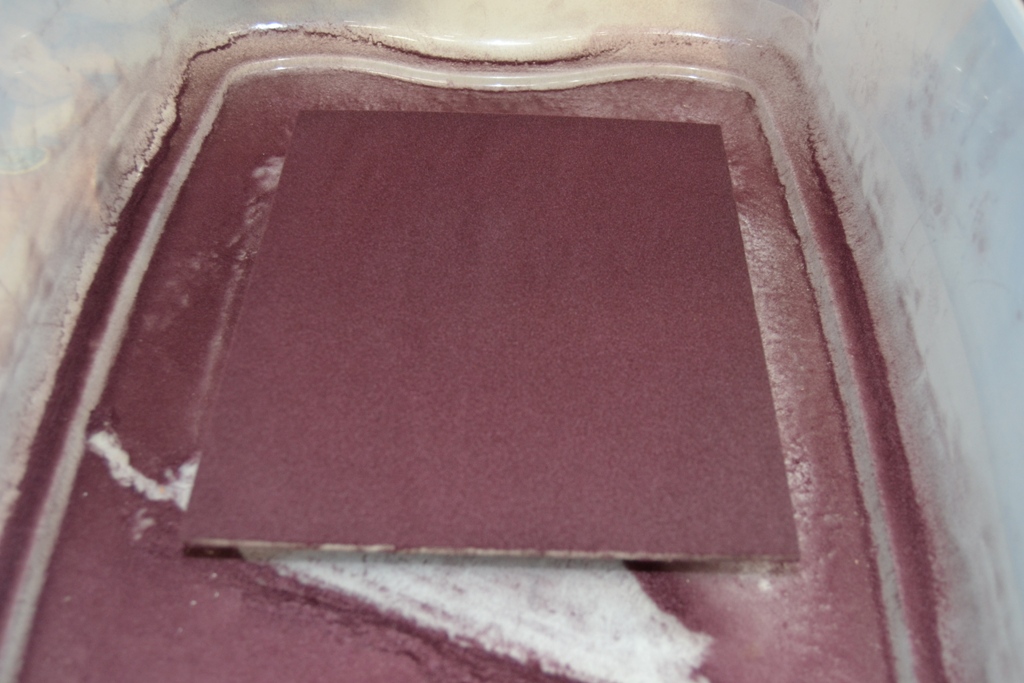
- 03 checked and safe.jpg (272.44 KiB) Viewed 5757 times
I decided to shape the edges on the top. Touched up the edges on the box plane, and got to work.
A few passes on each edge with the plane at a 45 degree angle, taking thin shavings on each pass. I just wanted to round the edges. After taking a bit off both sides, I'd come back with 220 grit sandpaper and roll both sides. Worked out very well and in just about 45 minutes I had that knocked out.
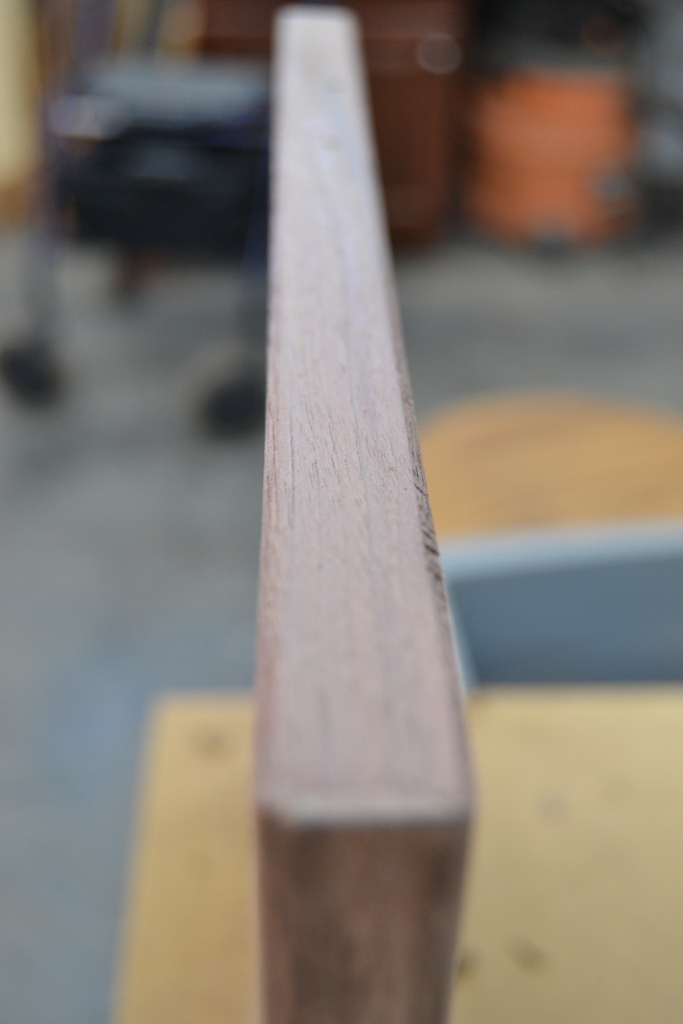
- 04 edge work.jpg (179.77 KiB) Viewed 5757 times
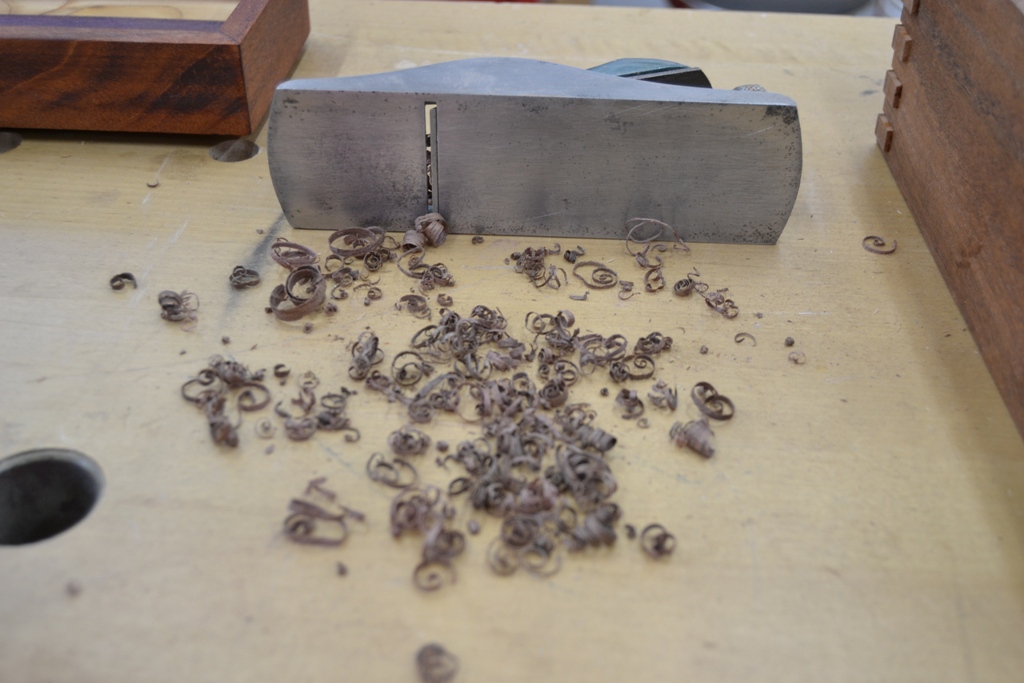
- 05 little at a time.jpg (262.07 KiB) Viewed 5757 times

Time to set the hinge on the top. Measure, measure, measure, check, measure. Critical here. Mark, check, measure. Drill the pilot holes and carefully set the first screw in one end.

Tah Dah! Carefully set the screw in the other end and just as the screw bottomed out... the head sheared off.


*&!#$
Okay... I can deal with that later. I stepped up a bit size and will use glue when I install the hinge. I carefully install the next screw.


Snap, a second screw snaps off.

THIS is not good. This Black Walnut must have concrete centers.
I stop and look through all my screws and find a stainless steel version of the same size. Sometimes you have to TAP the hole with a stainless steel version and then use the brass for the installation.
I use the bigger bit and tap the hole. As the screw nestles into the countersunk hole in the hinge... SNAP... I hear the hinge laughing at me.

I give up, and take out the initial screw that seated fine. Half a turn with the #1 phillips... SNAP. That screw head shears off. You have GOT to be kidding me. I DON'T throw the screwdriver against the wall sticking it into the finished walls.

I lay it on the workbench, and walk to the specialty tools draw and remove the screw extractor for the drill press. Here we go....

- 06 extractor.jpg (214.53 KiB) Viewed 5757 times
I cut around each screw to my preset depth, working my way slowly down.
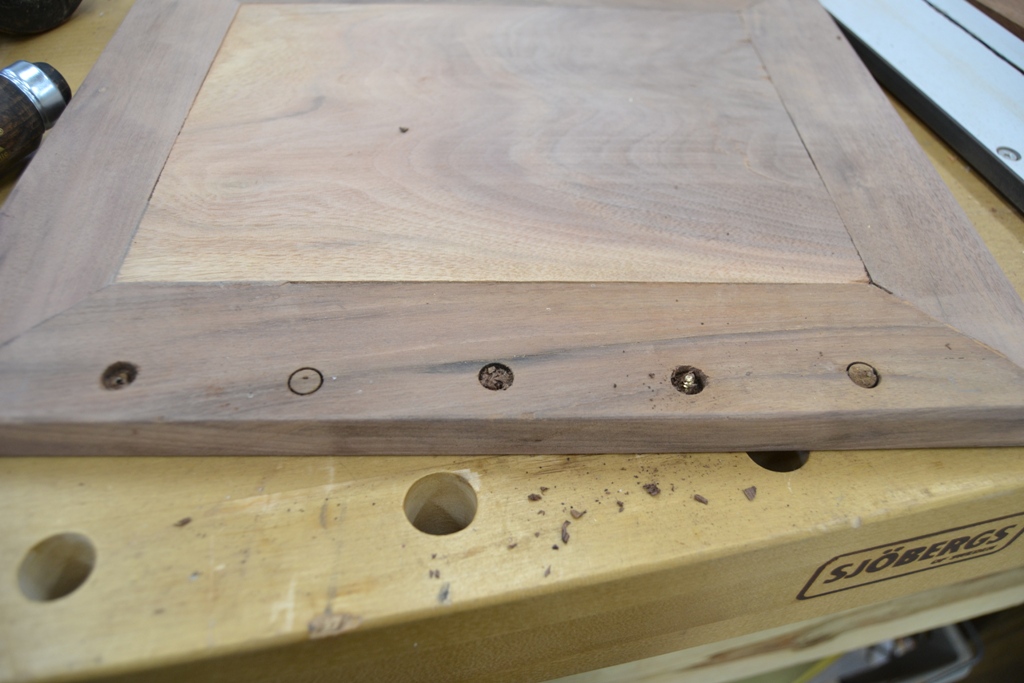
- 07 drill em all.jpg (262.54 KiB) Viewed 5757 times
Then I use a chisel to work the wood from around the screws.

- 08 expose it.jpg (261.37 KiB) Viewed 5757 times
I take my mini vise grips and remove the screws.
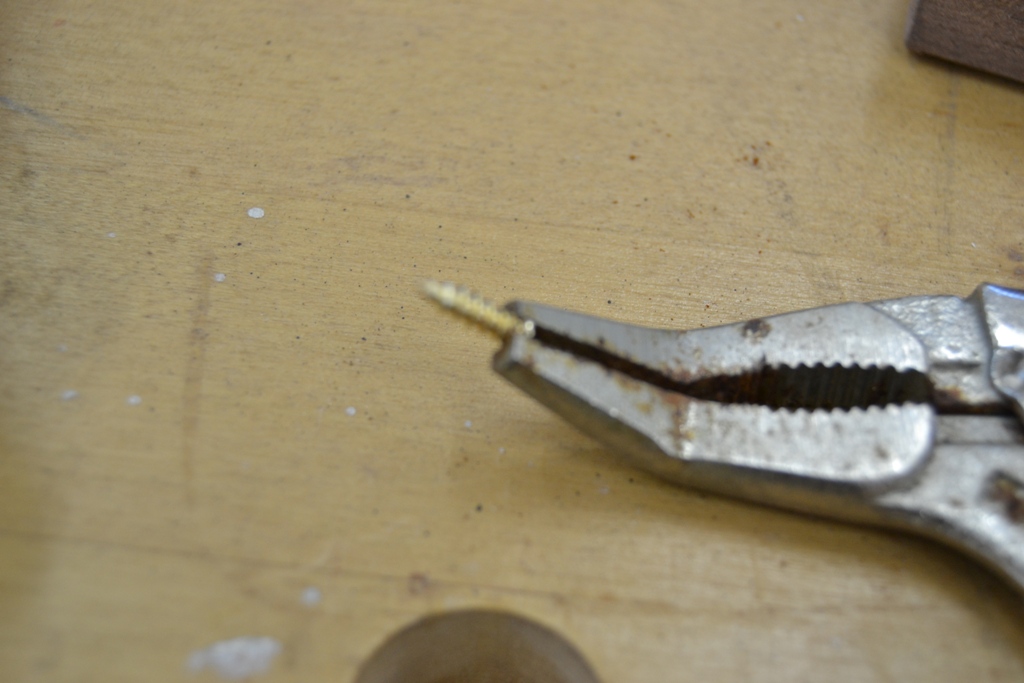
- 09 mini vise grips.jpg (231.09 KiB) Viewed 5757 times
I use a 3/8ths forstner bit to cut the previously drilled extractor holes to a consistent size
I inspect my collection of wooden plugs
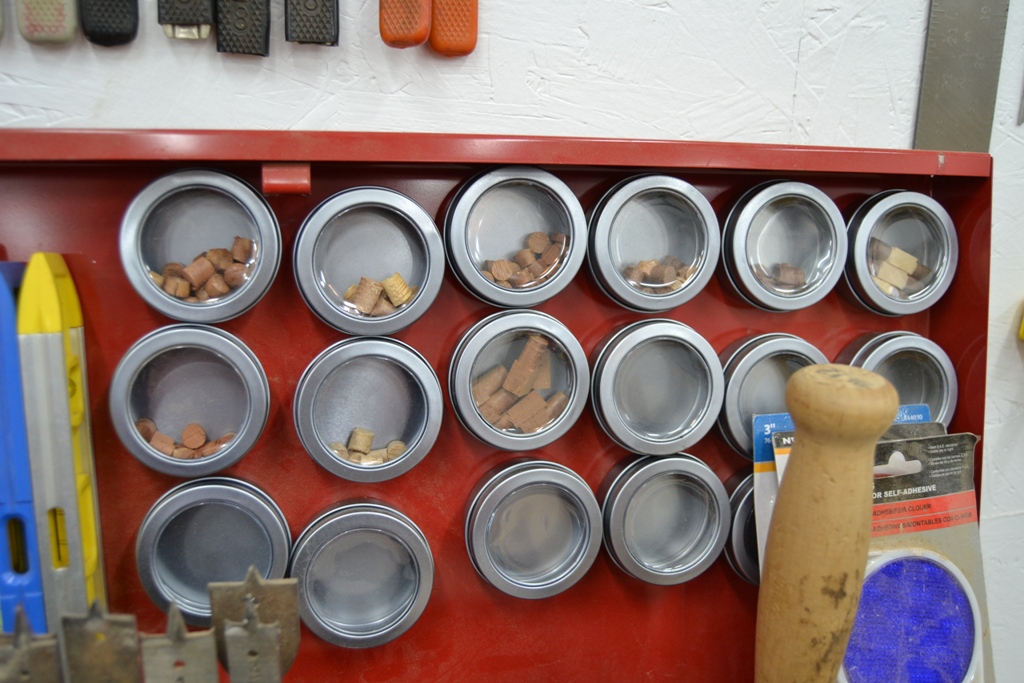
- 10 collection of plugs.jpg (340.24 KiB) Viewed 5757 times
Choose mahogany, you won't really see them anyway, and they worked when I screwed the hinge on the box.
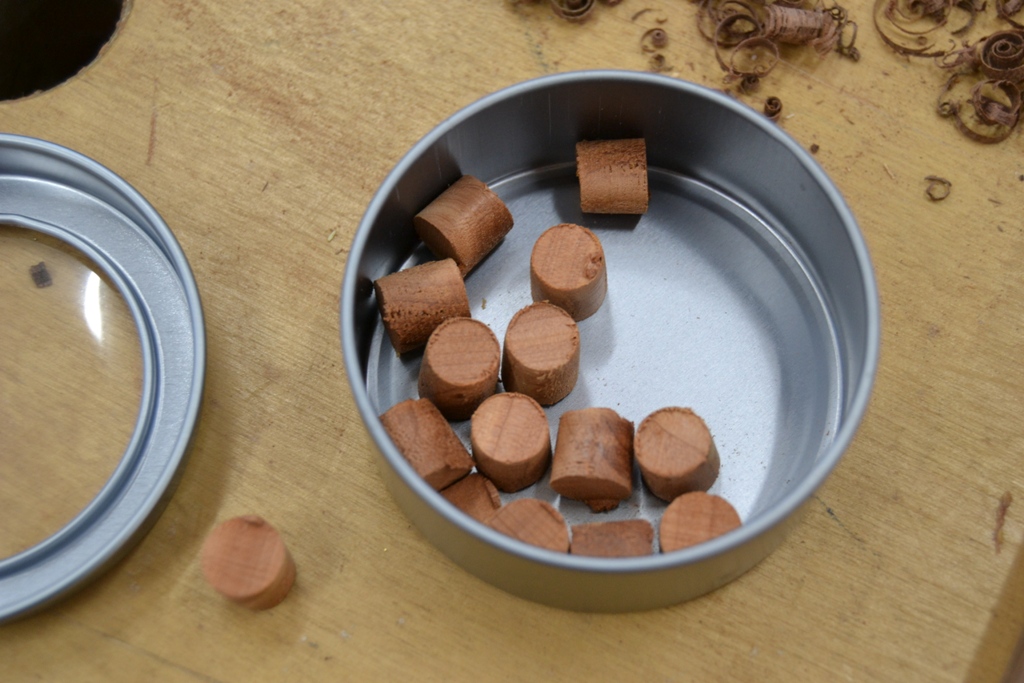
- 11 mahogany.jpg (298.61 KiB) Viewed 5757 times
Roll the plug thru the glue for an even coat.
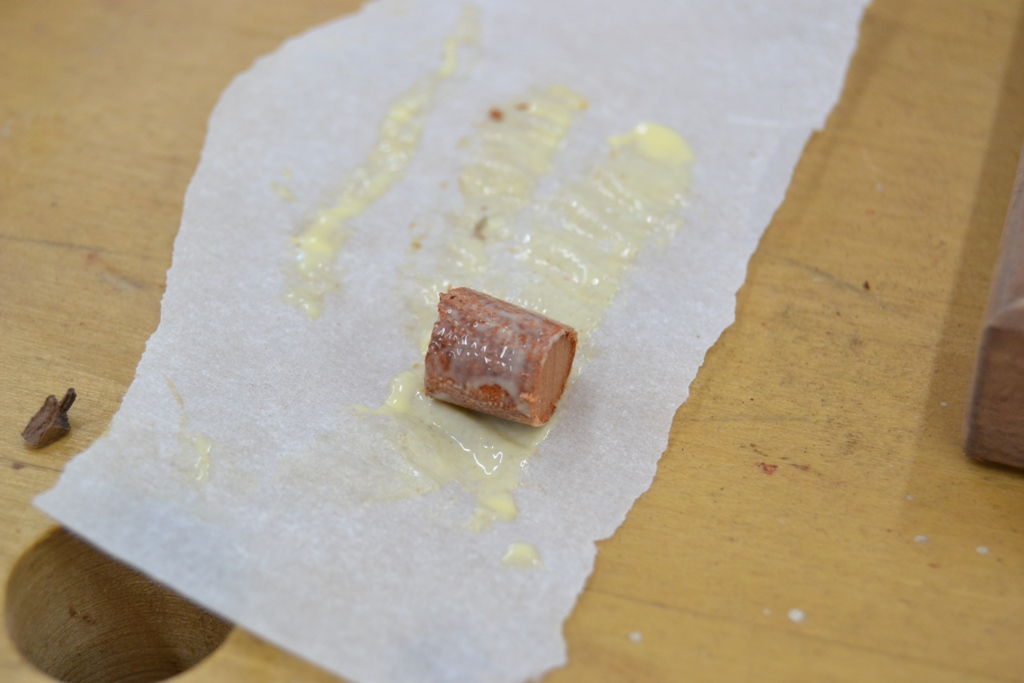
- 12 coat it.jpg (222.69 KiB) Viewed 5757 times
Set the plug in the hole
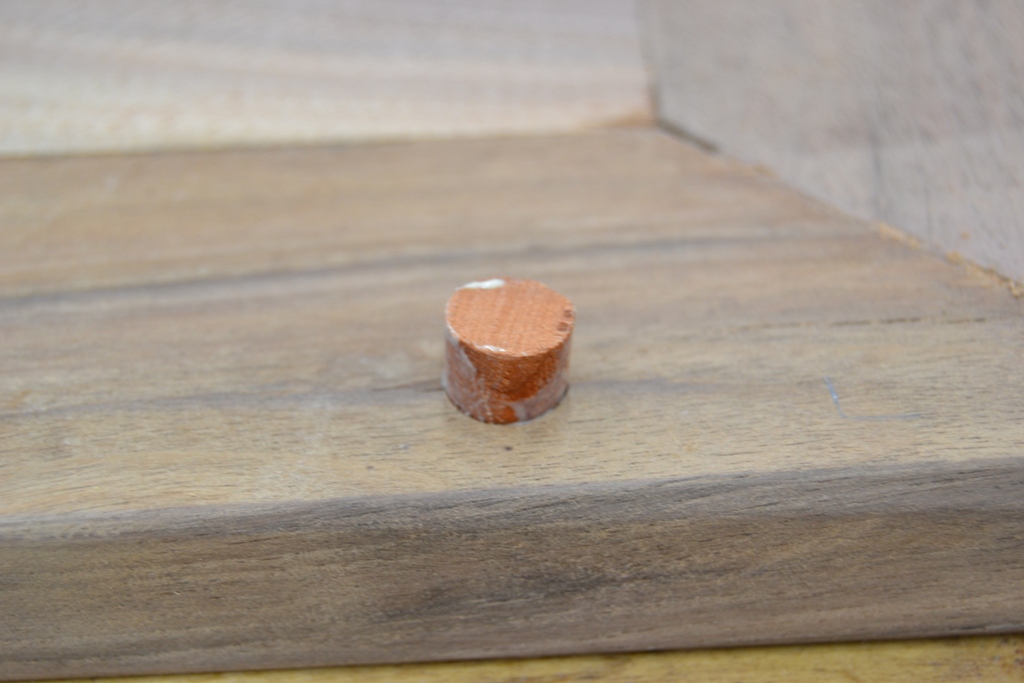
- 13 start it.jpg (224.6 KiB) Viewed 5757 times
Seat it as deep as it will go with the rawhide mallet
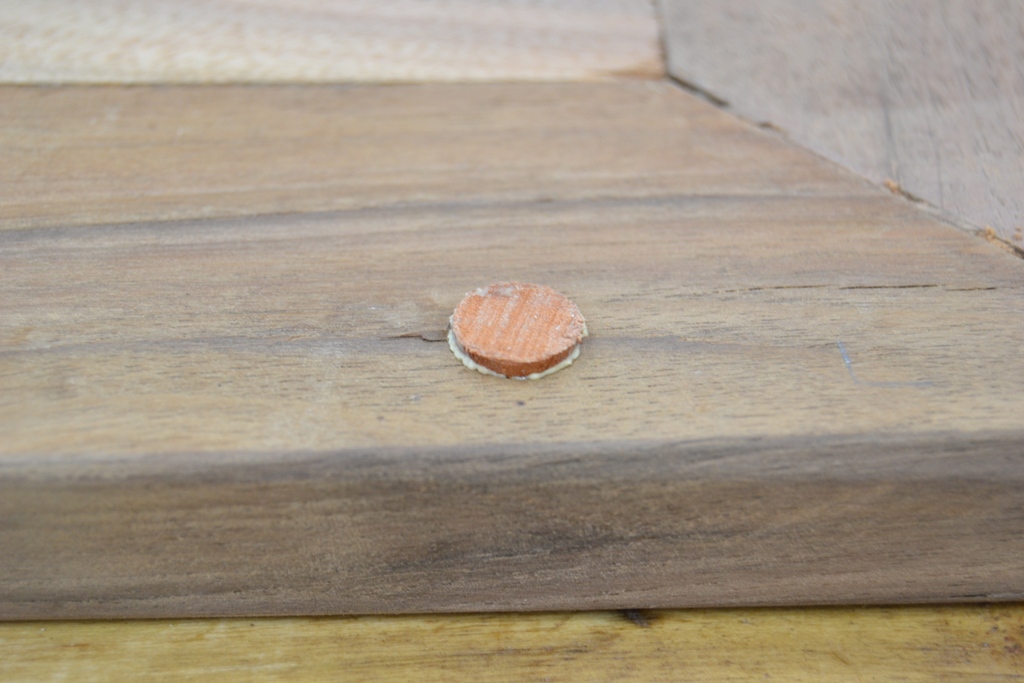
- 14 seat it.jpg (253.91 KiB) Viewed 5757 times
Now we wait.
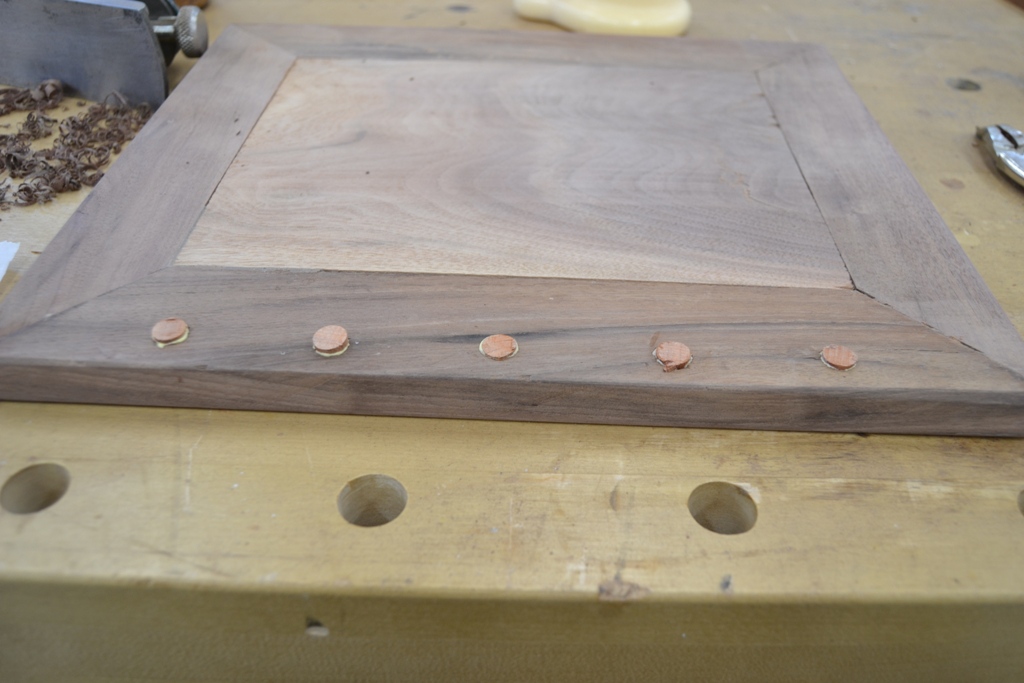
- 15 dreaded drying time.jpg (243.59 KiB) Viewed 5757 times


 Sheesh.