Out this morning after breakfast. Had to treat my right hand with the heating pad first. Cold and wet this morning and Arthur doesn't like cold and wet.

Time to start putting this thing together. My first step was prepping the strap that I'll use to make the bullet loops with. I had precut and punched the first end already, so that was good to go. I used the skiving tool to trim down the opposite end, and cut it to a bit of a point. We are ready.
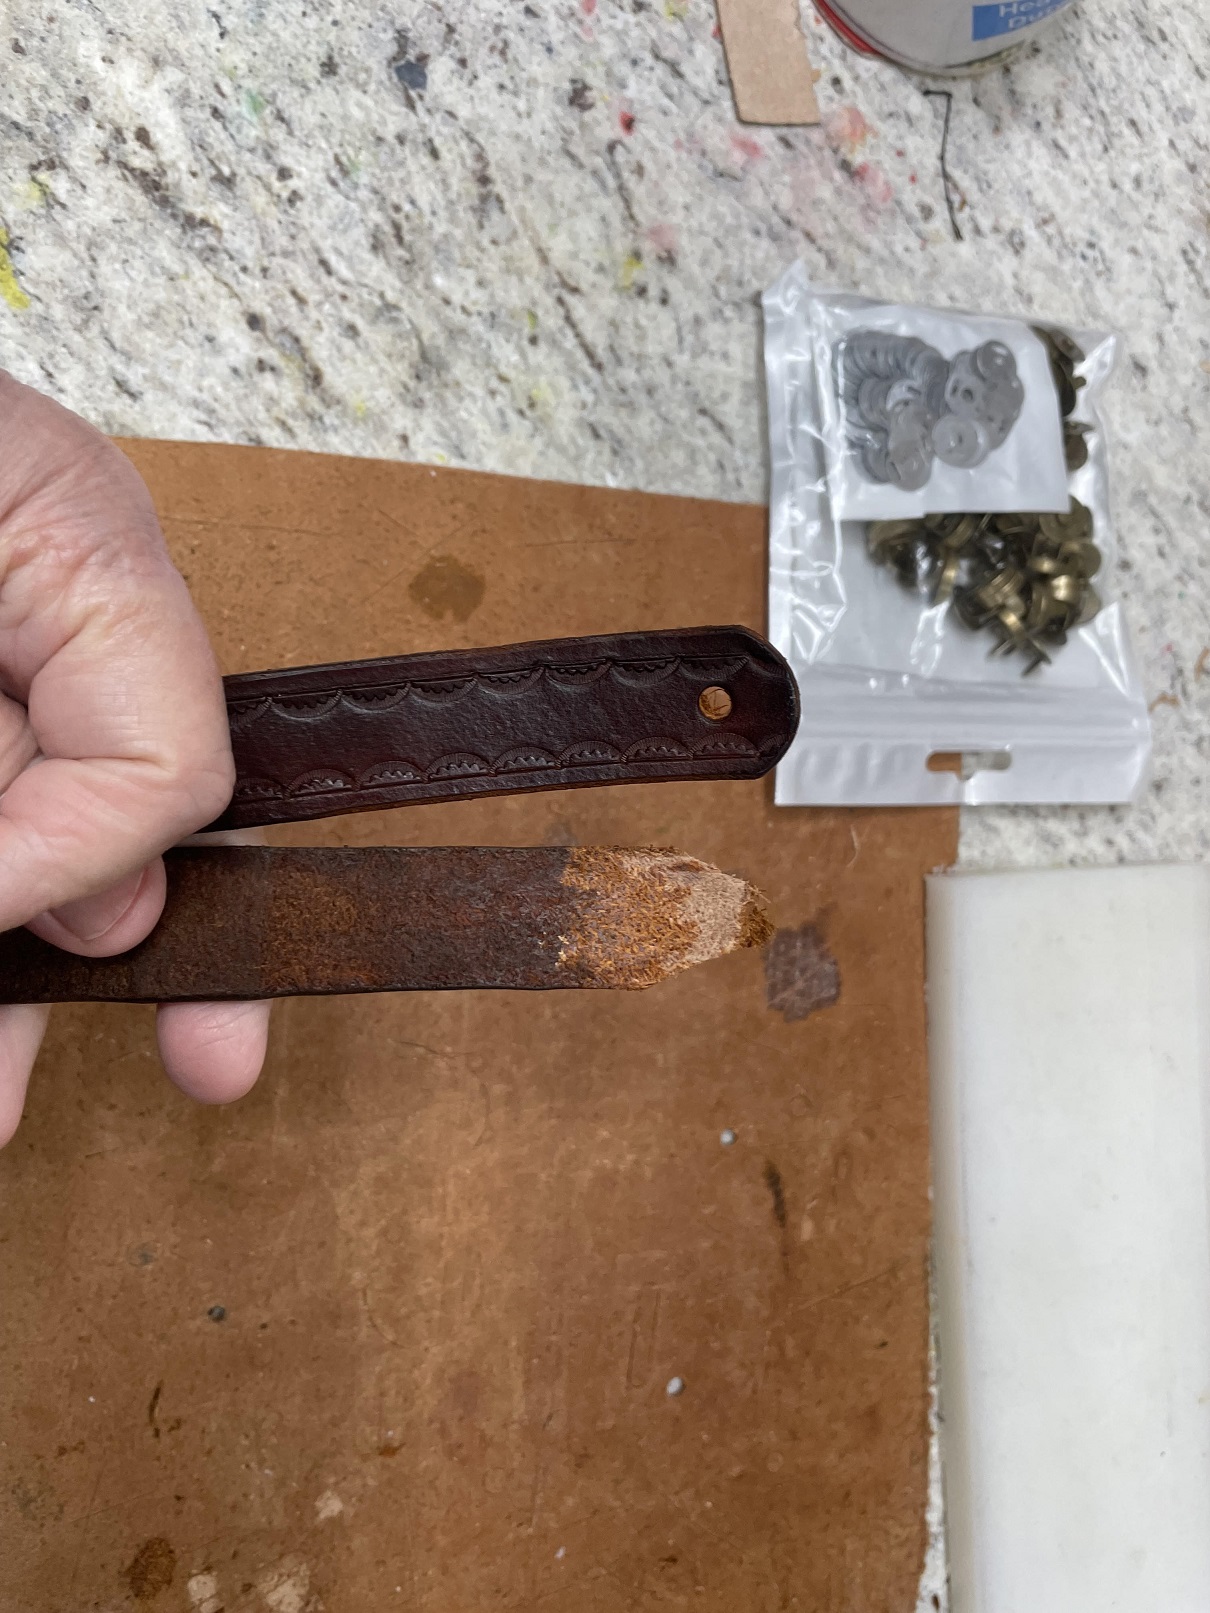
- 17 prepped the loop strap.jpg (522.58 KiB) Viewed 3118 times
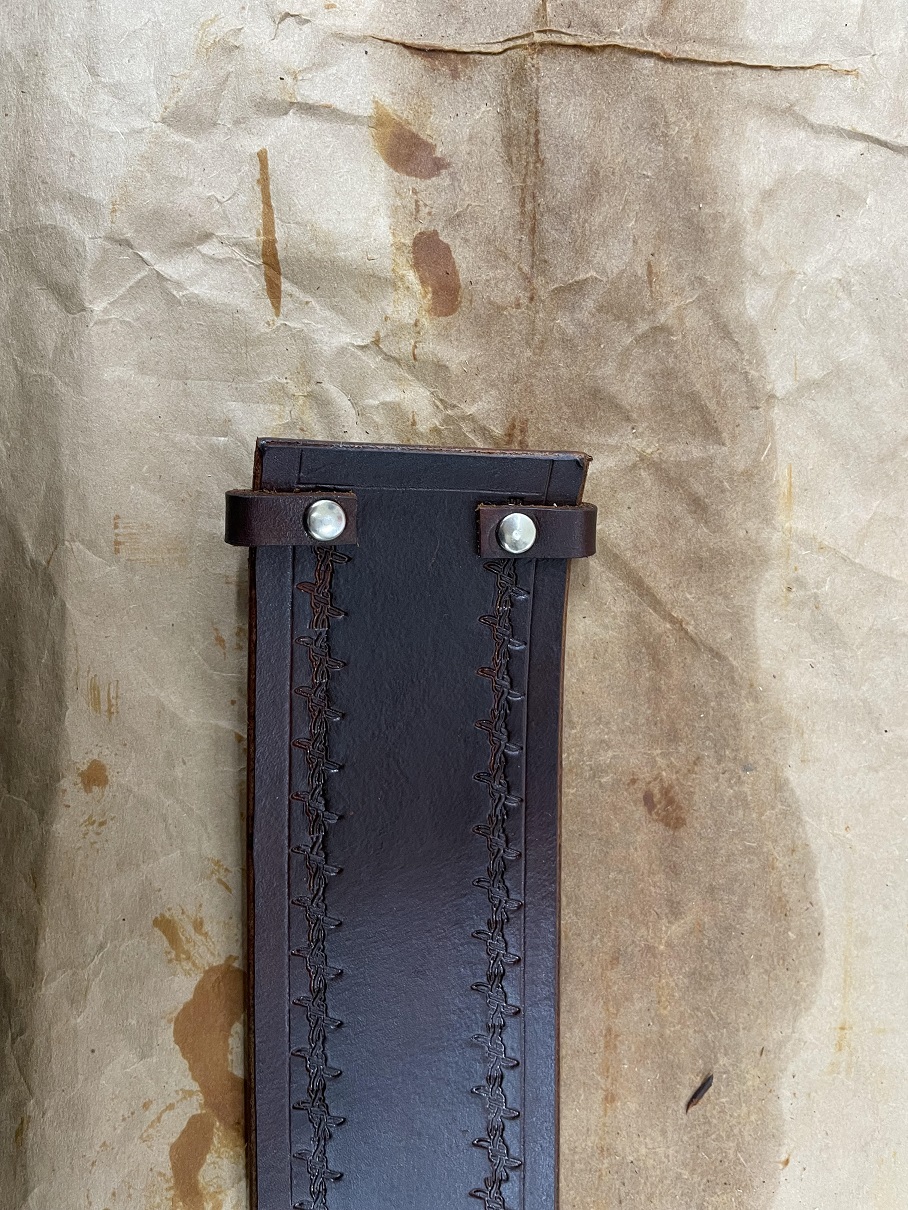
As described in a previous post on the practice piece, it's about lacing the strap in and out of the slots cut in the wide belt. The cartridges are placed in the dampened strap to wet form the loops. I'll leave them in there about an hour then pull them out and put them away and allow the loops to shrink as they dry. After finishing, I marked the position of the end of the strap, punched the hole and cut the rounded end on the strap. I even died the fresh cut end. I don't know why, the belt will be lined and no one will see the back side.

I used conchos to secure the ends rather than rivets. I like the look.


- 18 loops turned out nice.jpg (343.34 KiB) Viewed 3118 times
One last task before going in for a break. I installed the large belt loop on the buckle end of the gun belt. Punched the planned holes, marked the position on the belt end and punched those, then riveted 'er in place. Good to go.
- 19 installed the large loop.jpg (522.38 KiB) Viewed 3118 times
Next up, marking and punching the holes in the billets, then matching holes in the belt and sewing them together.
AFTER a break.