Yup, I'm done... sorta.

I have two little touch ups to do, and on the next trip to town, I need to buy a short piece of brass chain for the top, to stop it from falling backwards when you open it... but otherwise.. I'm done. It was a long day in the shop and I got a LOT done today, so refill your coffee, grab a donut, and let's get started.....

First thing this morning, I decided to stain the maple ply section so that would have a chance to dry. I used Watco Natural Oil stain, and other than the corners and the edging where I wanted to "dab", I just wiped 'er on. It really brings out the grain, just like all the other stains. No more plain white box.
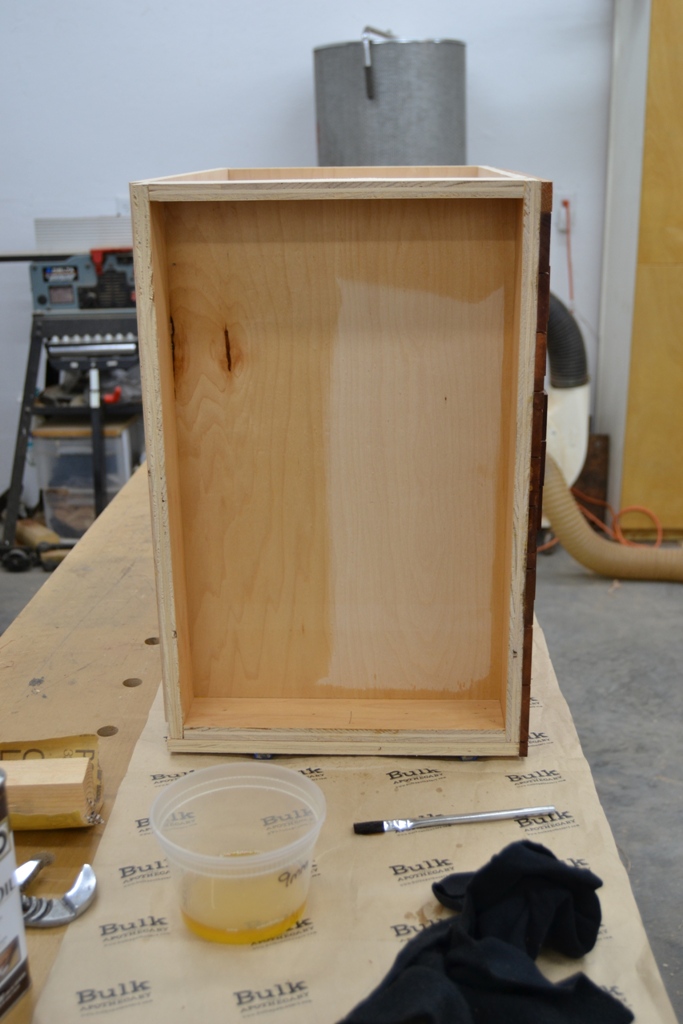
- 1.jpg (239.42 KiB) Viewed 1553 times
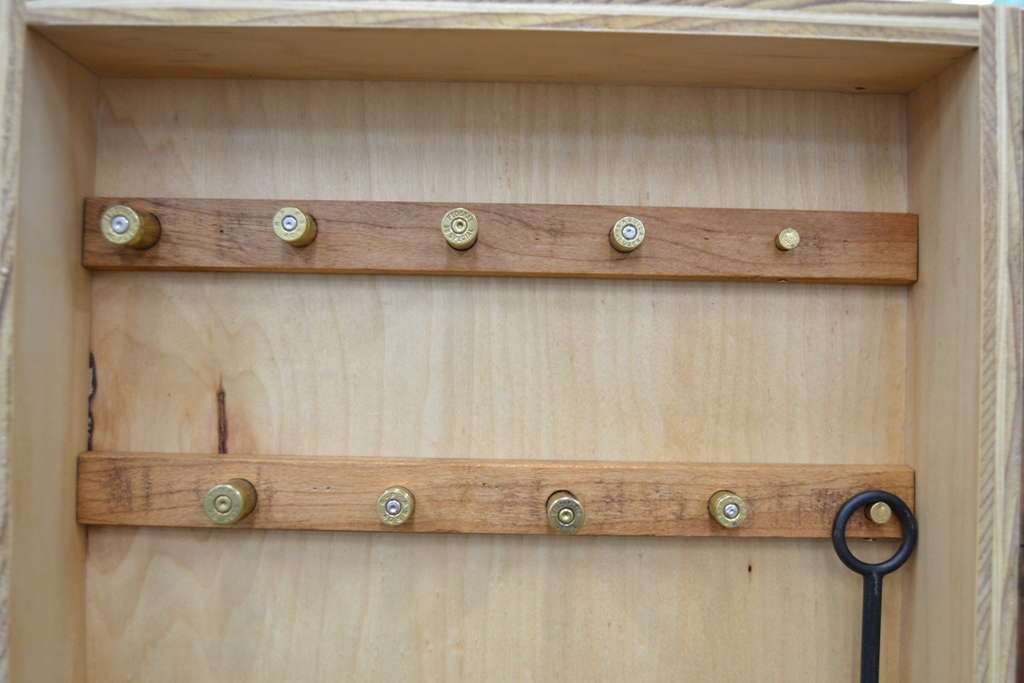
The next step was to make the "racks" for the cleaning rods. I wanted to hang ten rods, two for each of the five pistol calibers. I worked out the best way to hang them in the space I had, and that was a staggered method. You'll see it in a minute. I began with careful measuring and spacing. I do mean careful, didn't want to mess up the two nice pieces I had prepped.
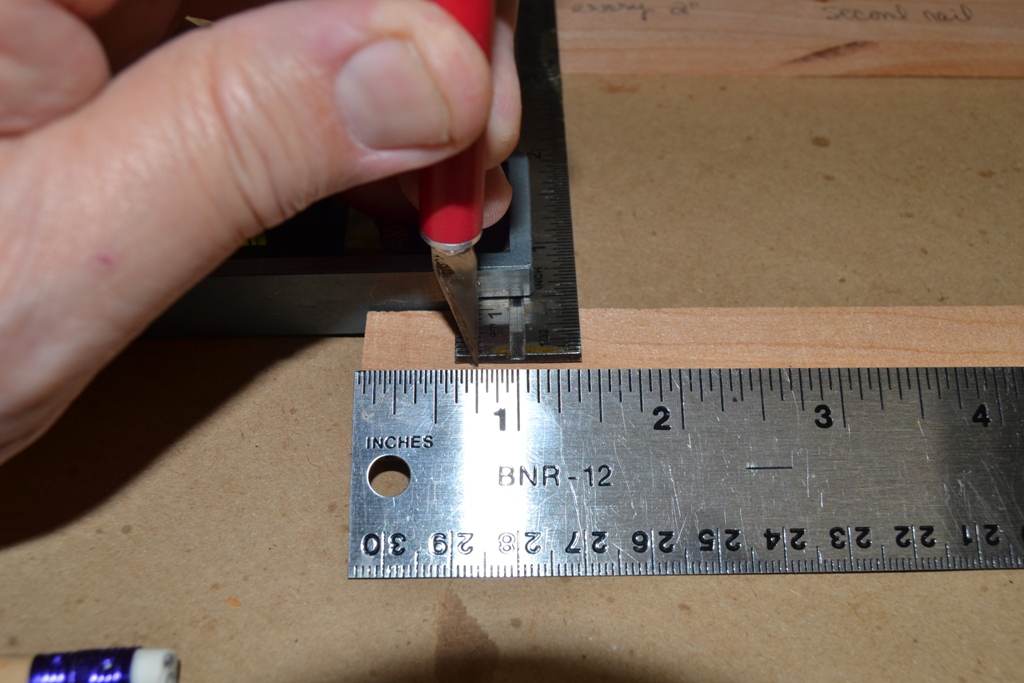
- 2.jpg (290.3 KiB) Viewed 1553 times
The next step in the process was to determine bit sizes for the casings I would use for the rods to hang on. Rather than use labels in the closet, the rods will hang on the casings for the caliber they are set up for.

Use the right size bit and drill carefully, and they will press fit.
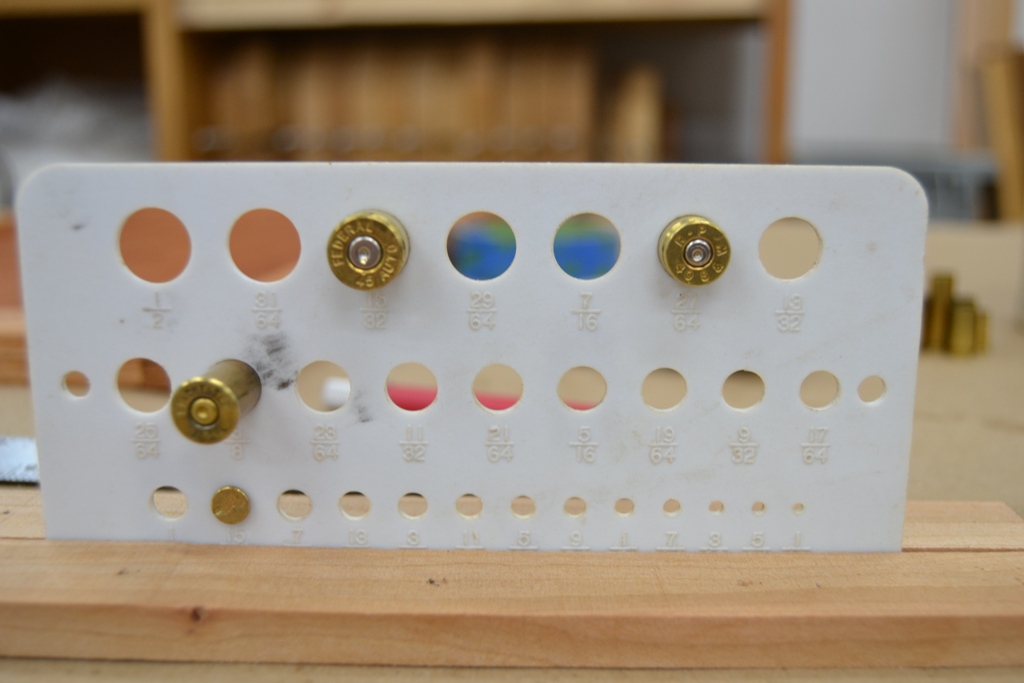
- 3.jpg (208.74 KiB) Viewed 1553 times
To insure the larger bits don't wander in the drill press as they contact the wood, I did two things. First I used a center punch to punch the holes I had marked when I measured the layout. Secondly, I drilled a pilot hole with a bit half the size of the smallest hole I would drill, that being the .22 casing.
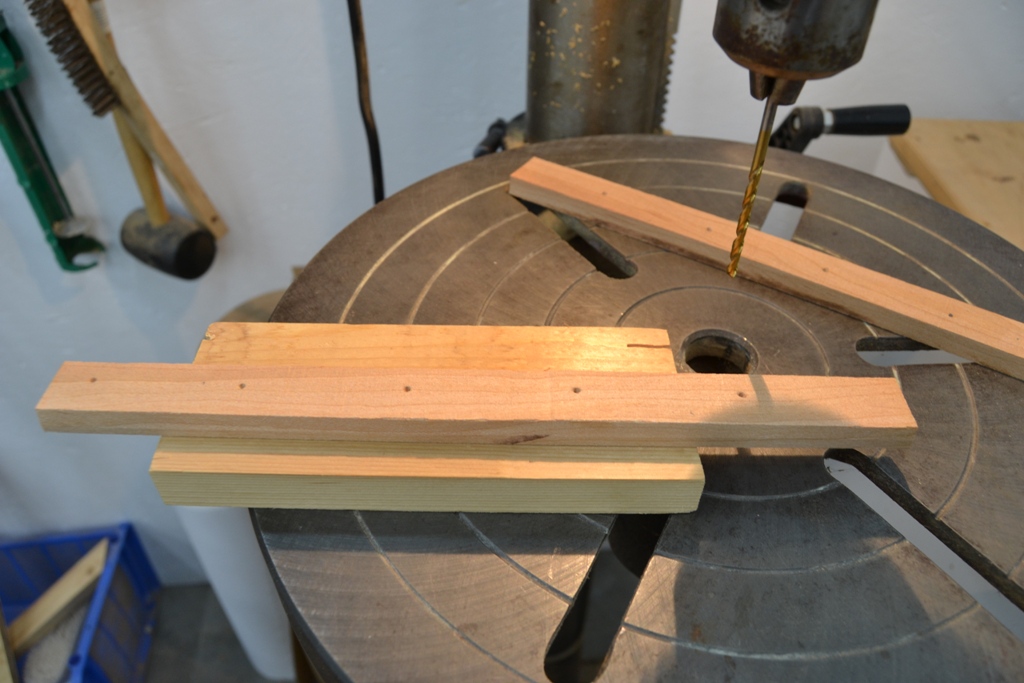
- 4.jpg (262.85 KiB) Viewed 1553 times
Taking my time and lining up each hole before making the plunge, I was happy with the result. I coated the back of the two racks with glue, insured they were level using a triangle and shot them with the pinner. They aren't going anywhere.
- 6.jpg (277.35 KiB) Viewed 1553 times
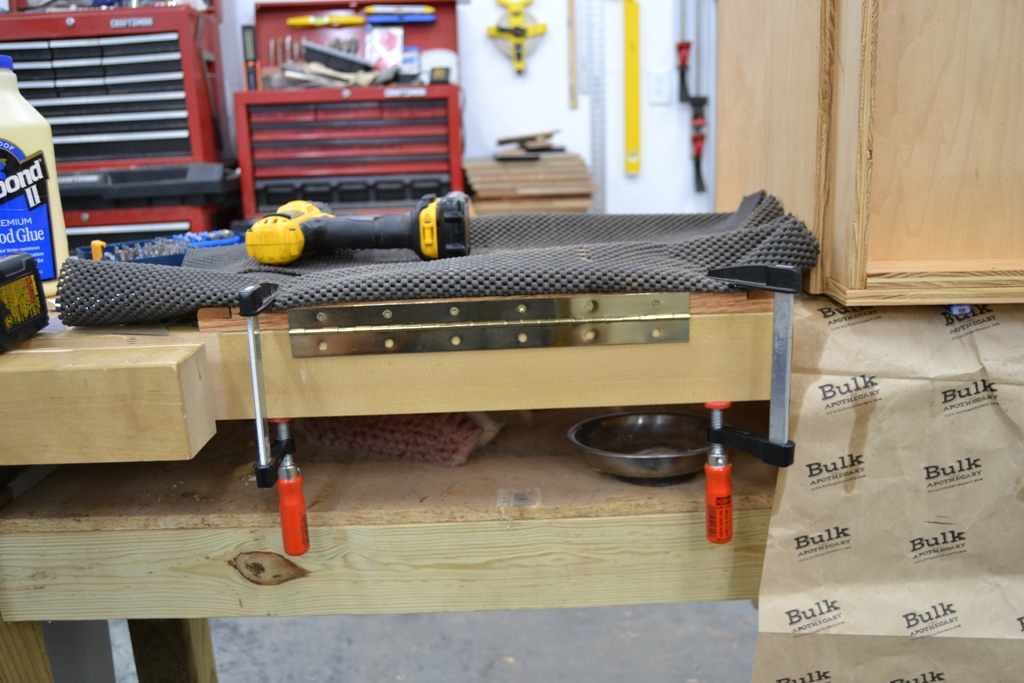
I attached the hinge to the door, and also inset a pair of magnets top and bottom to insure it stayed closed. The rare earth magnets are small and powerful. Careful layout takes time, as does the setup on the drill press, but the results are worth it.
- 7.jpg (316.64 KiB) Viewed 1553 times
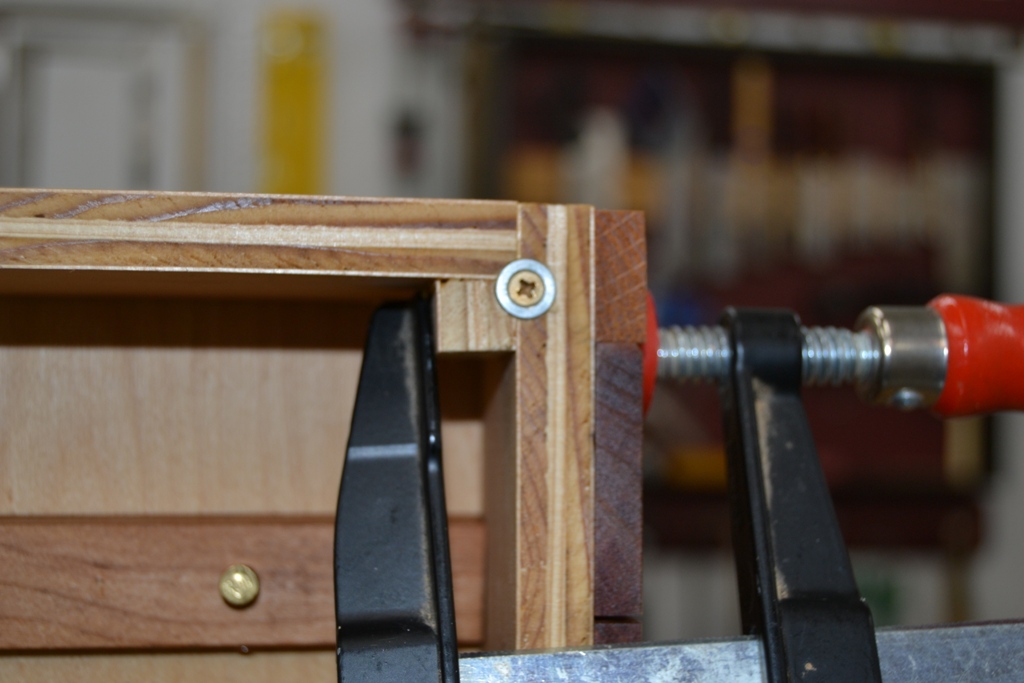
To make the magnets work as closures, you buy the kit which includes matching washers. Those were inset into the face of the closet wall. Again, set up and careful drilling with the forstner bit.
- 8.jpg (226.15 KiB) Viewed 1553 times
I repeated the process with the top, but gravity would keep the top closed, so the magnets were not needed. Both were attached to the box.
- 12.jpg (311.55 KiB) Viewed 1553 times
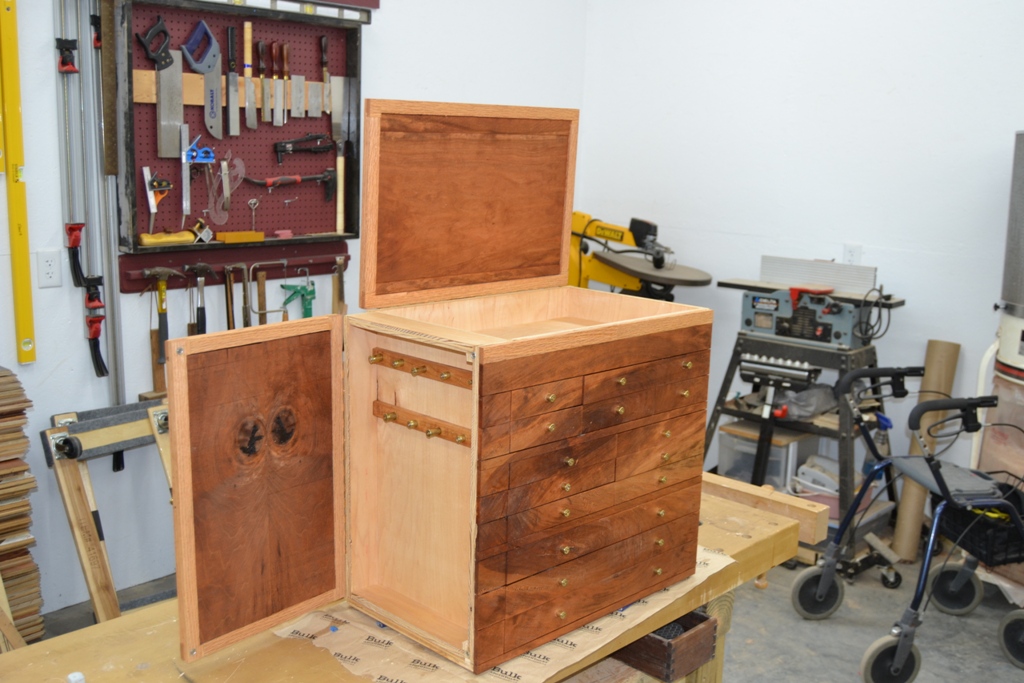
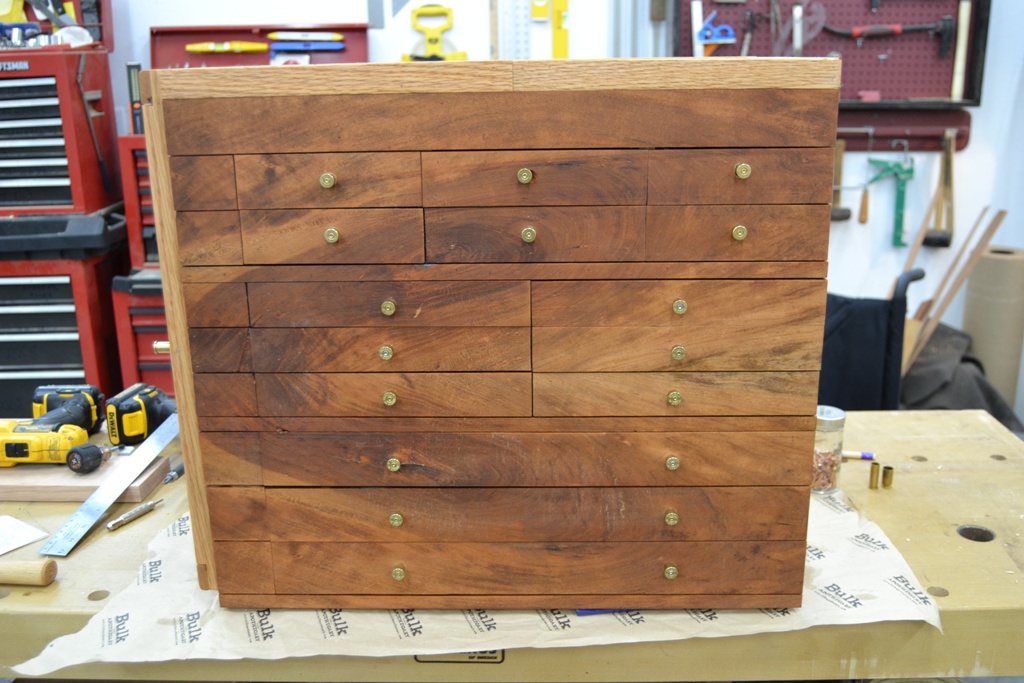
The longest and most stressful part of the day was putting in the drawer pulls. Measuring the locations and marking them, setting up the drill press, and discovering that the drawers were highly unstable due to their height and wobbled. (Drill bit moved and


) Stained the error and it's hard to see.
I figured out a way to put the face of the drawer RIGHT at the bit, clamping a narrow board to the press table and turning the table aside, then hanging the drawer ON the board's edge. Solid as a rock and no movement. PITA, but it worked. Did the rest of the drawers with no problem
Also, but and stained the oak base to raise the box another inch, in preparation for it's reporting for duty tomorrow.
As I said, it's pretty much done. I will take a pic or two tomorrow once it's inside, in position and ready to start filling up with tools.
But, it's basically DONE.
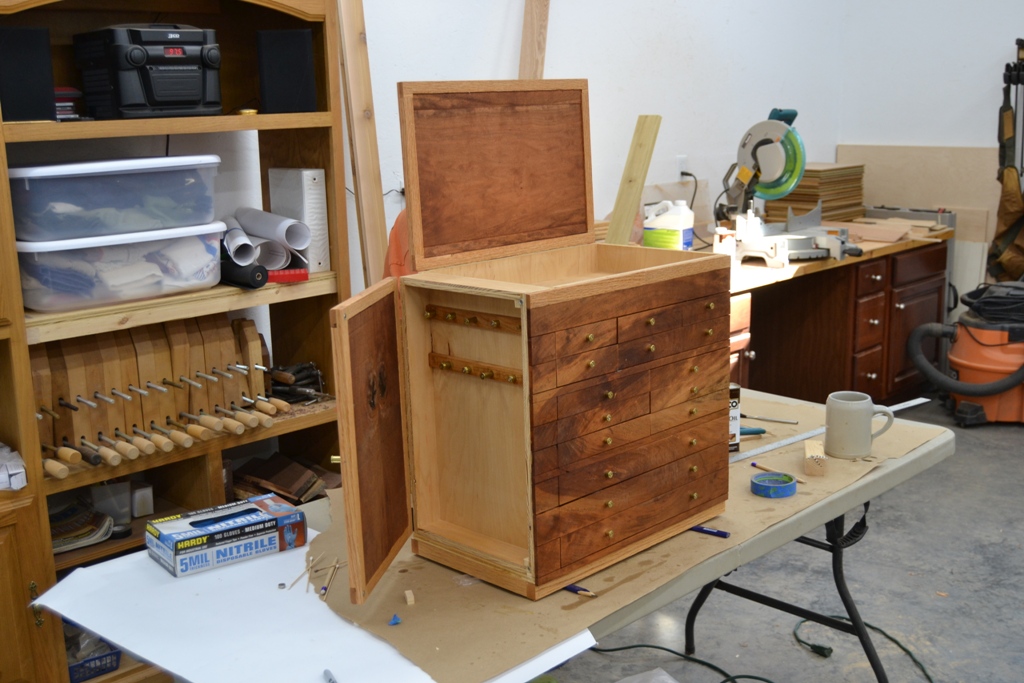
- 13.jpg (313.34 KiB) Viewed 1553 times
btw, here is a better view of the drawer pull layout, just in case some were interested...
- 14.jpg (278.93 KiB) Viewed 1553 times


 It has been a while since I used the trick to repair a crack in a friend's project. His was Mahogany, and it was perfect.



 Breaks of the game.



 dead batteries... always at the most inopportune moments. )