Page 1 of 1
A couple January Projects to Start the New Year...
Posted: Sat Jan 13, 2018 12:40 pm
by BrokenolMarine
After the shop cleanup and reorganization, it was time to start off the new year. I had hoped to perhaps try restocking one of the rifles ... but on advice from several, I have decided to put that off and start learning to use my spokeshaves with another project.. I'll try and make a cane/walking stick. I had planned to do that anyway.
The first step involved getting the wood from the boathouse, and I had to take a few things OUT of the woodshop out there anyway, so I had been loading them in the Ranger while I cleaned. I drove out there and put those away and found three nice pieces of wood. The first two were going to be for future boxes, ... or something.

- A project.jpg (289.54 KiB) Viewed 6478 times
The one had been preplaned and then stored, when I was in the small shop and needed the room. The other, I see potential, but we'll have to see what the planer reveals.

This next piece will become my cane ... hopefully.

Or kindling.
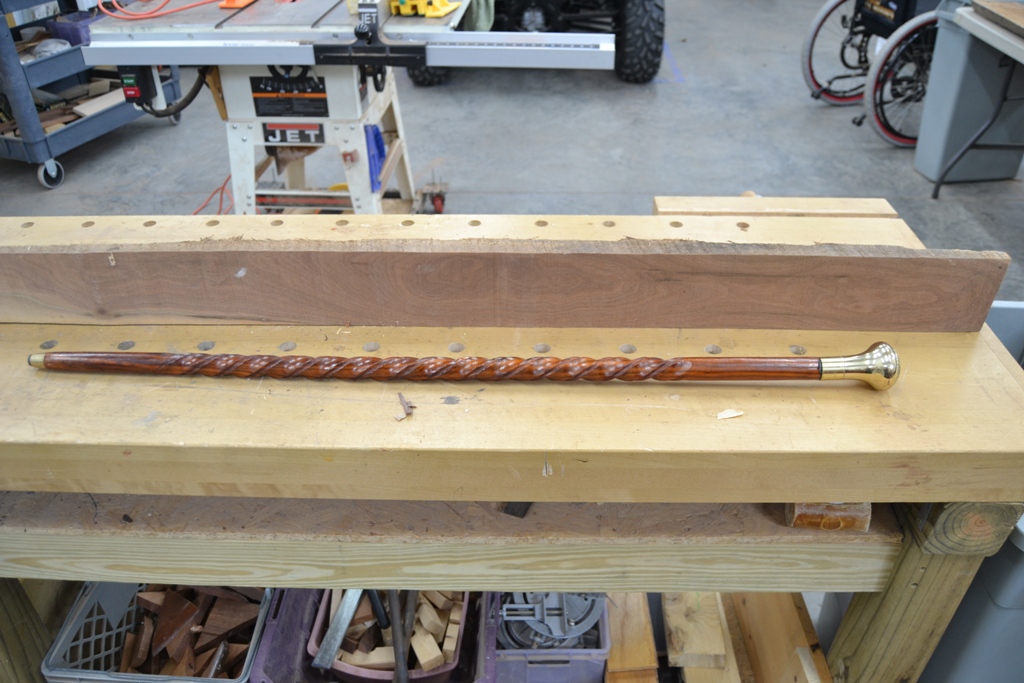
- cane blank 1.jpg (314.99 KiB) Viewed 6478 times
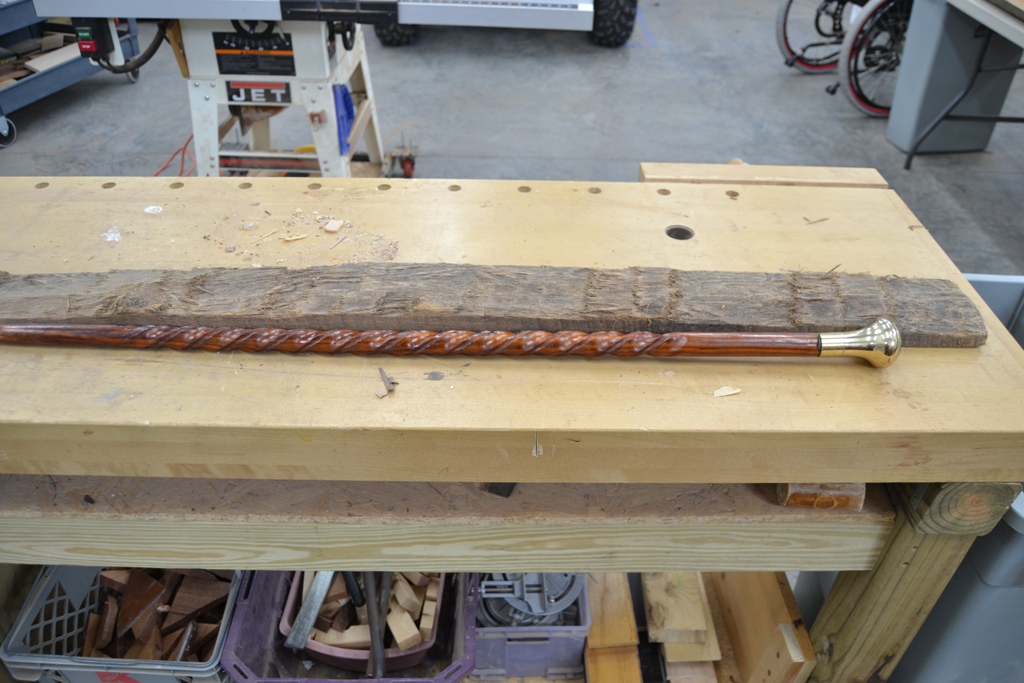
- cane blank 2.jpg (316.99 KiB) Viewed 6478 times
Re: A couple January Projects to Start the New Year...
Posted: Sat Jan 13, 2018 12:47 pm
by BrokenolMarine
Back in the shop to start working on the projects. First up is cleaning up the two pieces that need planing. The cane blank will be run across the jointer first, and won't see the planer. What will it reveal? I spent a while taking as little as possible off the face until it was flat and smooth. It turned out beautiful.
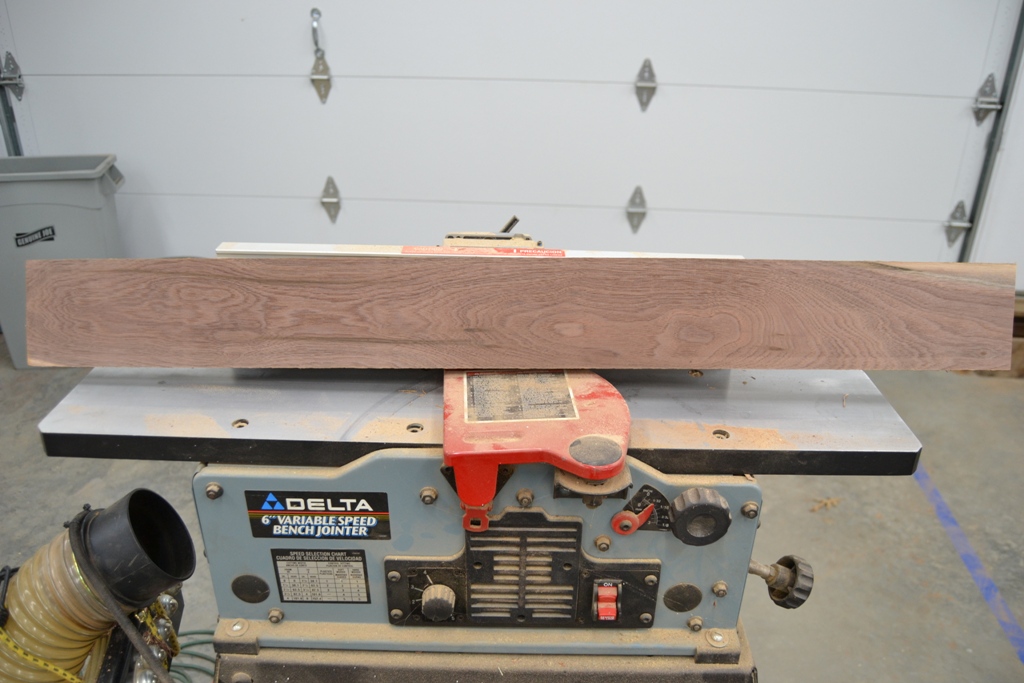
- 01 face planed cane blank.jpg (270.62 KiB) Viewed 6476 times
I then ripped it in half down the middle and joined the flat faces. It shows potential. I think the grain will present well and be interesting enough.
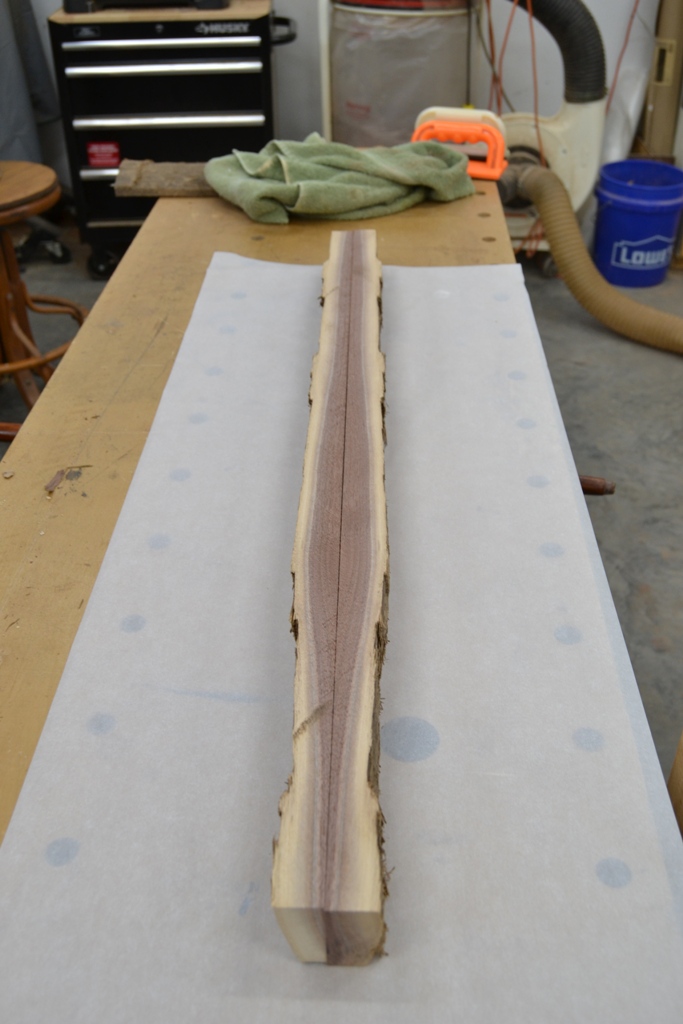
- 03 Glue up.jpg (229.89 KiB) Viewed 6476 times
Spread the glue and clamped er up.

- 04 clamped.jpg (283.06 KiB) Viewed 6476 times
While I had the dust collector out of the corner where she lives, I set up the planer and ran the long board thru. I was NOT disappointed. I will certainly find a project for that one.

- 02 While I was at it.jpg (273.27 KiB) Viewed 6476 times
Re: A couple January Projects to Start the New Year...
Posted: Sat Jan 13, 2018 12:56 pm
by BrokenolMarine
Back in the shop, and got the clamps off, began working on the shaping of the wood. First step was to trim the bark off with the band saw. Then use the plane and the spoke shaves to began shaping the body of the cane. I had to do this in stages as working with hand tools is work. I could use power sanders, or put a sanding drum in the drill press, but it's not the point of the thing. I want to learn to use the spoke shaves, and the pleasure of the labor, the journey is the thing.
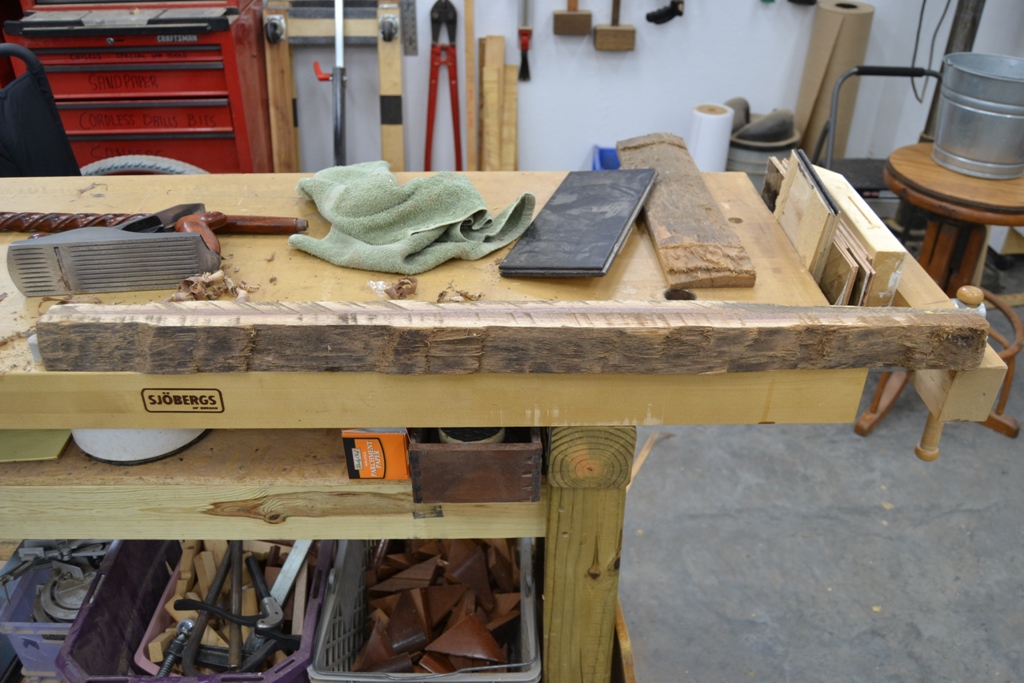
- 01 clamps off.jpg (329.31 KiB) Viewed 6476 times
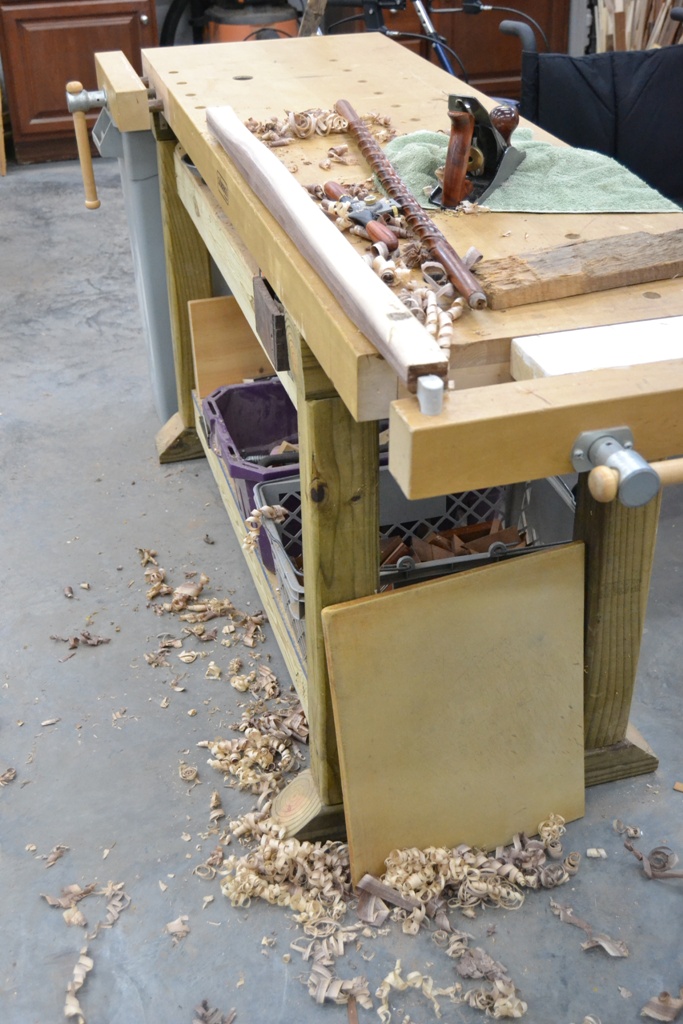
- 02 began shaping.jpg (280.96 KiB) Viewed 6476 times
After a couple days, I had made significant progress and it was looking like something. I had run the blank across the table saw and trimmed off a 1/4" in thickness to give it a more consistent shape before I got well into it.
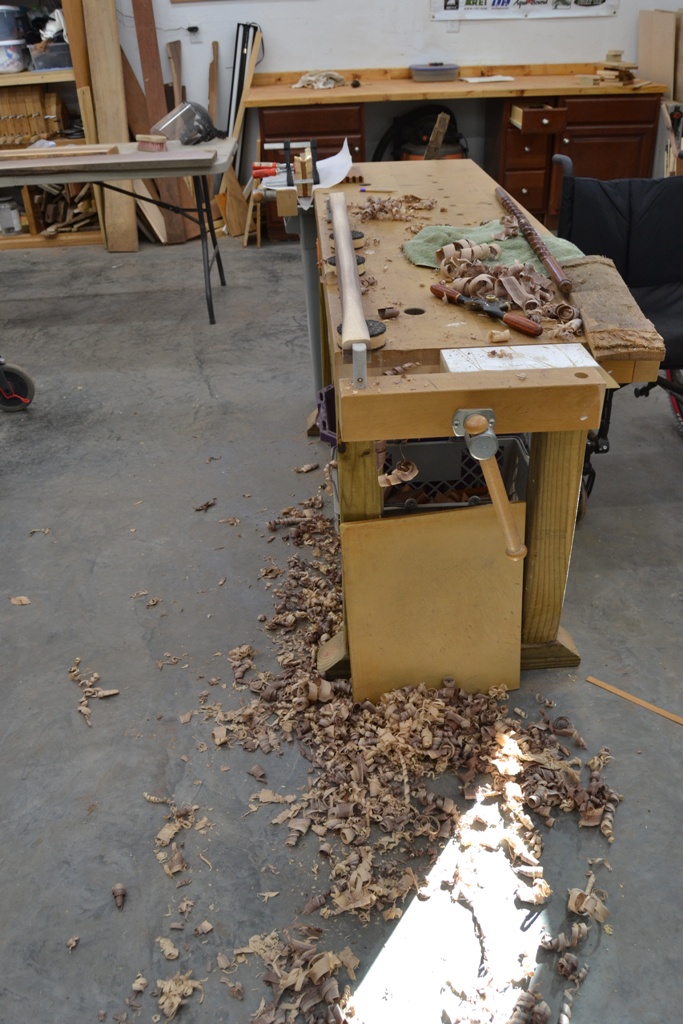
- 03 two days work.jpg (290.15 KiB) Viewed 6476 times
The cane is beginning to show it's personality and I am seeing where I want to take things. I begin to work certain areas and define the shapes I want.
It won't be your typical round walking stick, it will carry some weight and show off the grain and beauty of the walnut.
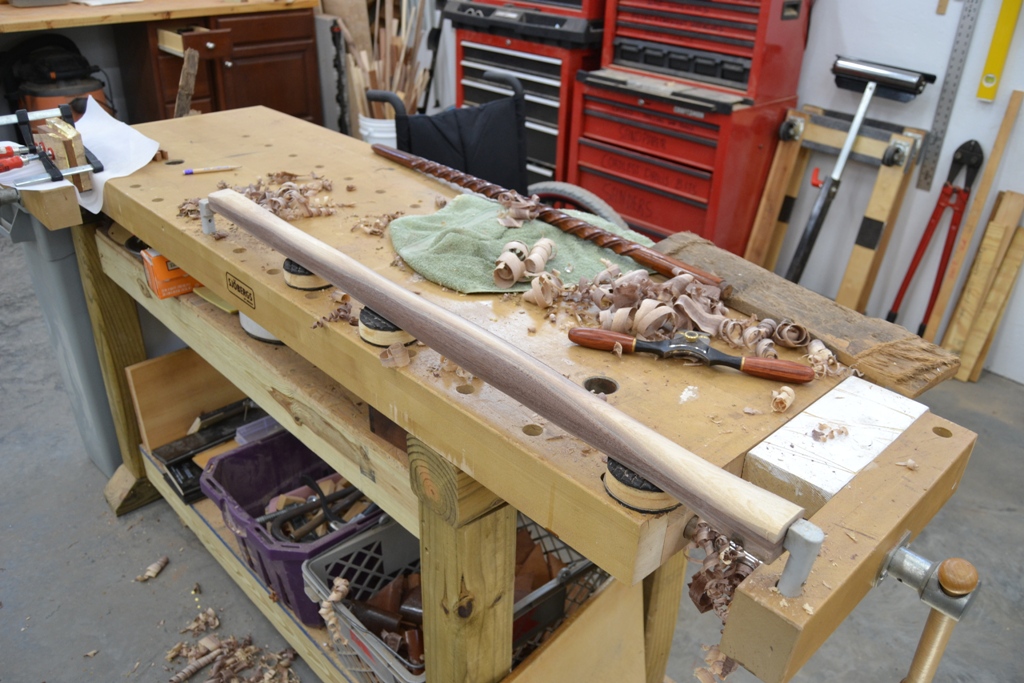
- 04 taking shape.jpg (357.26 KiB) Viewed 6476 times
AS you can see, I have put in a lot of work over the past few days. All the shavings you see came from the plane and the spokeshave... not a single tool was plugged in.
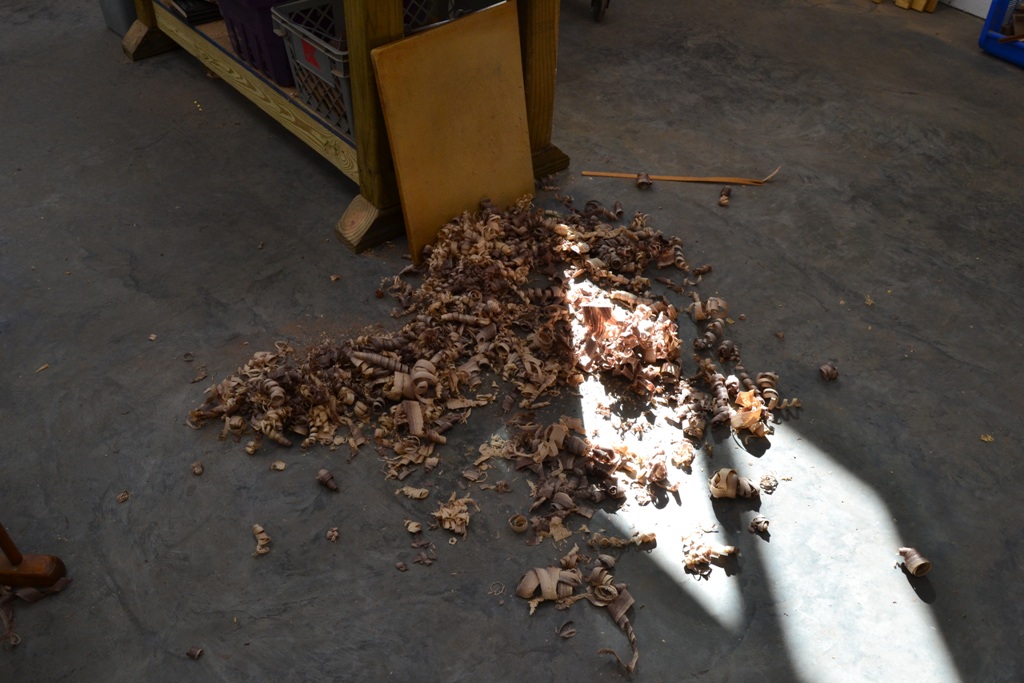
- 05 lotta work.jpg (246.7 KiB) Viewed 6476 times
In this vice is a laminated block that will become the grip mounted to the top of the cane.
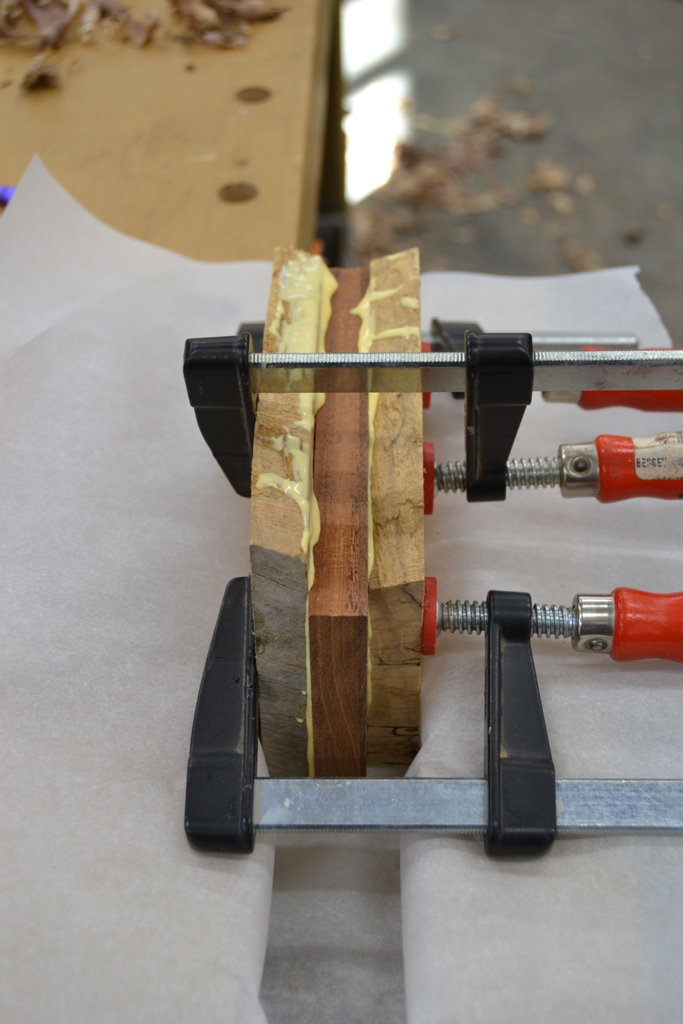
- 06 laminating the grip.jpg (245 KiB) Viewed 6476 times
It's spalted maple, with a mahogany center. I will cut the rough shape on the bandsaw, then shape it with the spokeshave and sand to final smoothness and attach it with a bolt and epoxy. I hope this turns out, I think it will be unique, anyway. Even if it just stands in the corner... but I plan to use it.
Re: A couple January Projects to Start the New Year...
Posted: Sat Jan 13, 2018 6:14 pm
by BrokenolMarine
Got the block out of the clamps and started shaping the cane's handle. Lot's more work to do, but it's taking shape.

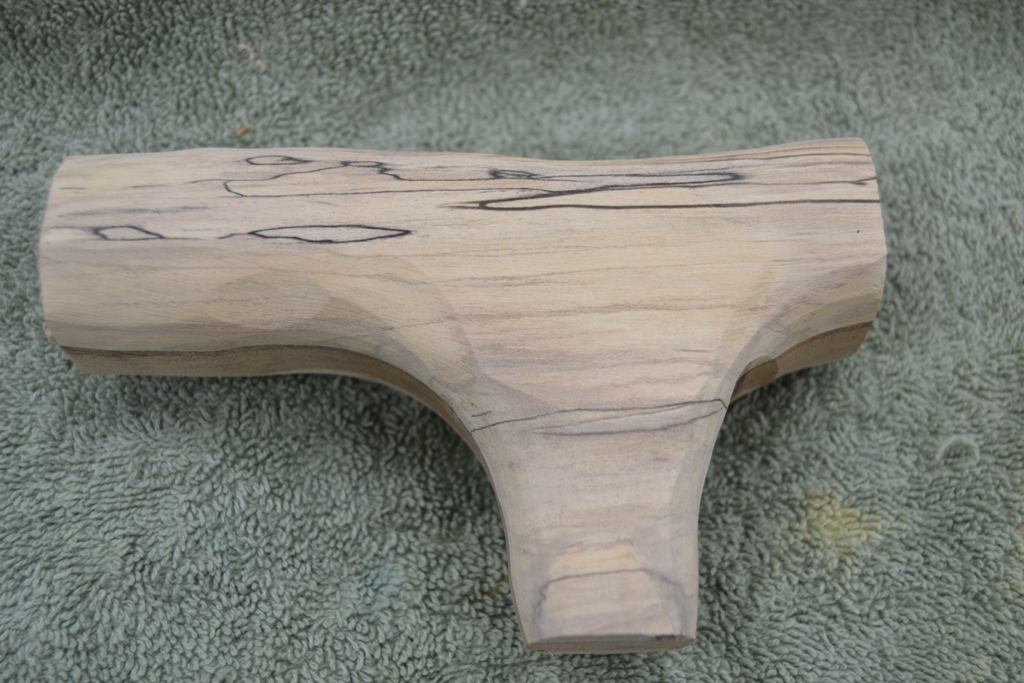
- cane handle worked.jpg (333.24 KiB) Viewed 6471 times
I'll have a lot of shaping left to do, and I may put an accent band between the cane and the handle and then blend the transition.
Anywho... I love the spaulted maple.

You can just see the sandwiched mahogany if you look close.
Re: A couple January Projects to Start the New Year...
Posted: Sat Jan 13, 2018 8:35 pm
by dave77
Looks like it will be a very nice cane.
I have one with a similar shaped handle but it's just a cheap one. Have used it over the years for different injuries and for a couple months after my knee replacement. I think I will eventually need one more to get back up after kneeling before I will need one for walking.
Re: A couple January Projects to Start the New Year...
Posted: Sat Jan 13, 2018 10:32 pm
by BrokenolMarine
Dave,
I used a folding CVS cane to give me the general handle shape. My day to day cane is one miss tina bought me at Busch Gardens twenty years ago. It has a composite shaft, brass head, and Marine Corps Logo inset in the brass head. It was made by a Golf Club company. She came across a brand new duplicate in an antique shop ten years later and picked it up as a spare. We keep one in each vehicle.
Getting a Handle on things...
Posted: Sun Jan 14, 2018 11:41 am
by BrokenolMarine
Pun intended...
I went out this morning and mounted the handle on the shaft... so I could see how much work the blending would be. I used a 3/8 bolt, screwed into the handle then cut off, and a generous amount of Titebond glue. If the glue doesn't hold, I'll unscrew the bolt later and sand the contact surfaces, add a spacer and put epoxy on all of them, clamp and leave them for 24 hours. They won't come loose then.
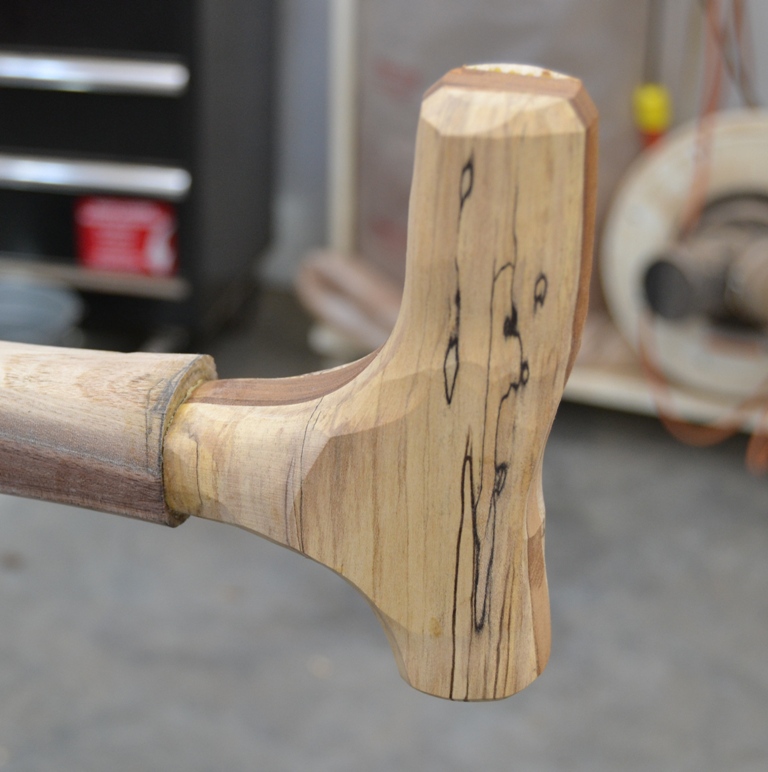
- handle mounted.jpg (204.81 KiB) Viewed 6457 times
As you can see, there was going to be a bit of work with the spoke shave after mounting. I settled in and got to work. After about an hour, I ended up with this.

- handle blended.jpg (221.85 KiB) Viewed 6456 times
I am pretty happy with the blend, now I just need to finish shaping the handle, work on the shaft and decide on the "foot" for the cane.
Then I can decide if I'll let the grain do all the talking, try and carve a bit, or inlay my Wings, a challenge coin, or ... some other trinket to make it special.
Re: A couple January Projects to Start the New Year...
Posted: Sun Jan 14, 2018 11:42 am
by BrokenolMarine
As always, LOTS of sanding left, and the finish to decide on. Not bad for not having a clue.
Tina likes it. Always a good sign.
Getting Close...
Posted: Sun Jan 14, 2018 3:06 pm
by BrokenolMarine
Back out in the shop this afternoon to work on the shaping of the handle. I gathered sandpaper in 80, 100, 120 and 220 grit, and worked the handle with long strips cut from each grit. I worked the 80 grit the longest, then the 100 to get the shape I wanted. Then several passes over the handle with the 120 and 220 to get rid of any scratches from the previous grits. We are getting close to the point where we can apply finish and call 'er done.

- reshaped the handle.jpg (259.95 KiB) Viewed 6453 times
Wipe down the project with Mineral Spirits and you do a couple things. First you remove all the dust and dirt. Second you highlight any scratches or areas that might need attention BEFORE you apply finish... Lastly, you get a peek at the grain.... then the mineral spirits evaporate and the woods return to the natural state and you can work them as before, using what you have learned. Looks pretty good.

- coming along.jpg (195.34 KiB) Viewed 6453 times
Next task will be cutting the cane to length and shaping the bottom of the shaft to accept a rubber end to act as the foot.
Re: A couple January Projects to Start the New Year...
Posted: Sun Jan 14, 2018 7:34 pm
by dave77
Looks like it has some pretty good heft to it. You could probably use it for self defense in a pinch, I definitely wouldn't want to get whacked with it.
Re: A couple January Projects to Start the New Year...
Posted: Mon Jan 15, 2018 12:40 am
by BrokenolMarine
Wow dave...

That's something to think about.


The thought would never have crossed my mind.
( Anyone buying this? Ah.. anyone? )

The cane is too pretty to strike someone with.
(Anyone?
)
Back at it in the morning... I got a lot of transition work done on the lower half late this afternoon, and will put those pics up, and work on fitting the foot and final sanding and finishing as well.
final shaping and finish applied
Posted: Mon Jan 15, 2018 10:29 am
by BrokenolMarine
Worked yesterday afternoon and this morning, and we are almost done.
This might actually be something.
First I marked a goal and worked the lower end of the cane with the spokeshave.
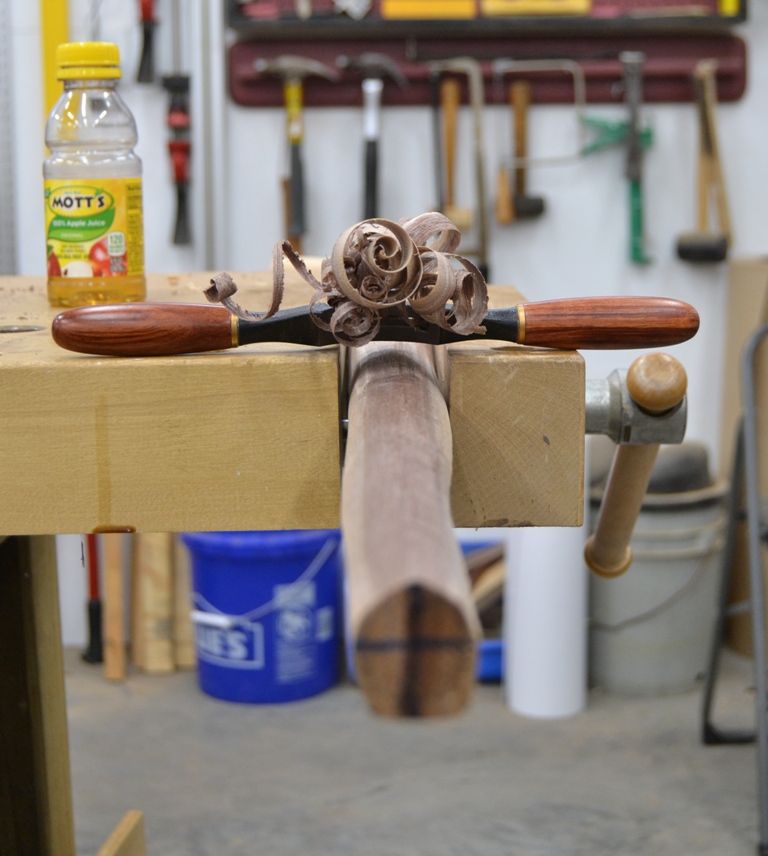
- 01 spokeshave work.jpg (254.67 KiB) Viewed 3530 times
Slow and steady, as I approached the goal marks, I left them a little oversized.
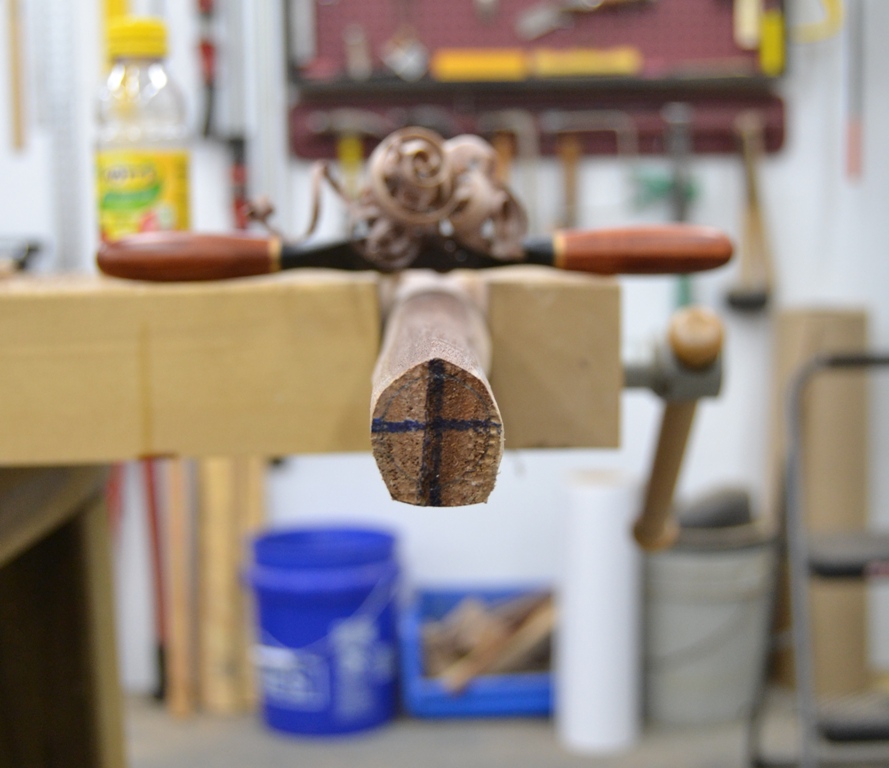
- 02 marked a goal.jpg (227.9 KiB) Viewed 3530 times
The spokeshave is a sharp tool, but I took the iron out on a regular basis and honed it to keep it that way.
I worked until I reached my 90 minute limit, this got me close to the goal, but I stopped. No need to overdo it and ... pay later.
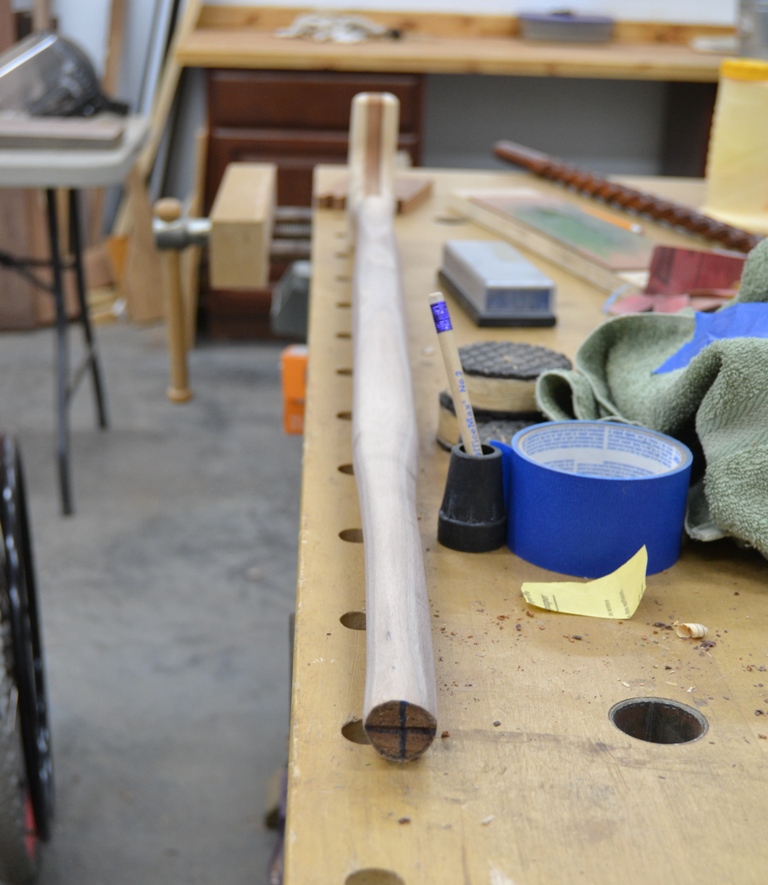
- 03 got close last night.jpg (256.8 KiB) Viewed 3530 times
Back at it this morning... worked with the spokeshave a bit, then trimmed the end flat on the table saw, remarked the goal closer to the actual size and started with the long strips of 80 grit sandpaper, checking often with the actual foot. I also measured and marked the depth I wanted the shaft for the foot.
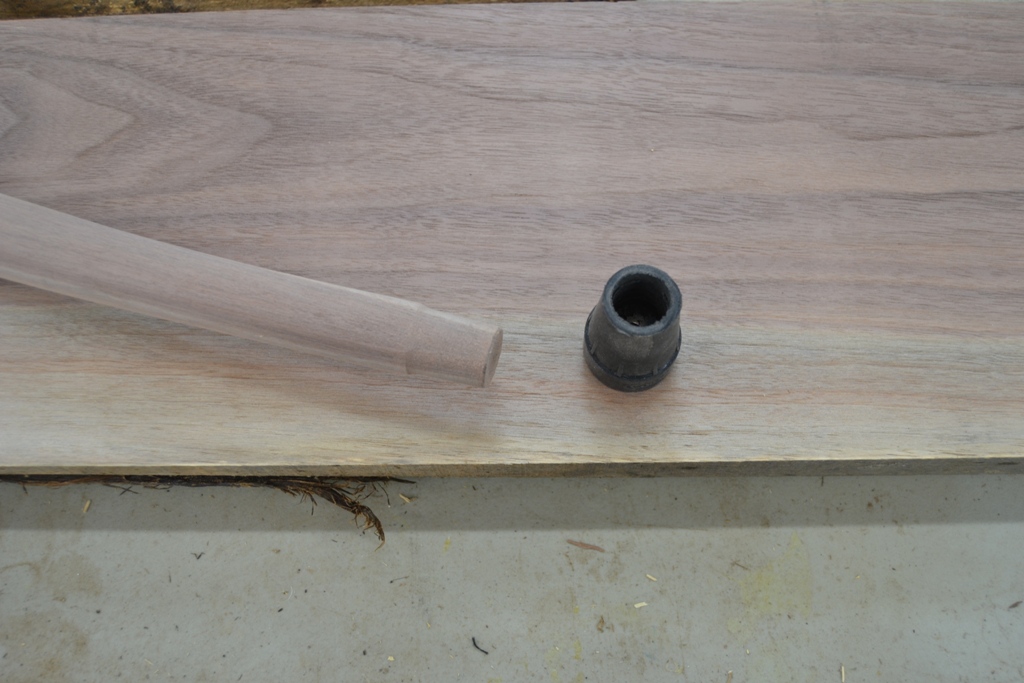
- 04 more work this morning.jpg (274.89 KiB) Viewed 3530 times
Once I got the foot installed and tested, it came off and I did some final shaping on the shaft, took off a good bit but still left the center swell for character, and the weight.
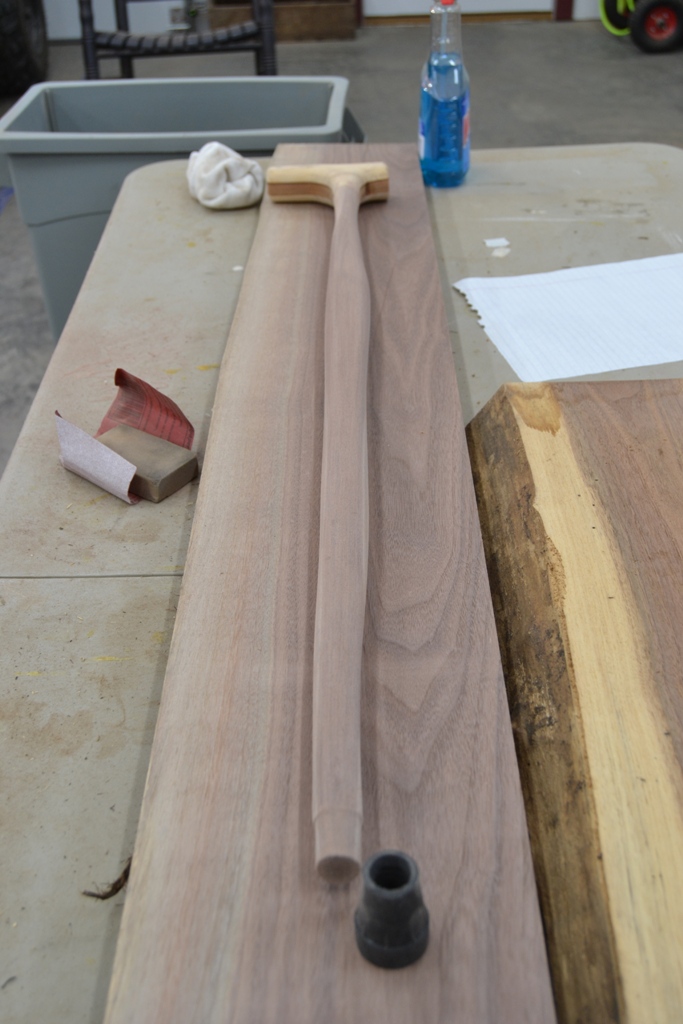
- 05 final shaping.jpg (252.93 KiB) Viewed 3530 times
Wiped 'er down with mineral oil, and after testing on a scrap piece, chose Medium Watco Oil as the finish. A full rich color but not too dark on the lighter spaulted maple.
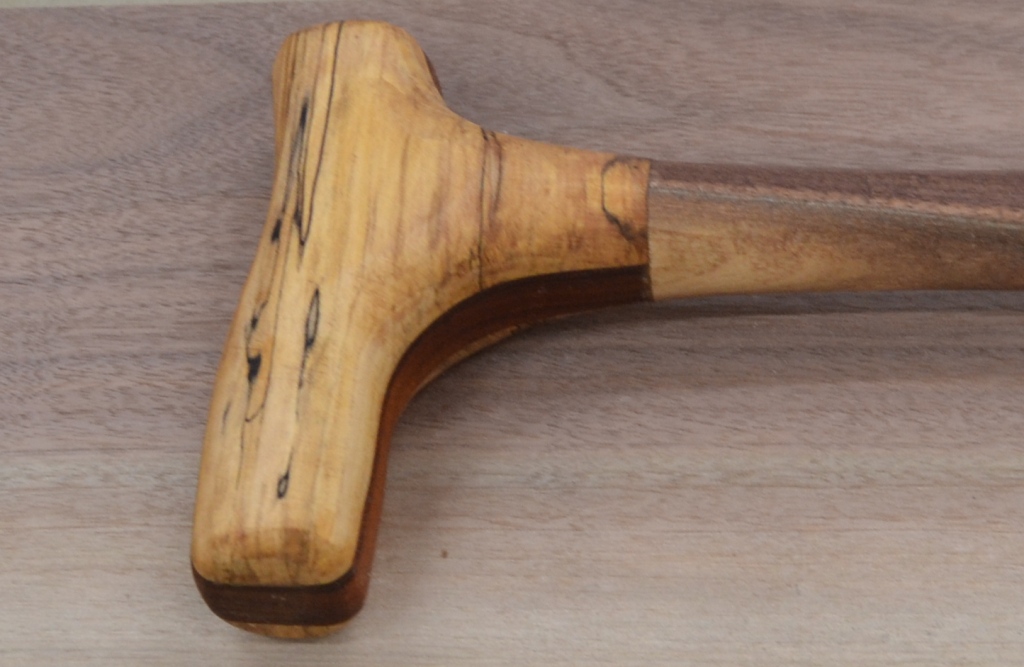
- 06 medium walnut watco applied.jpg (245.69 KiB) Viewed 3530 times
It really pops the grain...
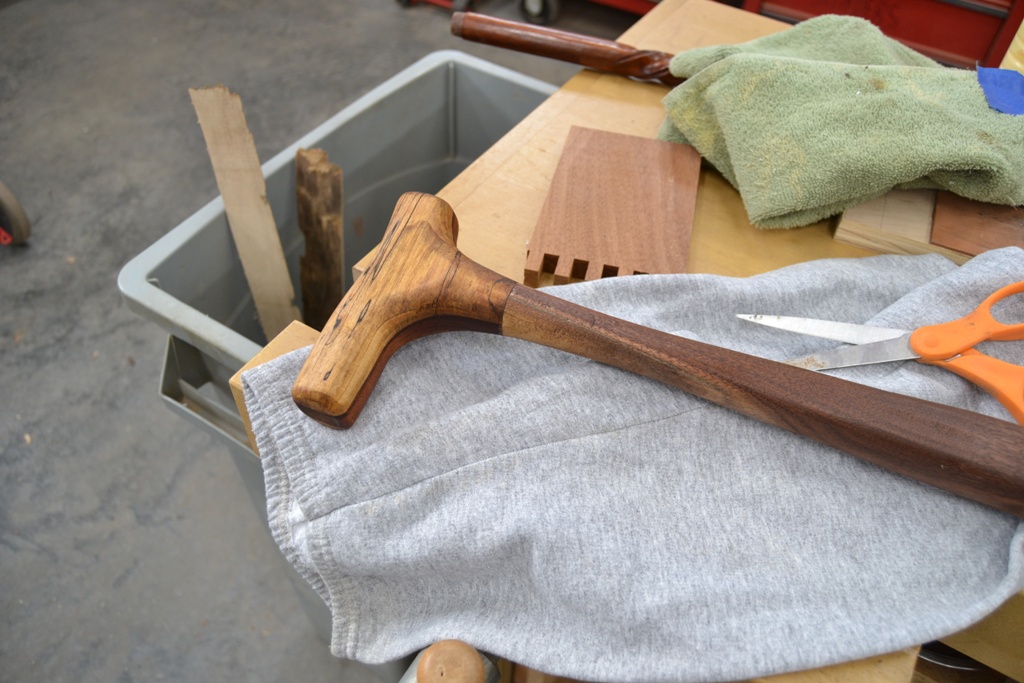
- 07 pops the grain.jpg (266.35 KiB) Viewed 3530 times
I'll let that dry, then wax it with the British Beeswax and ... done. (Two, maybe three coats buffed between coats.)
Re: A couple January Projects to Start the New Year...
Posted: Thu Apr 05, 2018 7:19 pm
by Carver
Nice work!!! Like to see pictures when completed.