Page 1 of 1
Custom Strap for the Tooled Pouch
Posted: Mon Jul 18, 2022 11:55 am
by BrokenolMarine
I got the text from the Kid, the strap needs to be 55".

Do I have a piece of decent leather that long? Before I start that project, there is something I have been meaning to do to my BENCH for a decade. NOW is the time to do it. I clamped my five foot rule to the top of the bench and used the square to mark inch reference lines down the front edge. As exact as I can get them, but not perfect. If I need exact, I'll still measure, but when rough is good enough, this will be there. Then I put two coats of clear poly over the layout to protect it. Will come in really handy when checking the layout of large sides of leather.

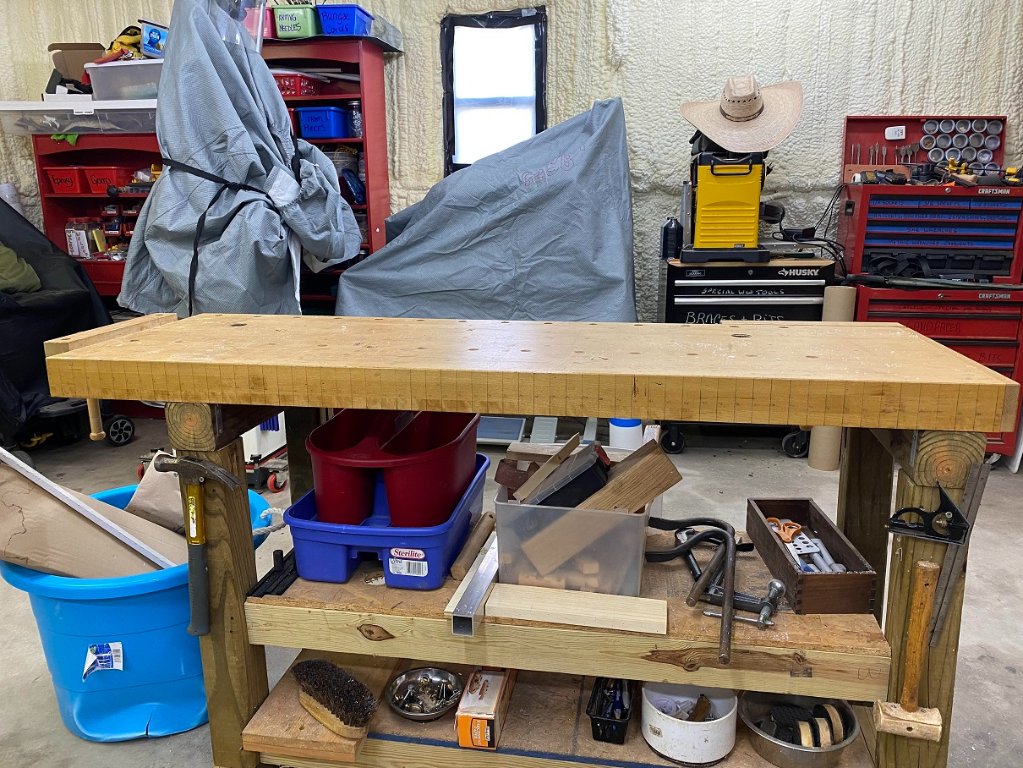
- 01 bench edge.jpg (215.59 KiB) Viewed 13505 times
A closer look at the layout.
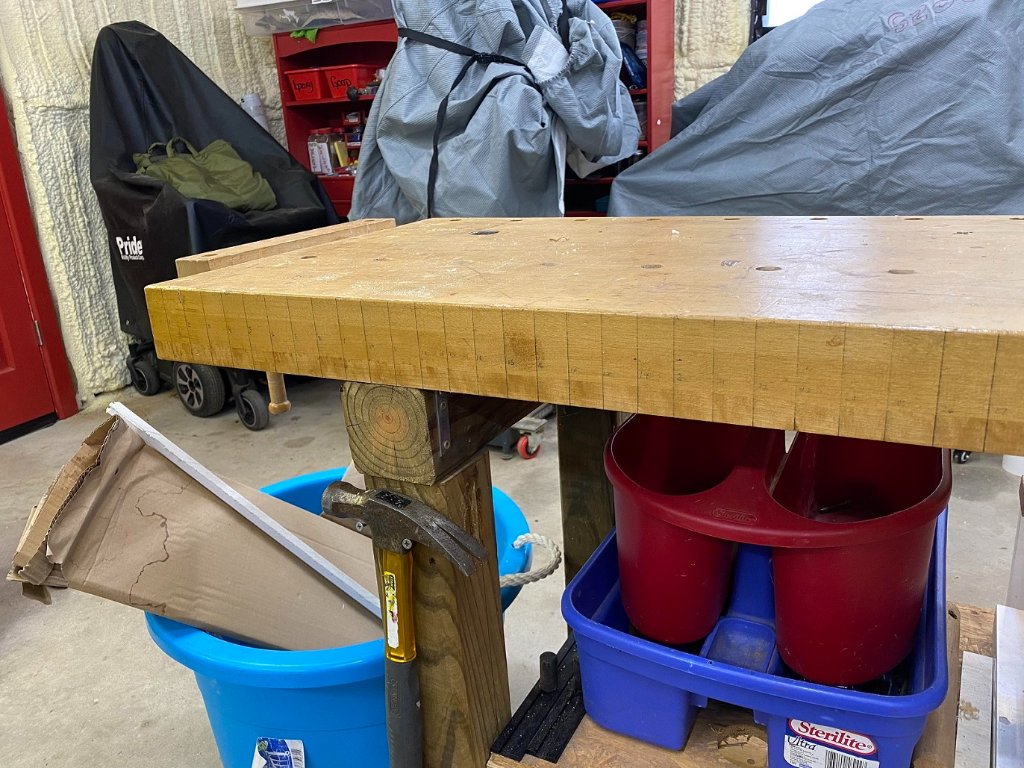
- 02 bench edge closeup.jpg (181.76 KiB) Viewed 13505 times
I may go back and redo the numbers with a fine tip permanent marker to make them bold, then repaint a couple more coats of poly.
Re: Custom Strap for the Tooled Pouch
Posted: Mon Jul 18, 2022 11:58 am
by BrokenolMarine
I didn't think I would have a single strip long enough for a one piece strap, so I rewatched the videos on various stitches. The X stitch has a straight bar on the back that looks good and is a very strong "Butt" stitch. I used scraps to practice that. It worked out very well. It was too late to start on the project and I wasn't up to it that evening anyway, but would be ready the next day. Good progress. I had also worked on sketches for a 22 ammo belt pouch.
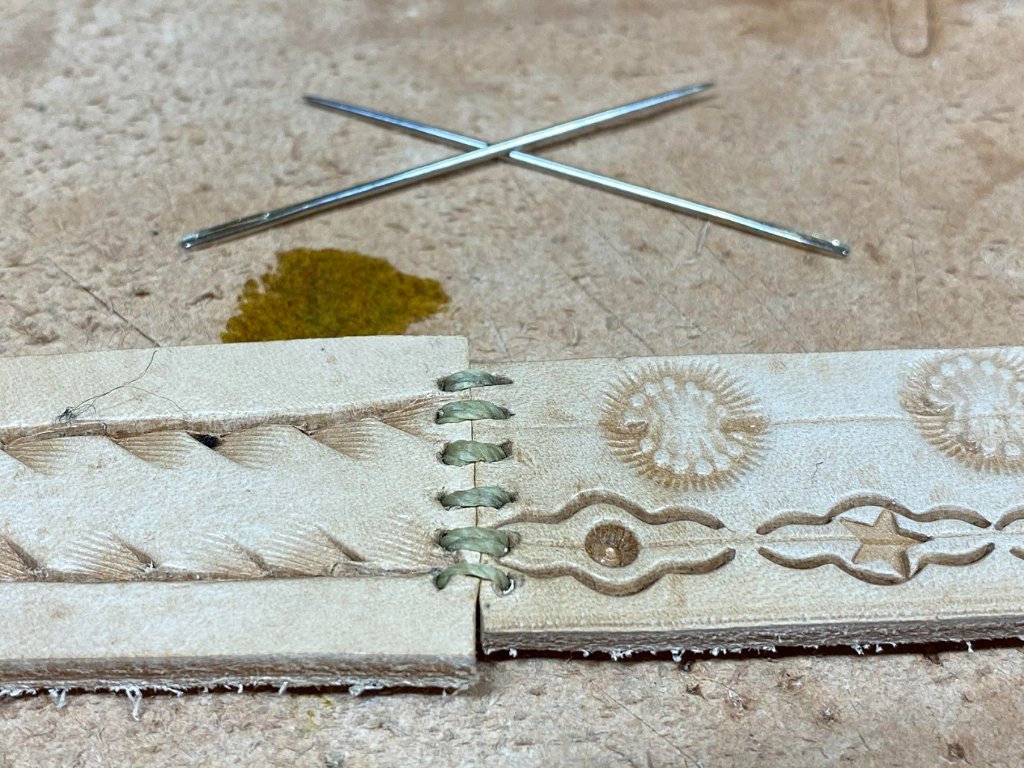
- 03 x stitch.jpg (187.99 KiB) Viewed 13504 times
Re: Custom Strap for the Tooled Pouch
Posted: Mon Jul 18, 2022 12:07 pm
by BrokenolMarine
Came out the next morning and began looking thru the nice Veg Tan stored overhead. What?

28x58.
Pulled 'er down and the end was cut diagonally. That meant I had taken my measurement as an average. I squared the edge with the long metal rule, and then clamped the rule to the edge of the bench and cut a 7/8" strip and was rewarded with the 60" long 7/8" wide strap.

No need to butt two pieces.
I used the dividers to mark a 3/8 wide area down the center and got busy. Four stamps per inch, times sixty inches. Two hundred and forty stamps. Oh, per side. Slow and steady would be the rule here.
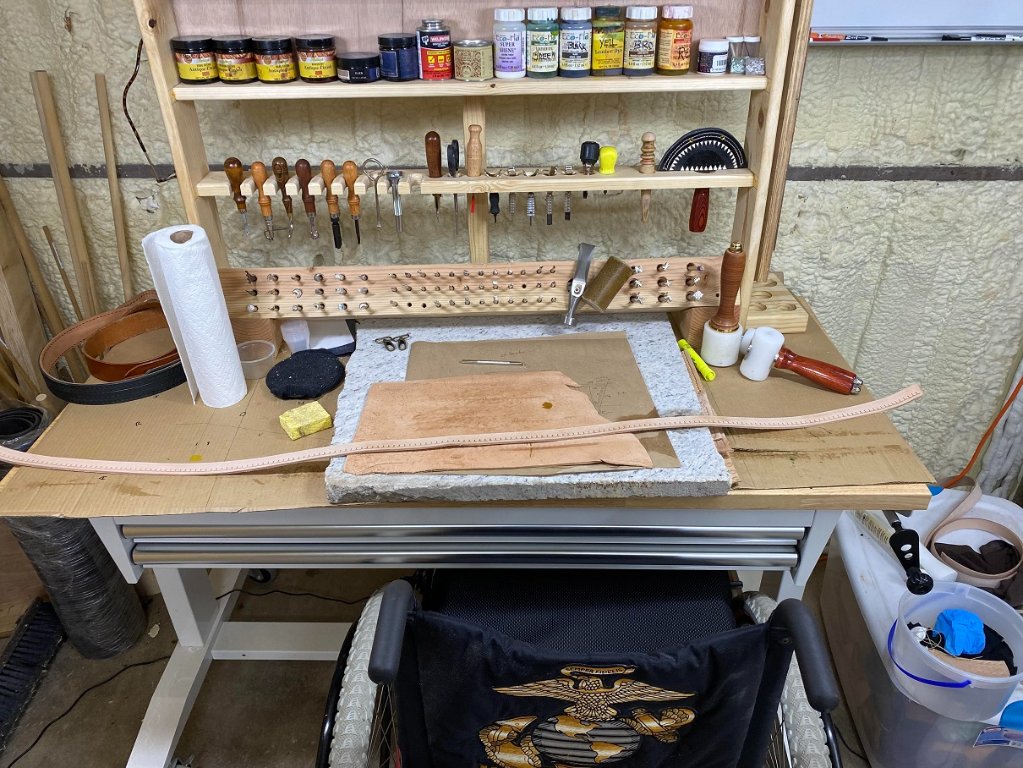
- 04 one piece.jpg (201.52 KiB) Viewed 13504 times
I worked my way slow and easy down the one side and by the time I was at the end, my hands and neck and shoulders told me it was time for a break. Lunch, brunch, snack, or nap. Call it what you will... just take one.
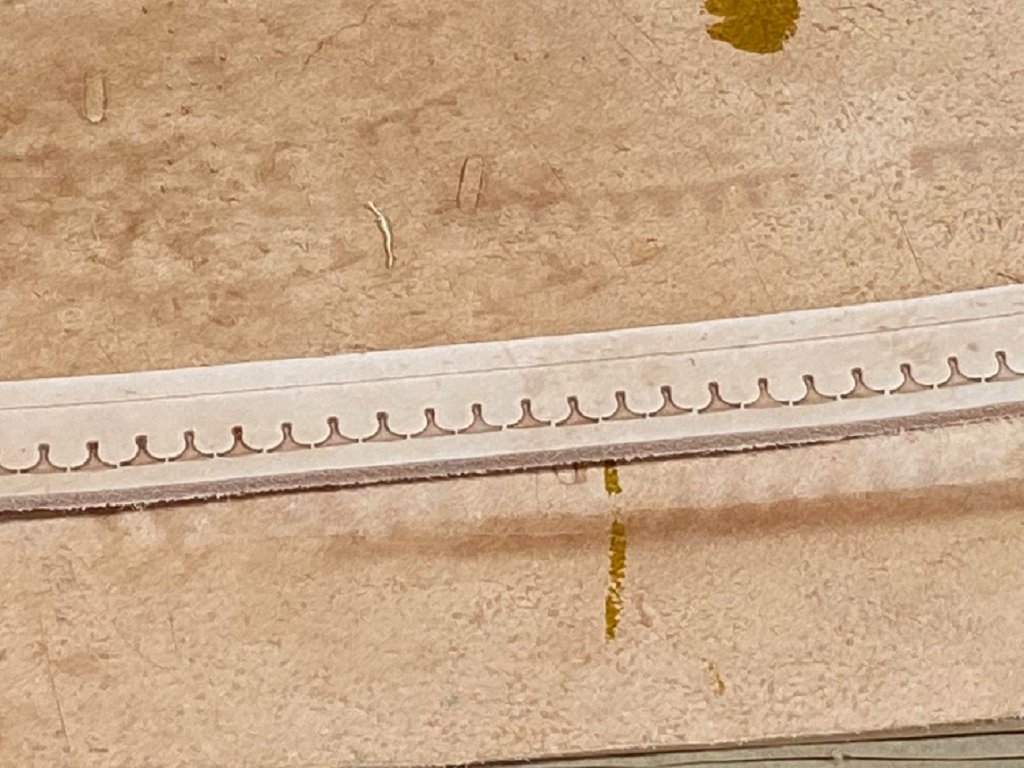
- 05 slow and easy.jpg (145.3 KiB) Viewed 13504 times
I came back out after lunch and a movie, and finished up by coming back down the other side. Coming down the other side you align the point of the stamp centered in the existing pattern and the base with your reference line and stamp. Repeat. Two Hundred and forty times.
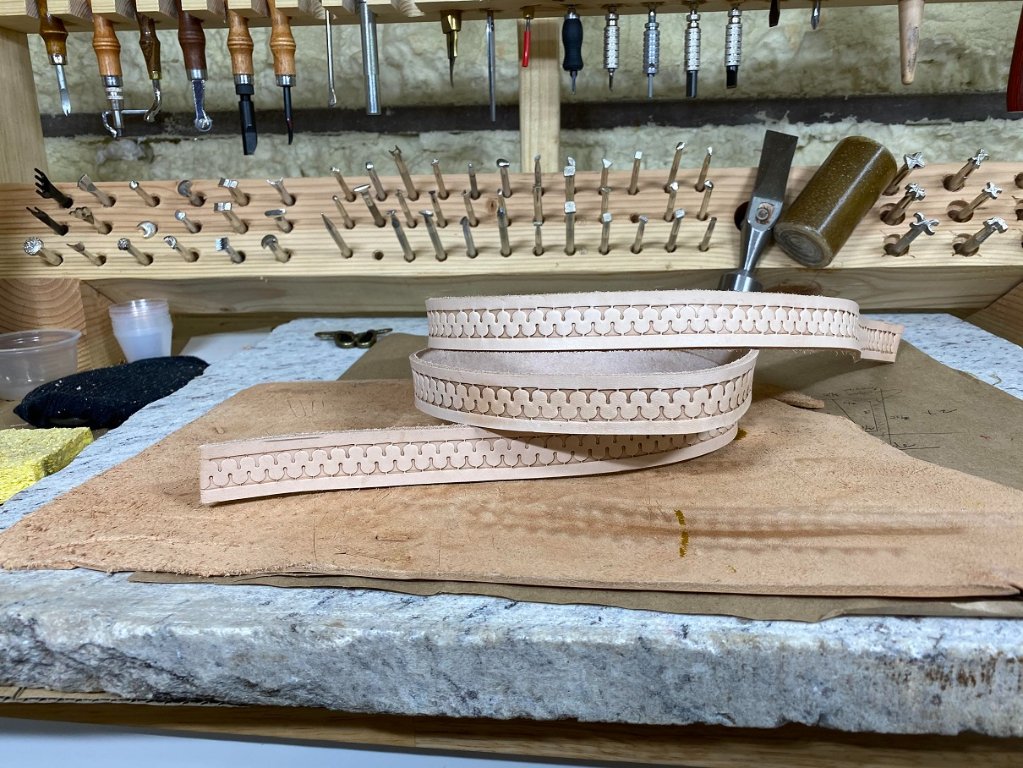
- 06 done.jpg (202.29 KiB) Viewed 13504 times
I don't think it came out that bad.
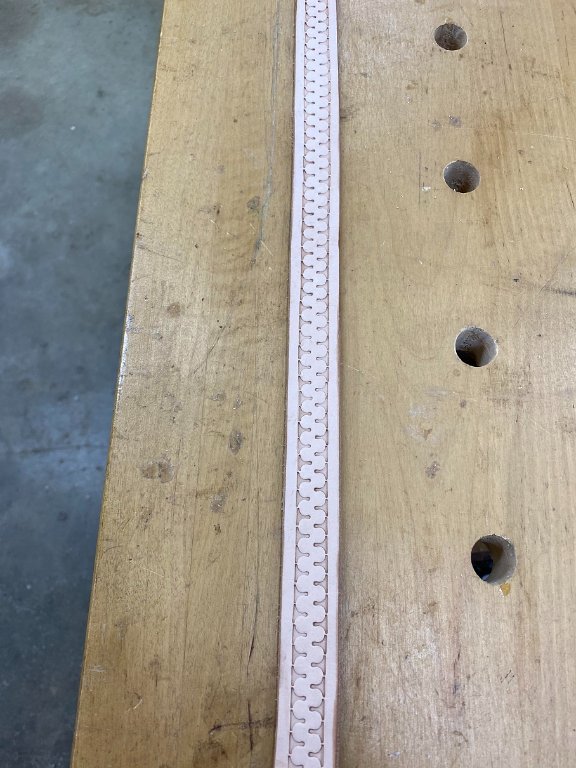
- 07 not bad.jpg (94.51 KiB) Viewed 13504 times
Re: Custom Strap for the Tooled Pouch
Posted: Mon Jul 18, 2022 12:13 pm
by BrokenolMarine
I came back out later and burnished both sides using ONLY water and friction to avoid getting burnishing gum one the face. That took about an hour. Then burnished the back using a burnishing glass. That smoothed the hairy look. After burnishing, I applied the Golden Oak, and left it to dry. It looks very dark while wet, but dries almost back to light, with a slight tint.
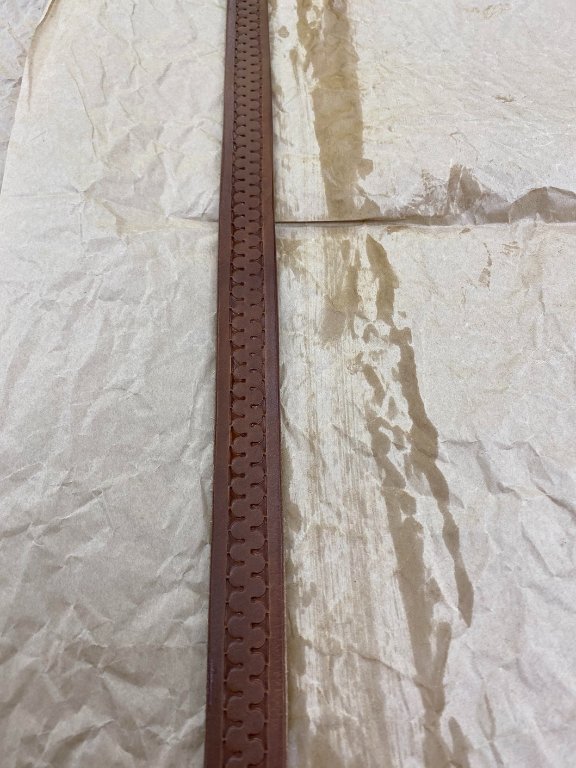
- 08 golden oak applied.jpg (90.86 KiB) Viewed 13504 times
Another session, I measured and marked, then applied the contact cement and folded and glued in the snaps. The clamps insure good contact.
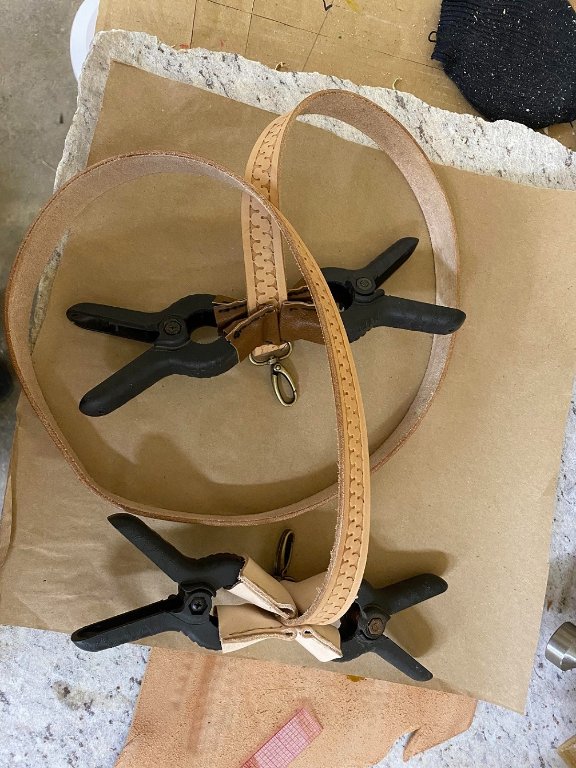
- 09 snaps glued on.jpg (113.29 KiB) Viewed 13504 times
The next morning, I marked the hole locations and then drilled on the drill press and then sewed the four stitch lines by hand. The snaps are now locked in place.
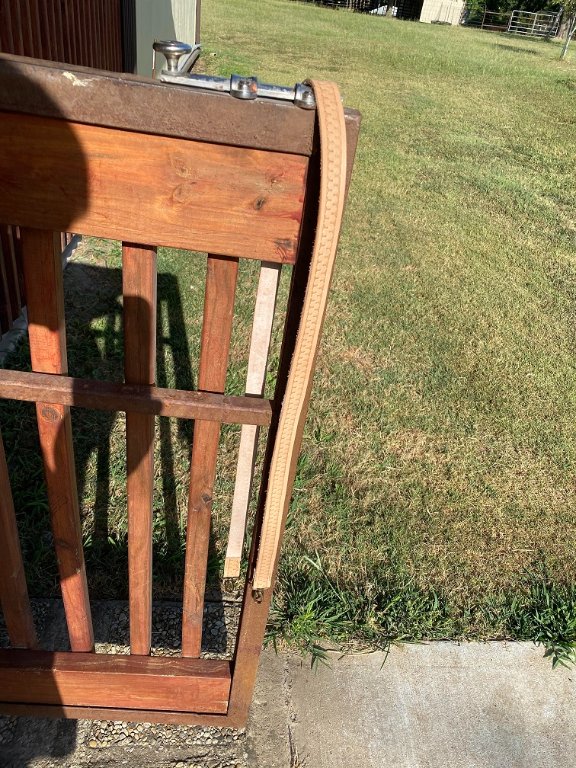
- 10 sewn on.jpg (165.92 KiB) Viewed 13504 times
A Closer Look:
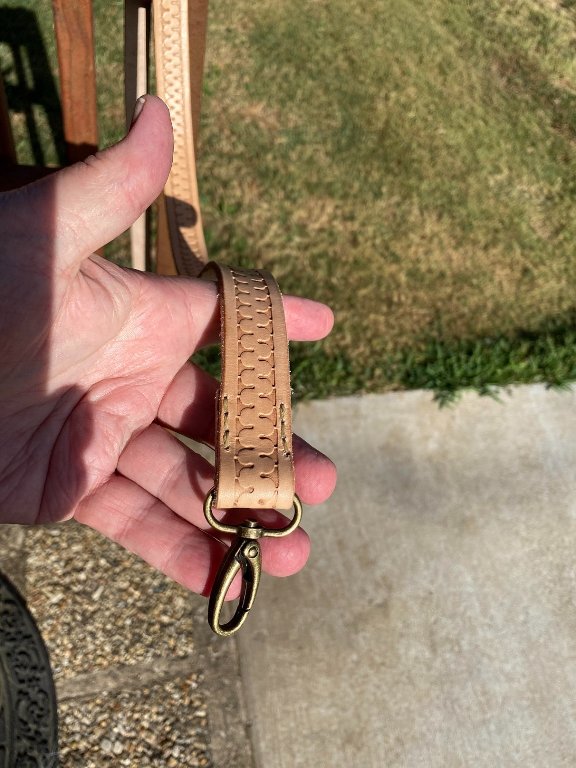
- 11 closer look.jpg (93.08 KiB) Viewed 13504 times
I took the strap back to the shop and applied another coat of Golden Oak to the front, and then a nice coat to the back. After it dries, she'll get waxed with British Bee's Wax. Then it's done.
Re: Custom Strap for the Tooled Pouch
Posted: Mon Jul 18, 2022 2:45 pm
by Headhog
Very very nice workmanship their BOM. I can see that this is a labor of love and it shows in the quality of what you do.
Paul
Re: Custom Strap for the Tooled Pouch
Posted: Mon Jul 18, 2022 3:06 pm
by BrokenolMarine
Thanks, it matches up with her pouch....
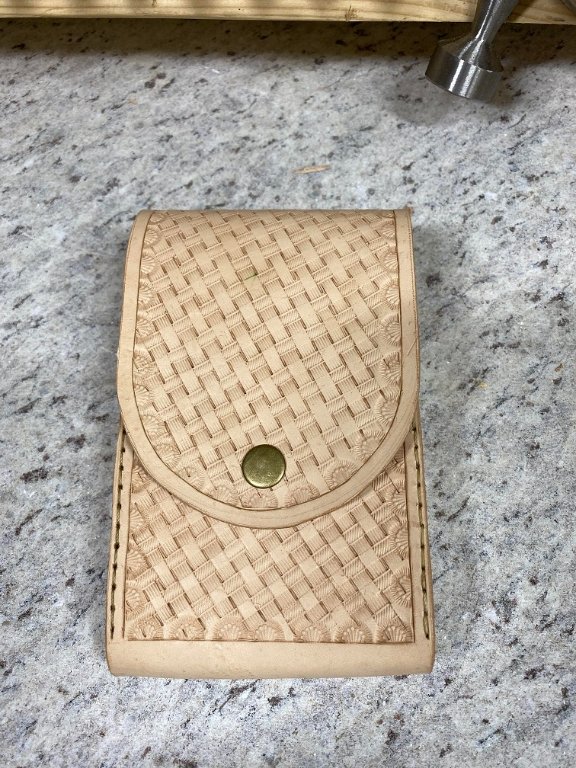
- 14 completed.jpg (149.14 KiB) Viewed 13497 times
The snaps hook into the D Rings sewn into the back of the pouch and she wears the strap diagonally across the body with the pouch on her left hip.
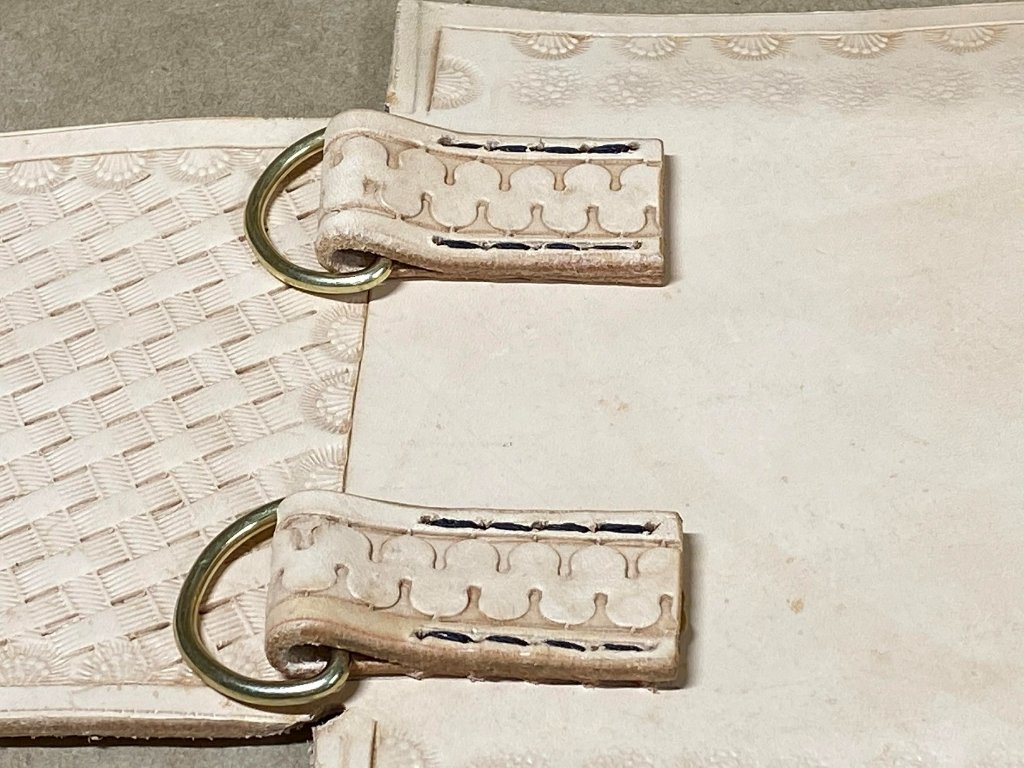
- 11 saddle stitched.jpg (156.24 KiB) Viewed 13497 times