Got back into the shop this morning and back to the place where the BOOM occurred yesterday. Or... was it the day before.


Getting old is NOT for sissies.
I set up the corner again, using the clamps and the two work tables. The oak topped table is GREAT as it's height adjustable. Miss T and I both have one in our shops, and the next time HD puts them on sale we will pick up another pair. She wants to use hers for a cutting table and I want one for an outfeed table for the table saw. They have them with or without drawers, and we'll decide which when we see the sale prices.

Where was I? Oh yeah, ... setting up the test.

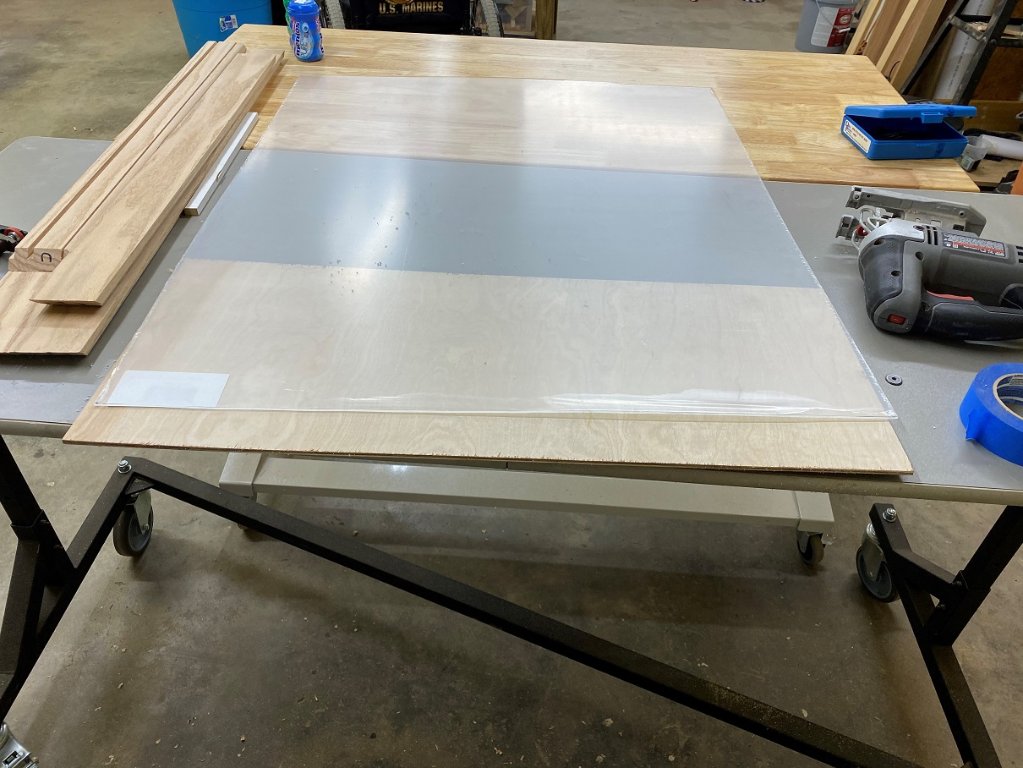
- 01 testing fit.jpg (161.32 KiB) Viewed 3669 times
Once I got the three sides one, the width was fine, but the length was just a bit off. I marked that....

- 02 overlength marked.jpg (111.63 KiB) Viewed 3669 times
and set about prepping the Plexi for a cut. If it had been glass, I would have set up the table saw, and cut the top and bottom frame piece dados a bit deeper to absorb the extra length, but... it's plexi. I can cut that. It just takes CAREFUL cuts.
I marked the glass with a permanent marker, then added an extra layer of protection to the sheet with painters tape. Wouldn't want to scratch the glass below the jigsaw.
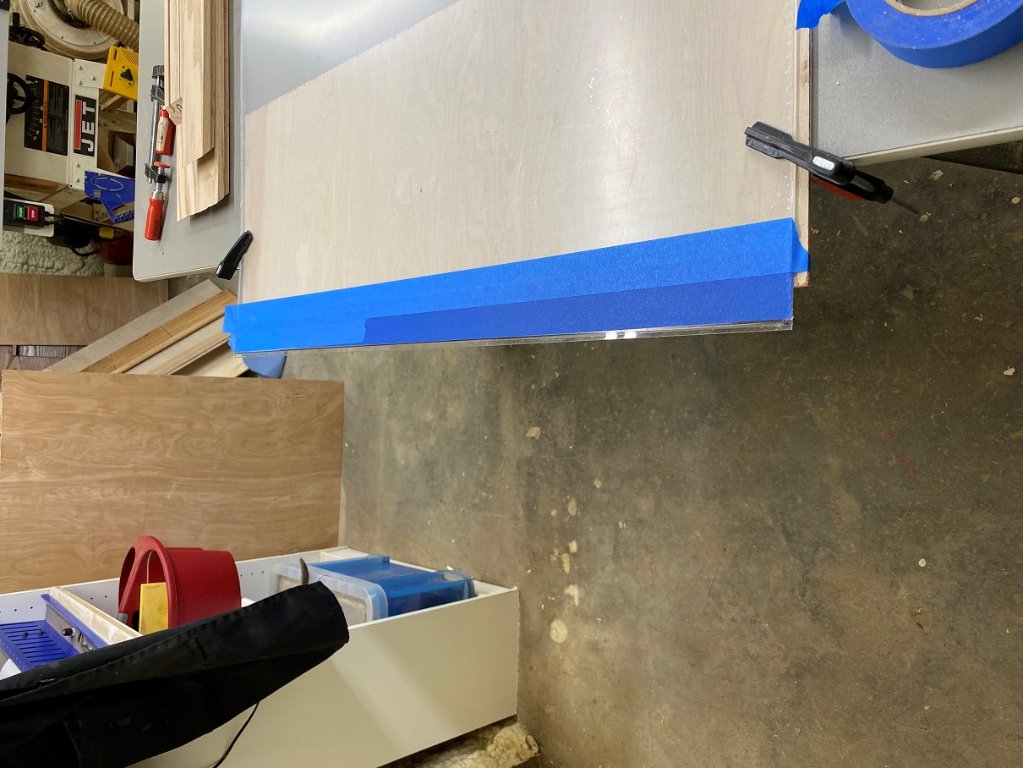
- 03 prepped to cut.jpg (123.17 KiB) Viewed 3669 times
Some folks will make the cut with the bandsaw, but on larger sheets it's too easy to let the sheet bind and CRACK, you are out another $40. I prefer this route. I placed a piece of luane under the edge of the plexi, then clamped it firmly to the table. If it shifts and the moving jigsaw blade binds. CRACK... you are out another $40. Seeing a theme here? I got out the jigsaw and set that up.

- 04 jigsaw.jpg (137.69 KiB) Viewed 3669 times
I chose a medium fine blade with room to clear the debris, and turned the saw down to the lowest speed... plus I was EASY on the trigger as well. Cutting too fast MELTS the plastic rather than just cutting it and the melted plastic recools in nasty rolled edges. Cleaning them up sometimes causes the plexi to CRACK... and .... well, you know.
I puckered up, and made the cut, following the line of the tape, and keeping pressure on the saw, but not too much. I cut steadily, but NOT too fast. Don't want to melt, I let the blade do the work. In the end, I got a nice clean cut.
- 05 cut is done.jpg (124.86 KiB) Viewed 3669 times
Time to work the frame.


