Page 1 of 1
A Sling For Tina
Posted: Fri Jan 13, 2023 1:23 pm
by BrokenolMarine
Well, the holidays are over, projects for everyone else are completed, and it's time to start working on the things I had on MY list.

Did I say, Finally?
One of those things was a couple nice leather slings. One for Miss T's CZ455 22, and one for my Ruger Ranch 556 coyote getter. Both have slings now, but need nicer slings because... because I'm one who likes leather. I saw a thumbhole sling on my leatherworker's forum, and remembered seeing them years ago. The thumbhole gives you much better control of the firearm over your shoulder... so a couple months ago, I ordered the package of templates.
Here we go, follow along if you like.
The first step is to transfer the templates to the opaque tracing paper. I transferred BOTH the standard sling template and the thumbhole sling template, then started on the carving templates for both.
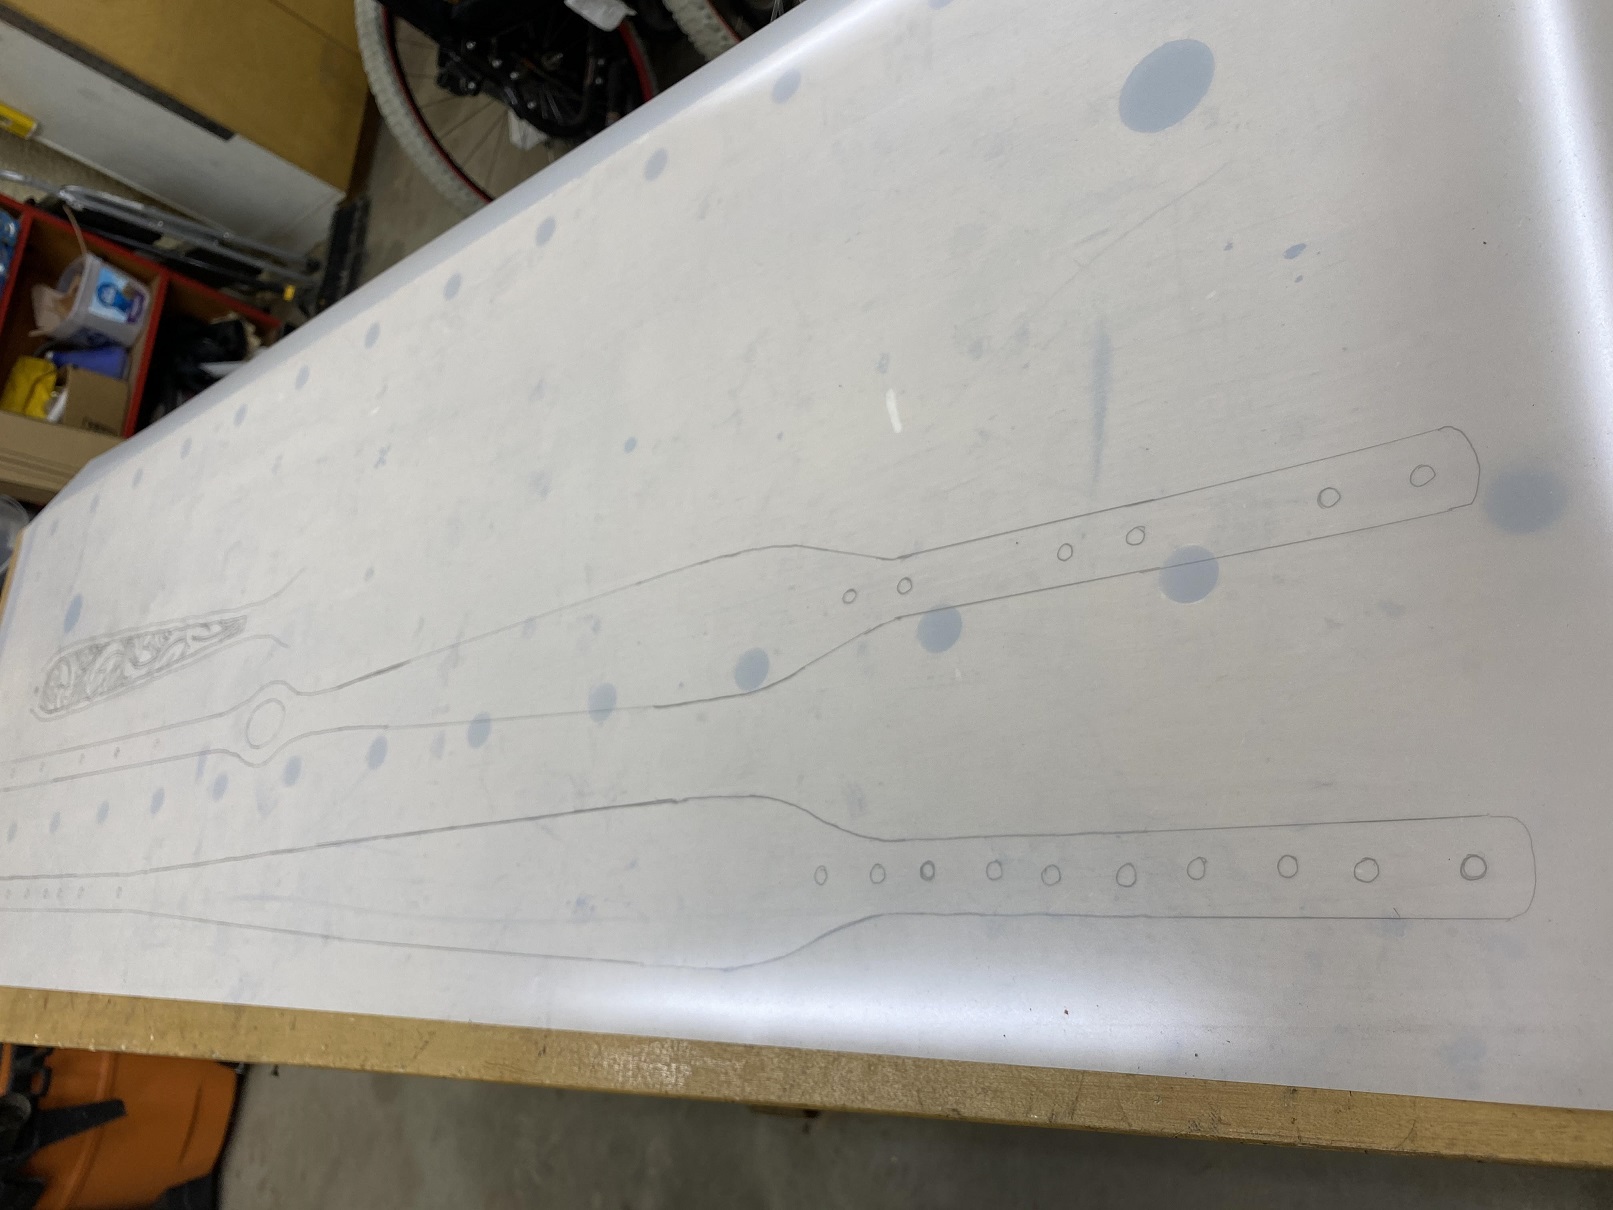
- 01 started templates.jpg (371.55 KiB) Viewed 5424 times
Taking my time, and using a ruler for straight lines where I could, I continued to transfer templates. There were four carving templates for both styles, but I wasn't going to transfer them all. I could always go back. Plus, I had practiced the basketweave I liked and I'm thinking of basketweave for MY sling.
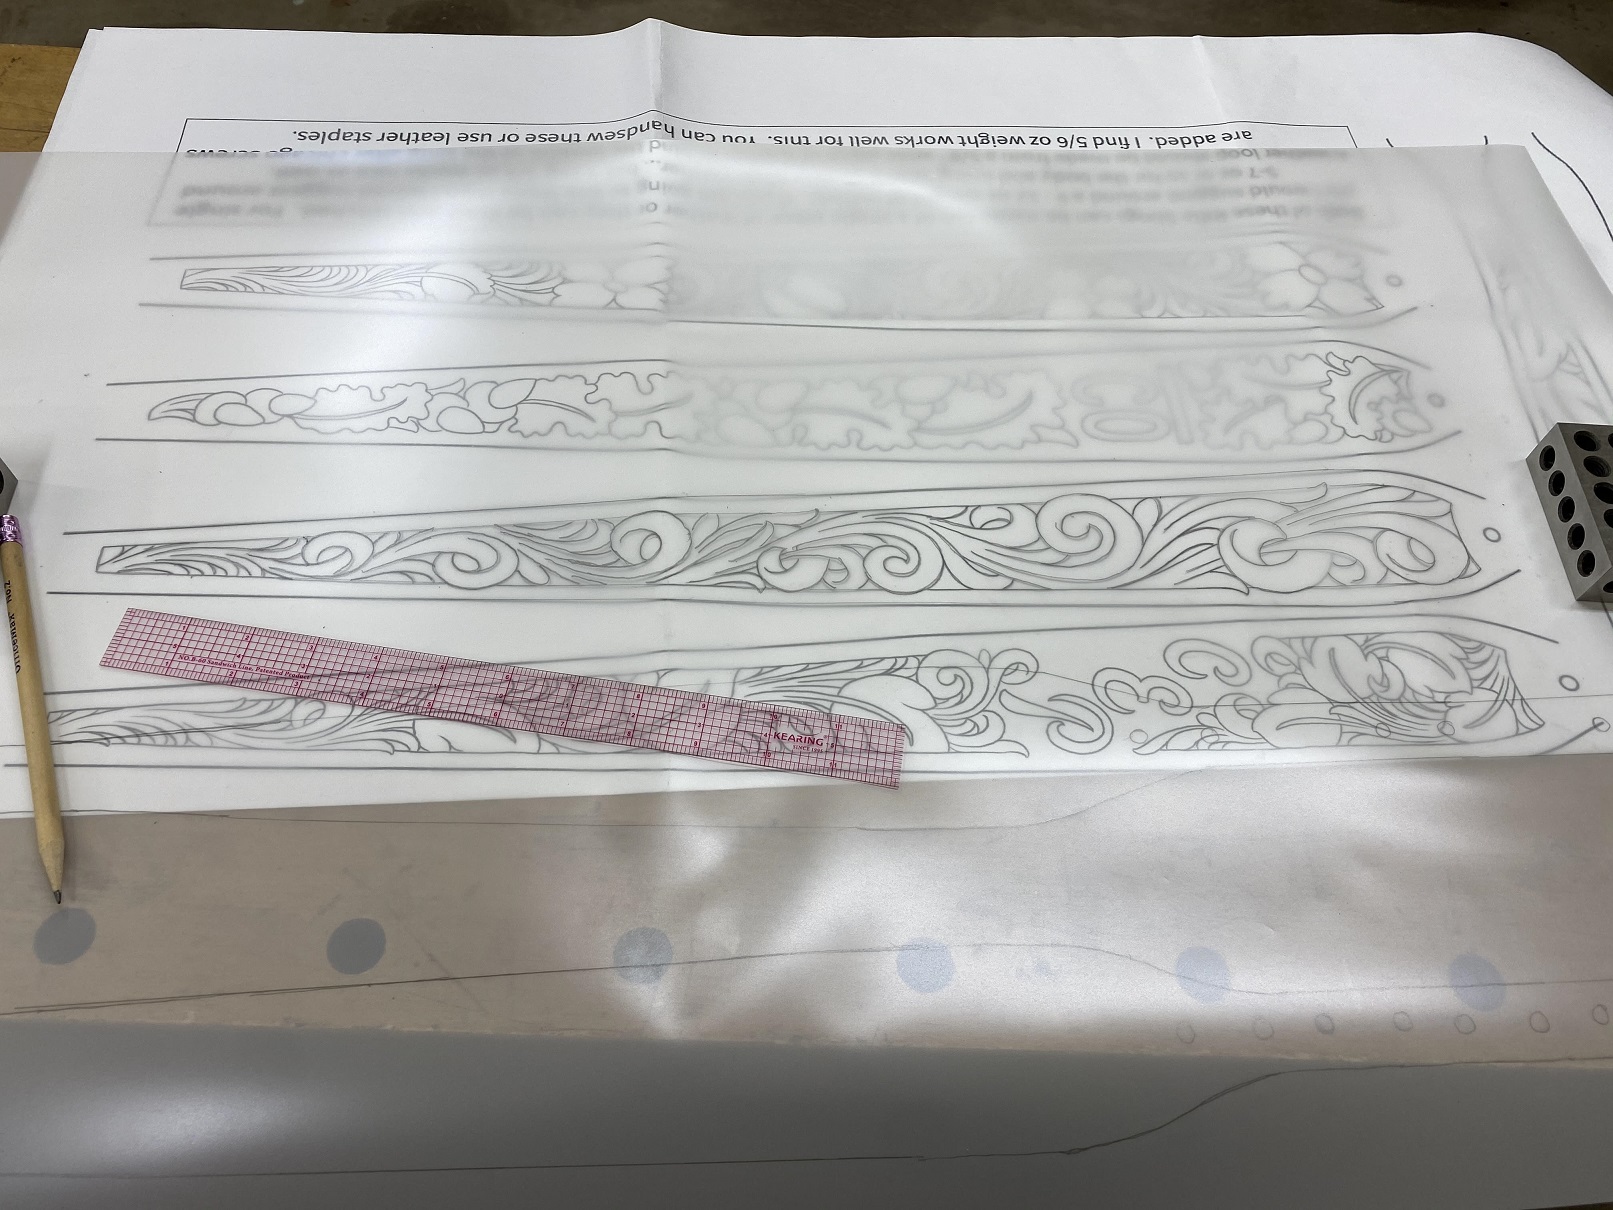
- 02 templates.jpg (510.13 KiB) Viewed 5424 times
The machinist's blocks seen in the picture weigh about a pound each, and keep the template and the transfer paper from moving. They can be used for all sorts of things. I think I might buy a second set.
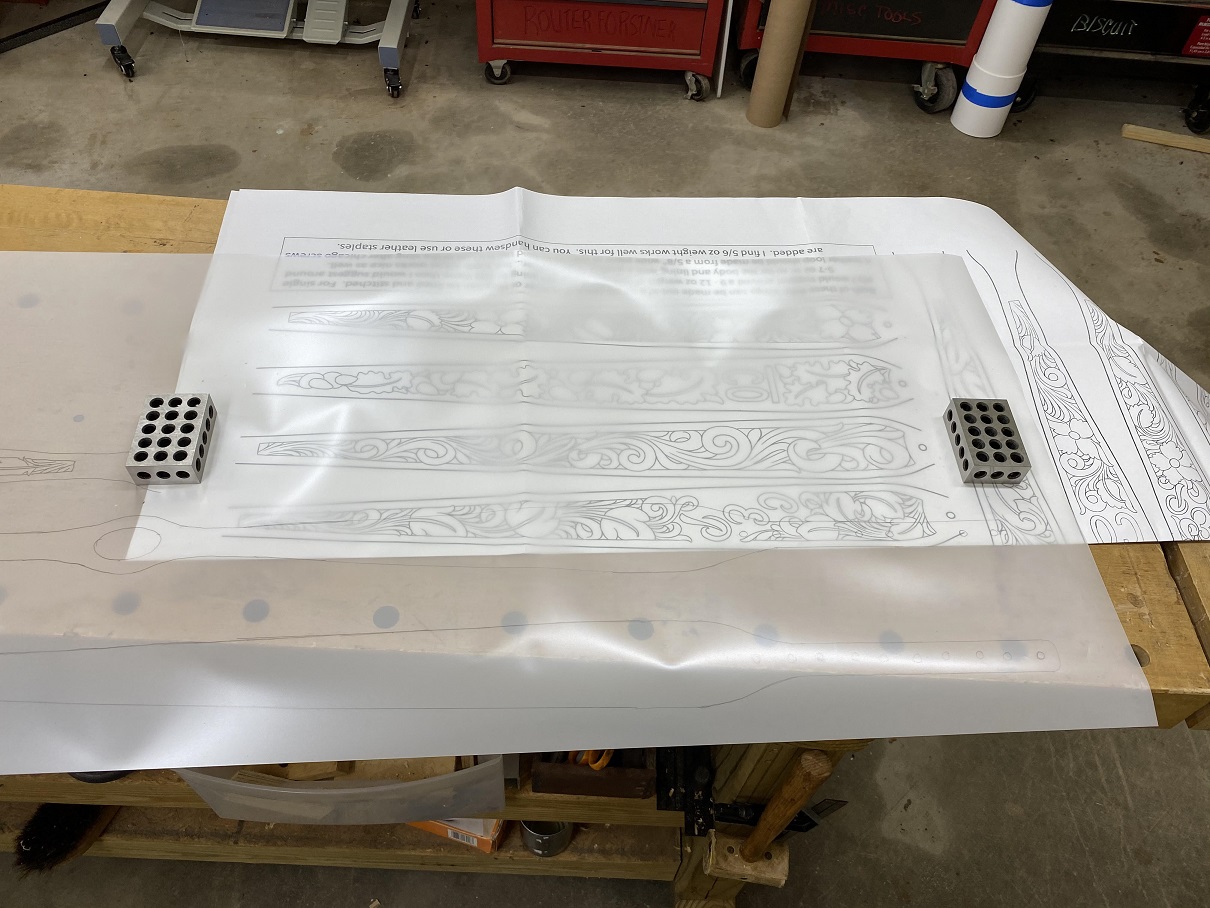
- 03 transfer paper.jpg (293.76 KiB) Viewed 5424 times
Re: A Sling For Tina
Posted: Fri Jan 13, 2023 1:32 pm
by BrokenolMarine
I hinted at practicing for the basket weave for MY sling. I spent a couple hours here and there on a practice panel. I'll either do the basket weave or a quilted background. This is the basket weave practice panel. I like the color and finish as well as the technique I used on the edge to mimic a frame.
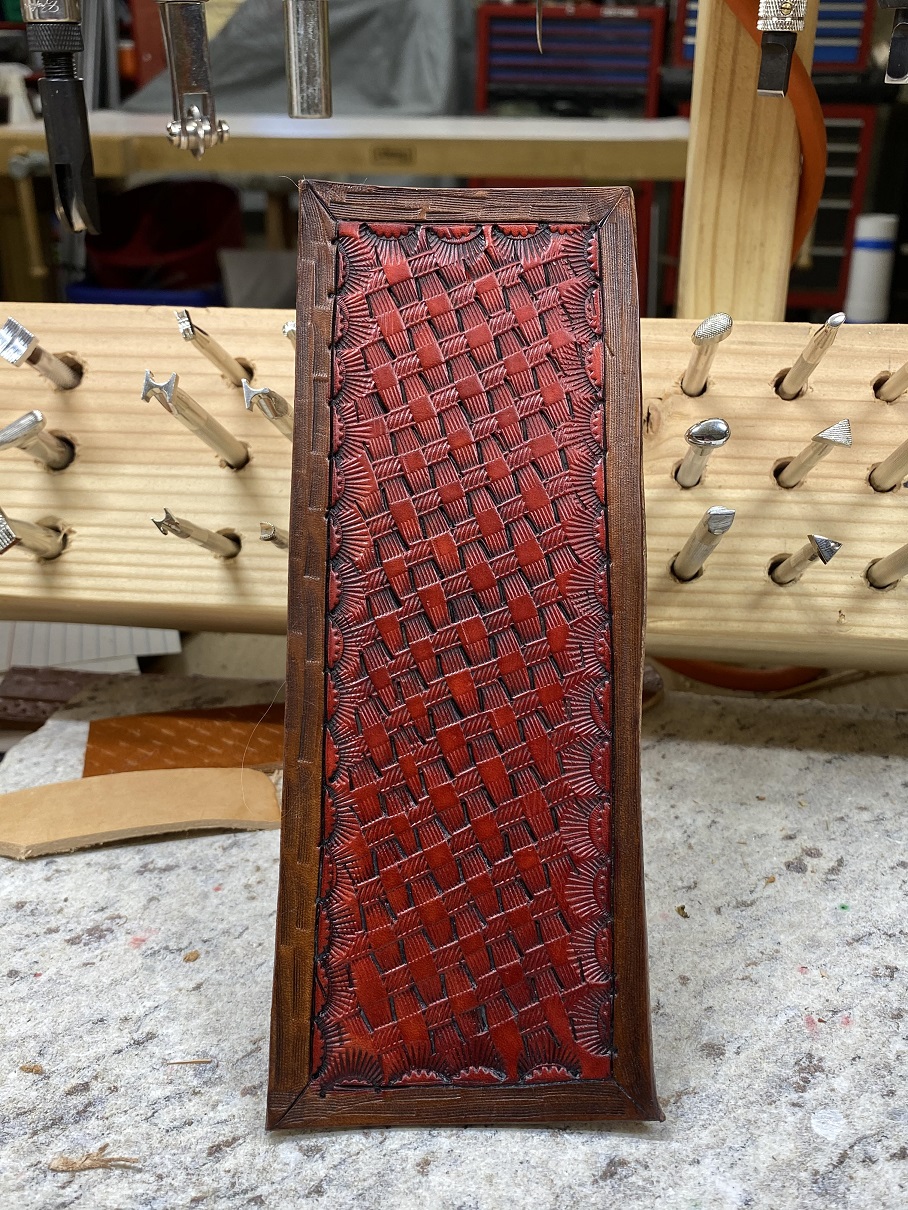
- 07 bw practice.jpg (537.71 KiB) Viewed 5423 times
I set my strap cutter for a cut just a bit wider than the widest point of the thumbhole sling pattern and cut two passes on the good leather. Slow and steady gives you a good result.
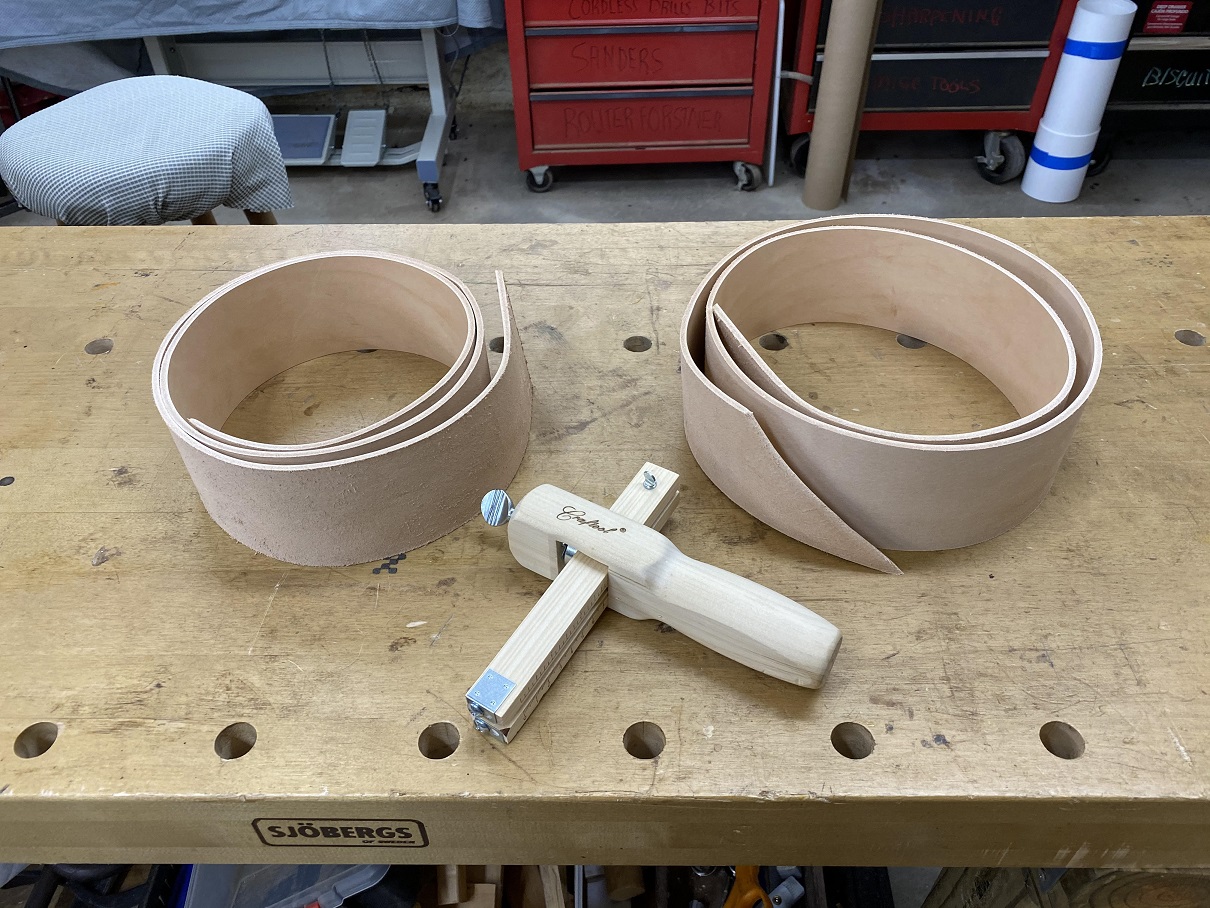
- 04 pulled two rough cuts.jpg (419.2 KiB) Viewed 5423 times
To transfer the design from the tracing paper, you wet the leather then place the paper OVER the leather and go over the design with a sharp pencil, stylus, or any pointed tool. An awl will work as well.
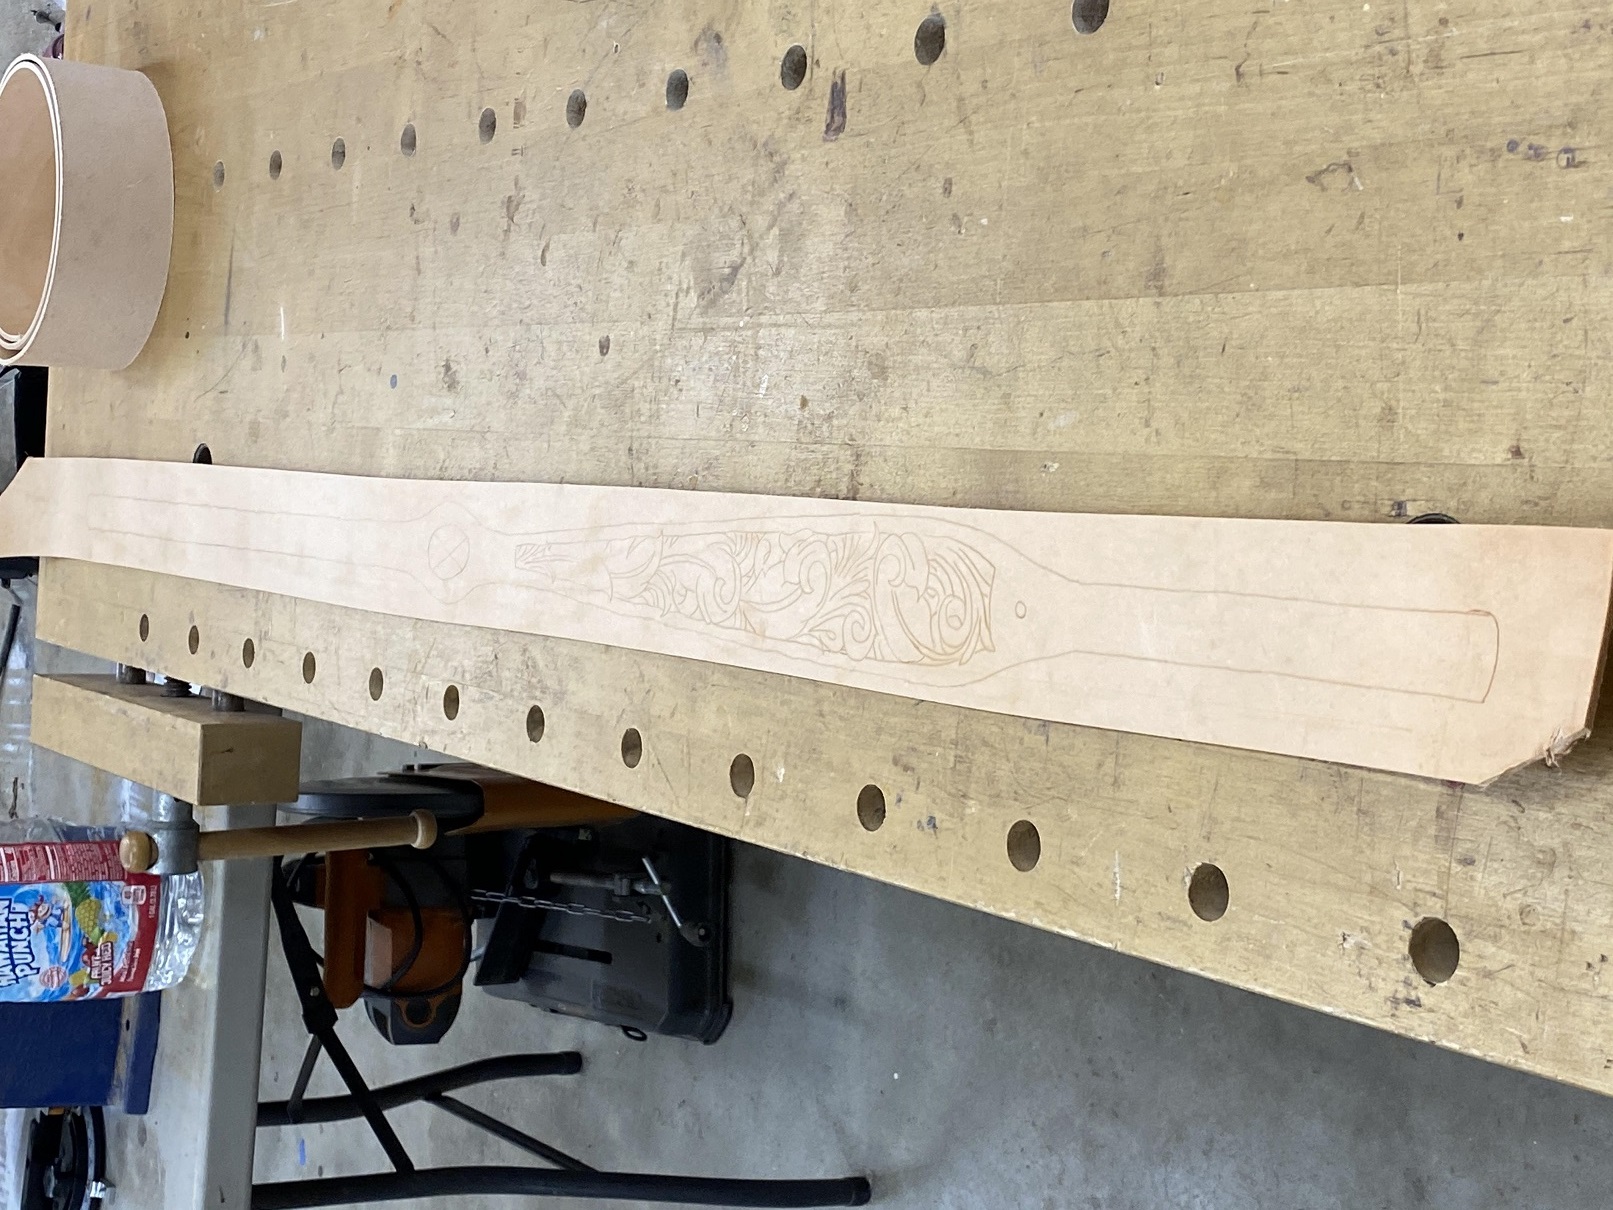
- 05 transfer done.jpg (609.59 KiB) Viewed 5423 times
The next step is to overlay your tooling pattern of choice in the proper location in the transferred sling pattern. This gives you your carving template for the shoulder area on your sling. Miss T will like the feathers pattern.
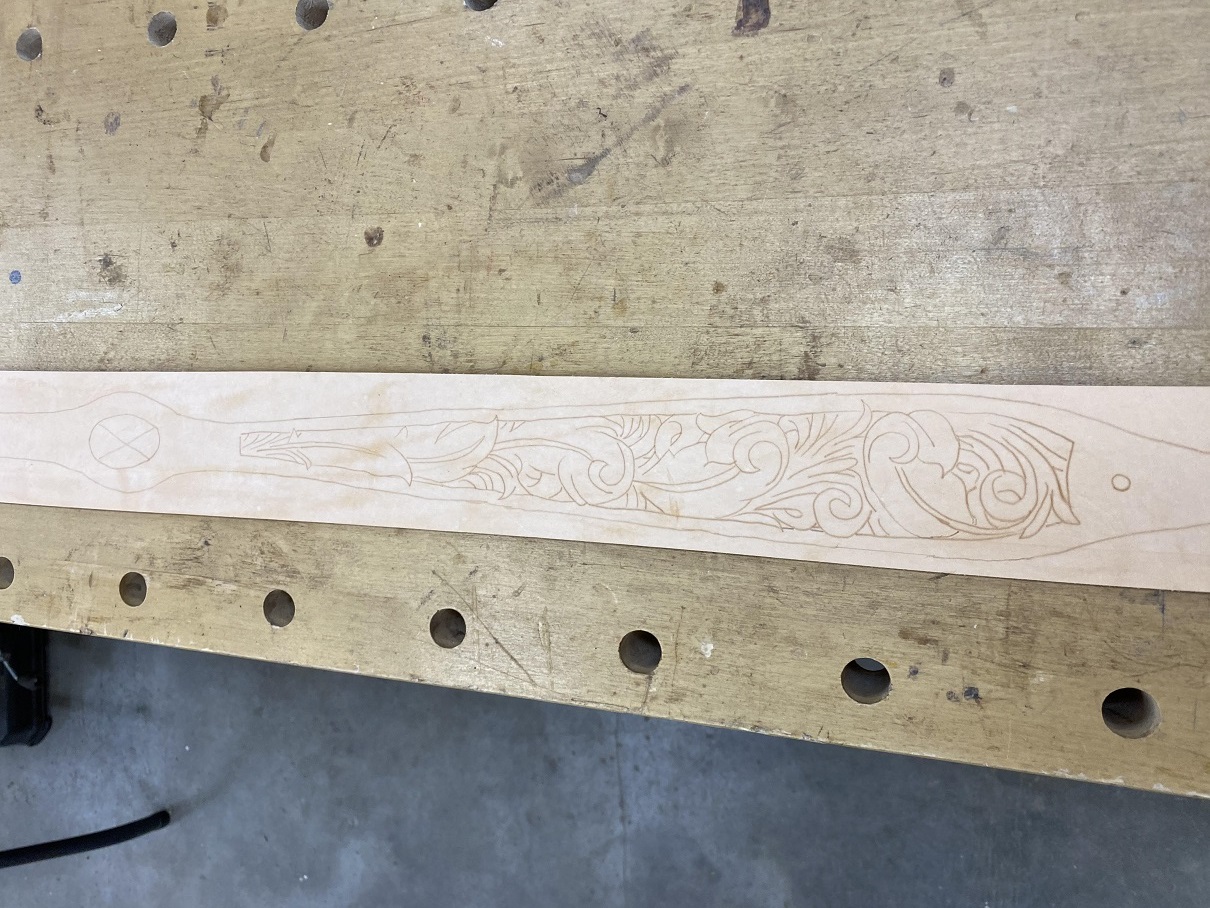
- 06 carving template.jpg (410.44 KiB) Viewed 5423 times
Re: A Sling For Tina
Posted: Fri Jan 13, 2023 1:35 pm
by BrokenolMarine
I sharpened and polished my swivel knife and cut in the lines. Slow and steady, but I still slipped a bit. No matter. I'll make it work.

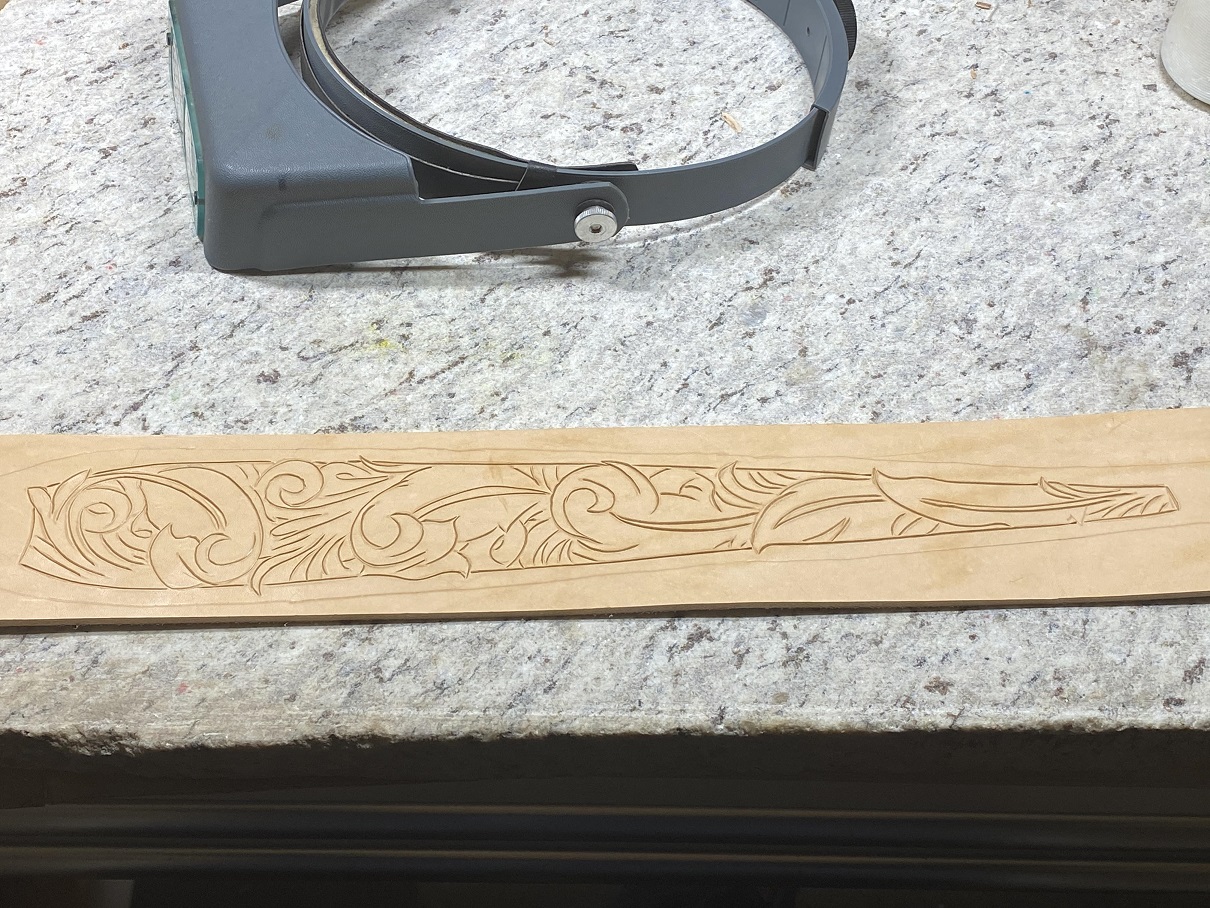
- 08 lines cut in.jpg (494.32 KiB) Viewed 5423 times
Then I went to work with the fine blade and added details to the feathers, and beveled the edges. Still a ways to go, and some backgrounding to do.
I may add more carving on the straps.
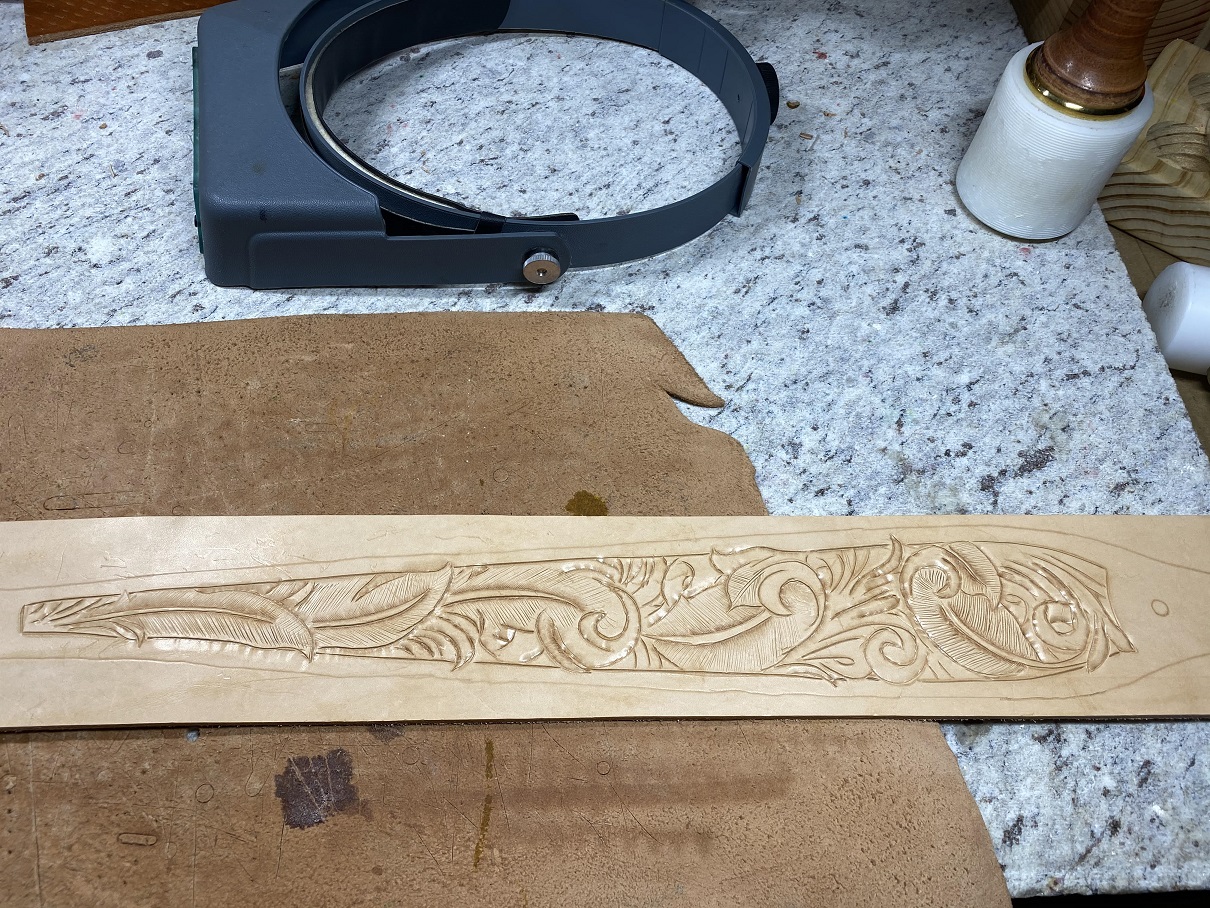
- 09 beveled.jpg (577.81 KiB) Viewed 5423 times
Re: A Sling For Tina
Posted: Fri Jan 13, 2023 1:38 pm
by BrokenolMarine
Much more to come... watch this space.

Re: A Sling For Tina
Posted: Sat Jan 14, 2023 11:26 pm
by BrokenolMarine
Got out in the shop for a couple hours today, in spite of a nagging headache hiding in the recesses. I was able to work on the background, doing some shading and depth work... some additional detail and sharpen some edges. When I finally hit this with some oil or natural stain, it should pop.
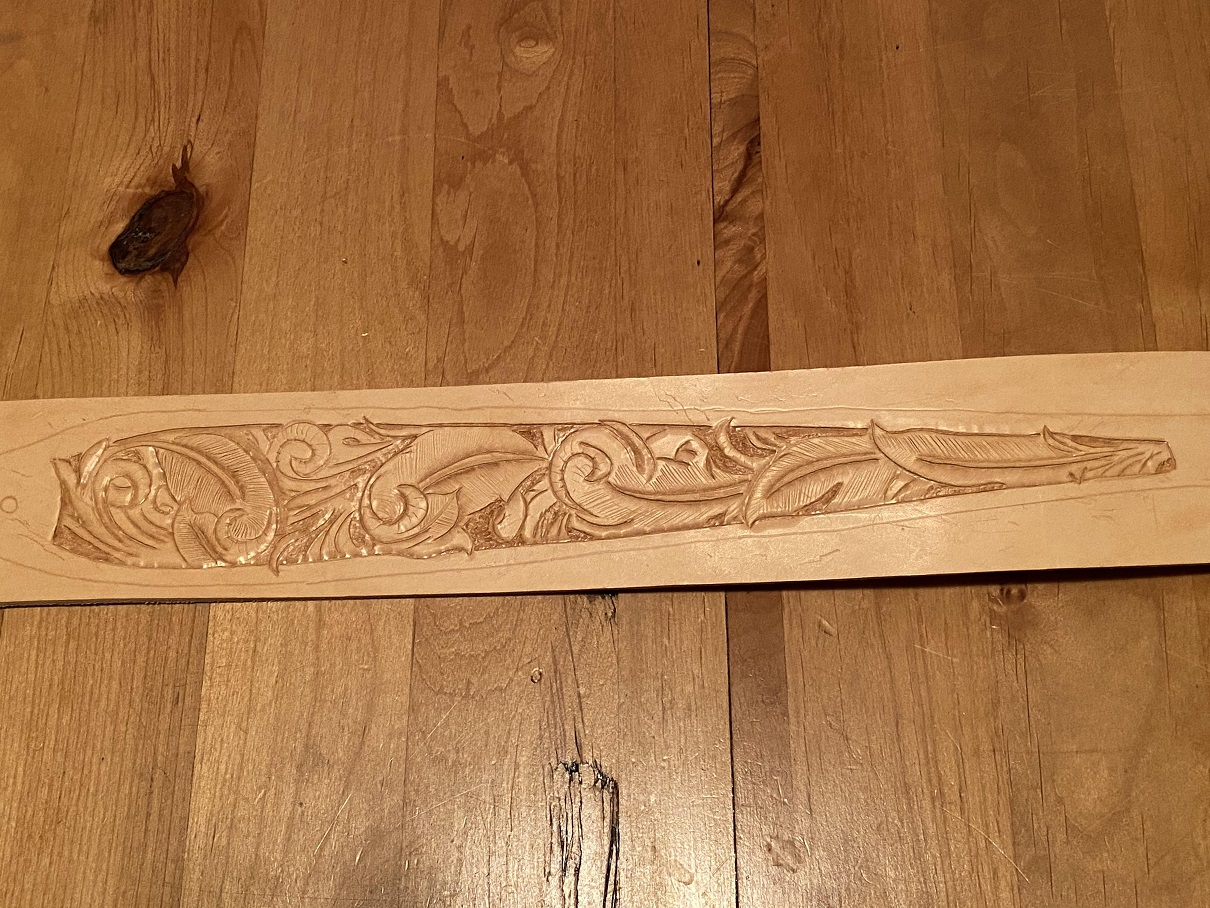
- 10 background and accent work.jpg (488.43 KiB) Viewed 5386 times
I am reminded why one doesn't do detail work under the lights wearing an optivisor magnifier when you have a nagging headache.

It turns that nagging headache into a raging migraine.

Well, duh.
Re: A Sling For Tina
Posted: Sun Jan 15, 2023 10:38 am
by Hatchdog
It’s amazing how you make a 2D pattern and convert it to 3D.
“Pops” is too mild of a word to describe this transformation but I can’t think of a better word.
Re: A Sling For Tina
Posted: Sun Jan 15, 2023 10:40 am
by Luv the lever
wow!
Re: A Sling For Tina
Posted: Sun Jan 15, 2023 12:20 pm
by MuddyWaters62
I sure do like that feather design. I am becoming more a bird watcher than anything else. Very good workmanship.
Muddy Waters69
Re: A Sling For Tina
Posted: Sun Jan 15, 2023 3:07 pm
by brm4450

- BE5011D6-29FB-414C-B6AD-19B2EEEF2DCE.gif (287.1 KiB) Viewed 5360 times
Re: A Sling For Tina
Posted: Mon Jan 16, 2023 5:17 pm
by BrokenolMarine
My last two work sessions were high pucker factors. Session one was the worst. It was time to cut out the sling. A slip of the knife could ruin all the previous work and I'd have to start over.

I sharpened the knife, as a sharp knife is MUCH easier to cut with, then settled in for a slow and steady cut. Holding my breath, I began cutting. It took a while as I kept the knuckles in contact with the bench for control and went ever ... so ... slow.
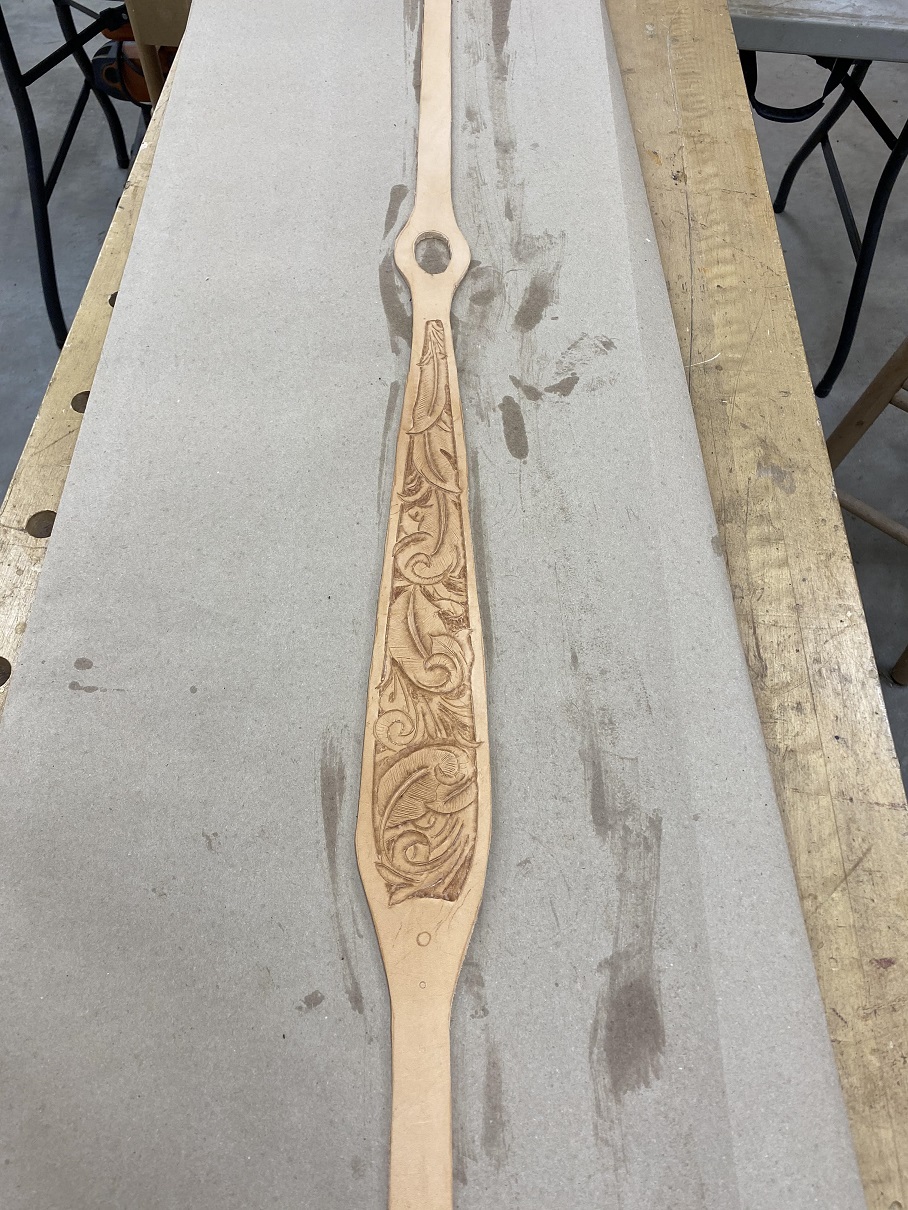
- 11 first coat of natural oil.jpg (459.51 KiB) Viewed 5324 times
After I cut out the sling...
... and didn't ruin it.... I applied the first coat of Watco Natural Oil. I let it dry overnight. It returned almost to the light finish we started with, as you can see above. I knew I really wanted the carving to pop. Second pucker factor. I poured a bit of light brown dye in a cup, and with a fine point detail brush, dyed the background.
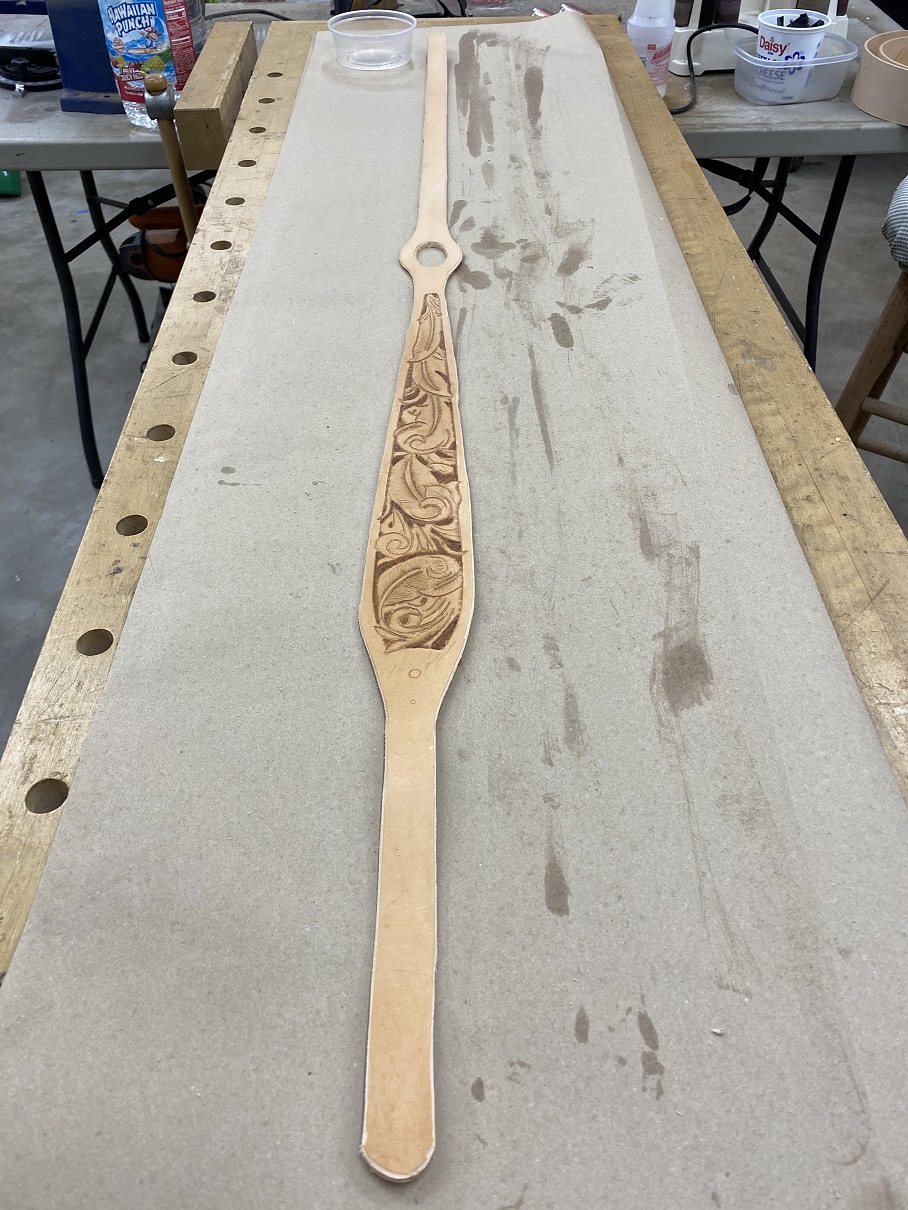
- 12 dyed the background.jpg (433.53 KiB) Viewed 5324 times
Here is a closer look. I will put on the resistant coat of finish once that dye is completely dry, then apply the mink oil to insure flexibility over time. Then we'll antique the sling. That should bring out all the detail the carving introduced to the tooling. Then it's a matter of a couple coats of finish, and several coats of wax.
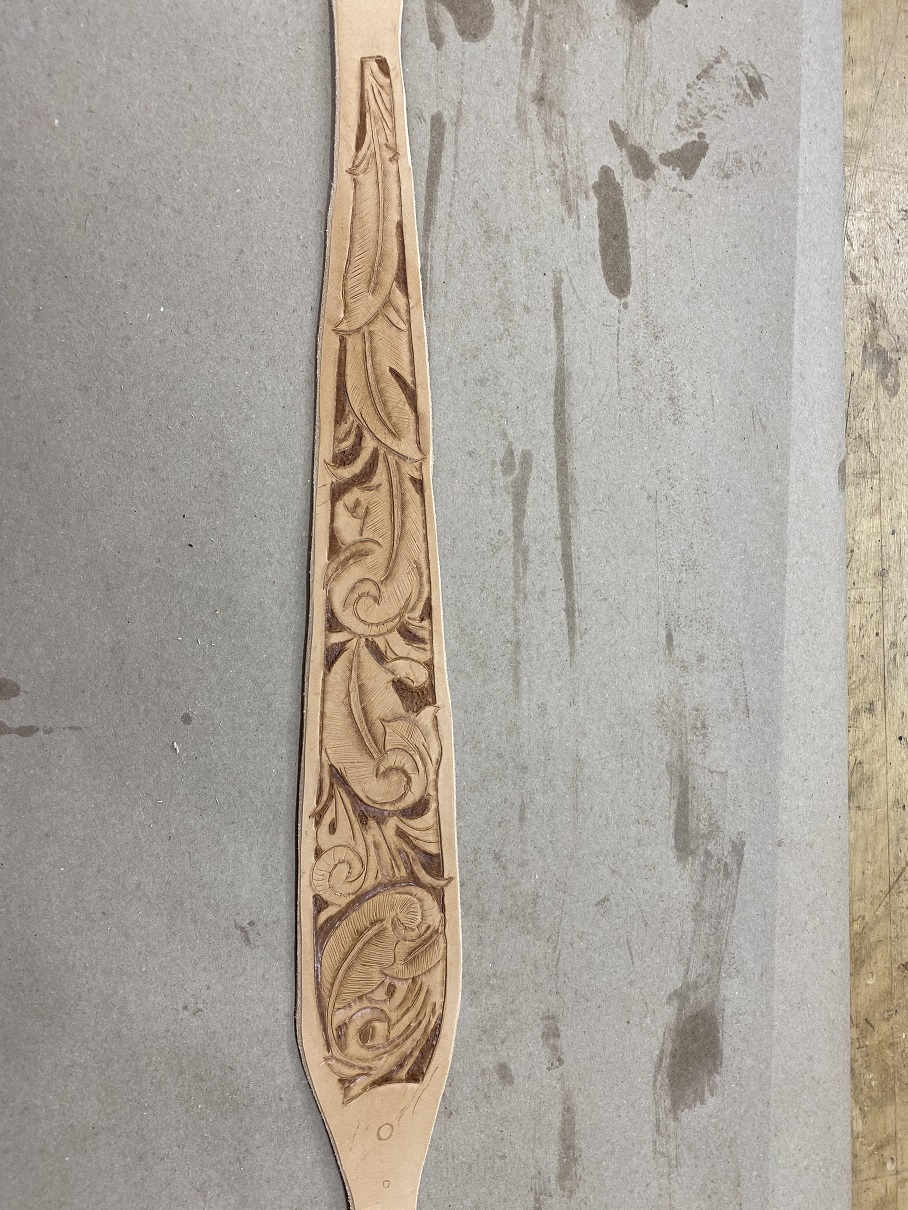
- 13 closer look.jpg (512.85 KiB) Viewed 5324 times
Well, that, and drilling the holes for the chicago screws to attach the swivels and making the loops to hold the sling flat at the folds. But, nearly done.
Re: A Sling For Tina
Posted: Tue Jan 17, 2023 11:53 am
by brm4450
Love reading this thread
Re: A Sling For Tina
Posted: Tue Jan 17, 2023 3:00 pm
by BrokenolMarine
I antiqued the tooling area after first adding a coat of resistance finish. While the resistance was drying, I decided to go ahead and make the loops for the ends of the sling where the swivels would attach. I would have to cut thin strips of thinner leather and use baseball stitches to sew the loops. Then using the flat glass burnisher, shape the wet leather around a couple scraps cut from the sling to shape them to the right thickness. You'll also note that I had to use the curved needles due to the tight spacing.

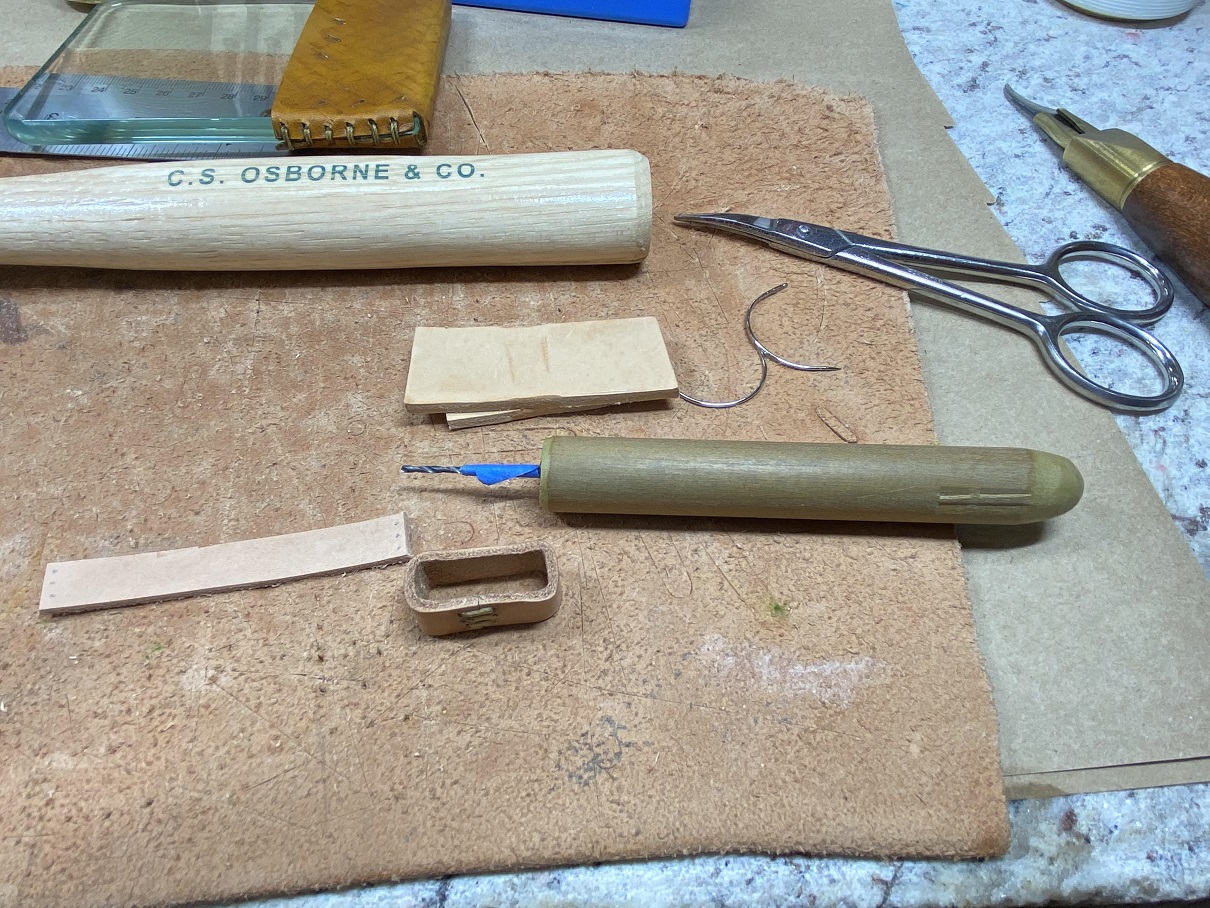
- 15 making the loops.jpg (520.61 KiB) Viewed 4796 times
In the picture you can see the "hand drill" I made to use for small sewing projects like this, as well as the glass burnisher in the background. You can also see the two scraps of leather used to form the loop and the raw leather marked for drilling and sewing I hadn't formed yet. Small things still take time. I actually don't mind little stuff like this. Here is a look at the first loop completed.
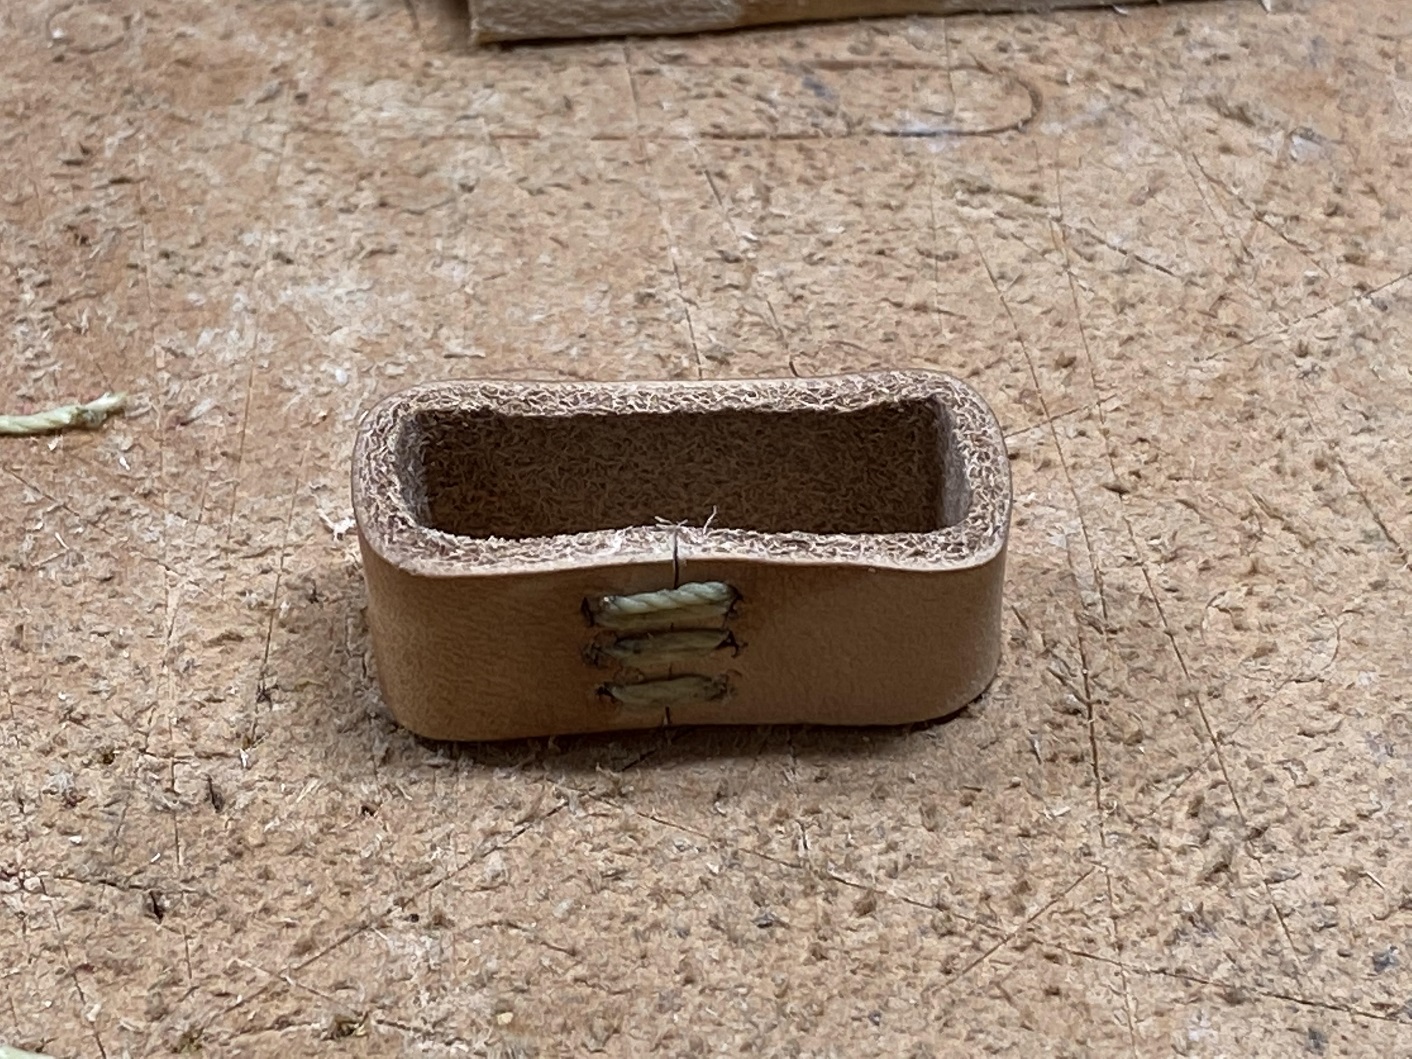
- 16 first loop.jpg (601.66 KiB) Viewed 4796 times
and the completed pair.
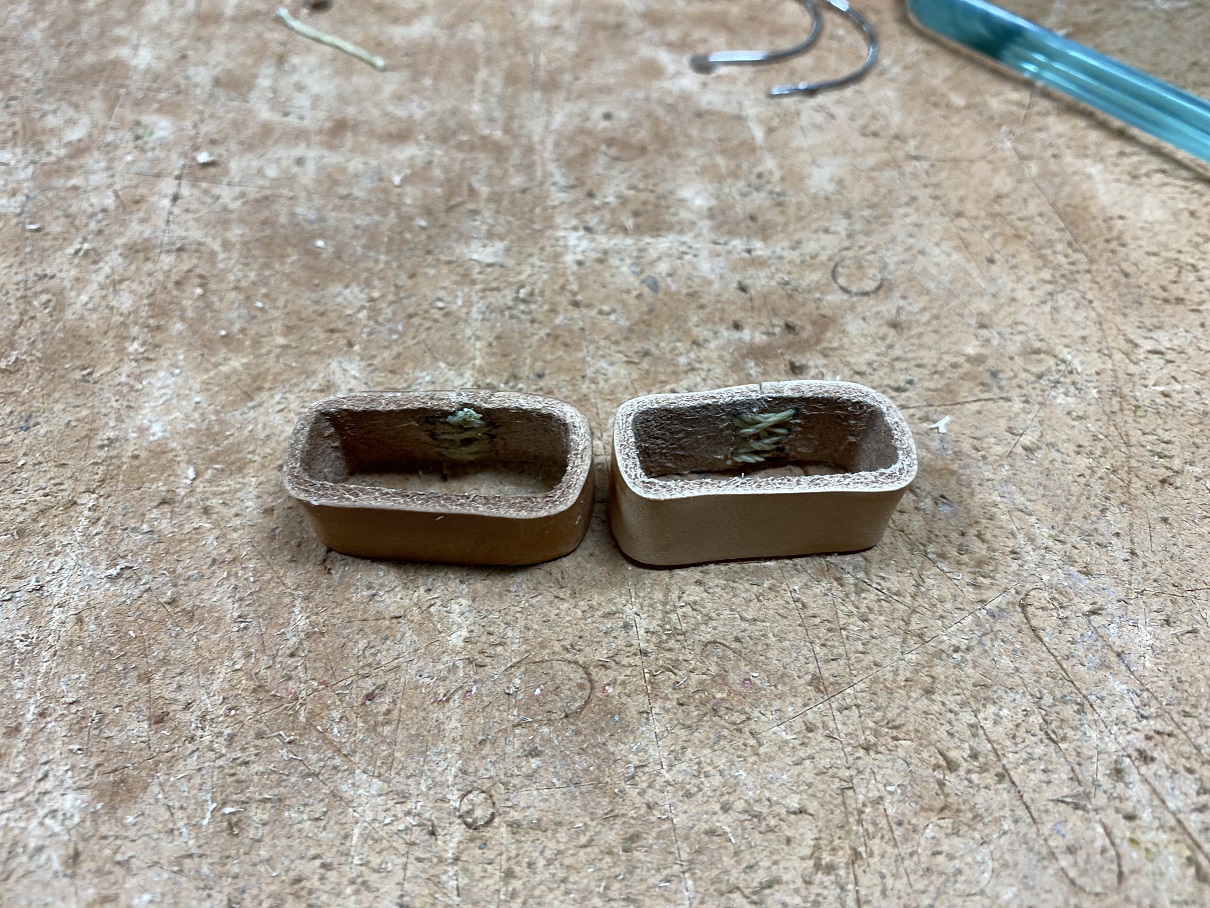
- 17 pairs.jpg (522.87 KiB) Viewed 4796 times
Re: A Sling For Tina
Posted: Thu Jan 19, 2023 10:48 pm
by BrokenolMarine
UPS delivered a DAD package today, and I had a lot of cool stuff in there. Some 1,2,3 machinists blocks for the shop. A Breaker testing kit. New Moccasins. (Comfy) and ... Sling Swivels. Out to the shop I went. First step was to check the marking of the holes for the chicago screws, then center punch them. On the drill press, I drilled each hole then using a scalpel, cleaned each one. Just above the carving/tooling area, I drilled and countersunk for the Jeweled insert. Everything went right together... Looks good.
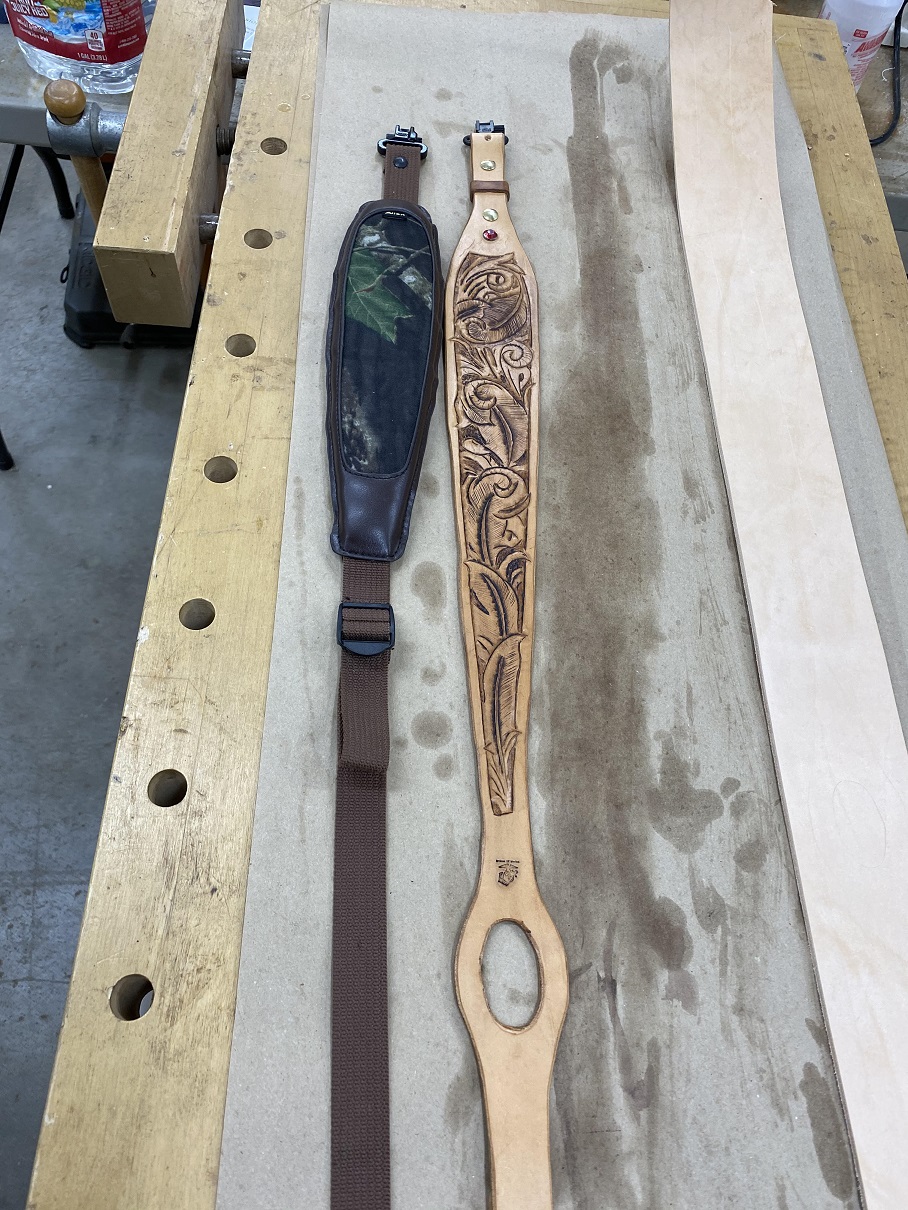
- 20 swivels and a jewel.jpg (452.13 KiB) Viewed 4781 times
I took the sling inside and installed it on the CZ455 .22 my wife likes to use for small varmints around the farm. Looks good, fits her well as it's set up now, but can be lengthened for really heavy coat weather.
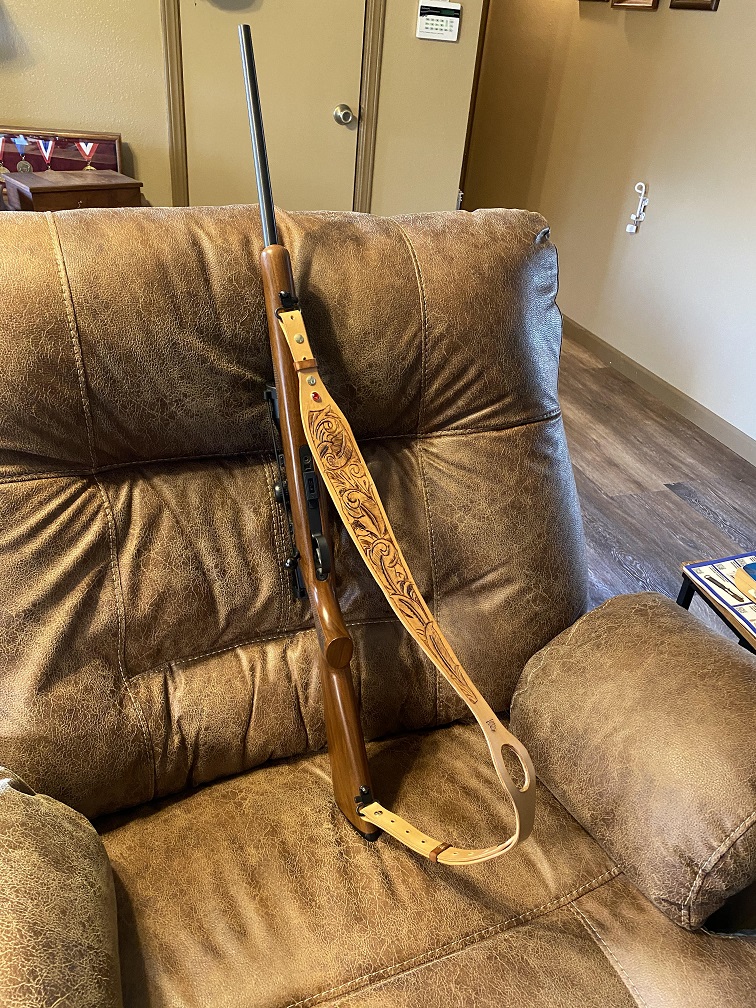
- 21 Shes done.jpg (436.4 KiB) Viewed 4781 times
I'm calling this one done. Next up is the sling for MY Ruger Ranch 556 bolt action.
Re: A Sling For Tina
Posted: Sun Jan 22, 2023 10:01 am
by MuddyWaters62
Well Done BOM!! I know Miss Tina will be proud.
Can't wait to see how yours will turn out.
Muddy Waters69