Back out this morning to work on the knife case. Started out by marking the spacing for the stitches. Used the two forks. I have a two prong and a four prong. I am trying a technique that will work if you are very careful every step. Space them exactly the same down both sides in the stitching groove. I made twenty marks down both sides.

- 02 forks.jpg (200.58 KiB) Viewed 1816 times
I then used a 1/16 bit, the smallest I have, to drill the holes. Some will use the forks to punch the holes, but I prefer not to damage the forks. I may punch them thru to get the nice diamond shape just before I sew, even if it's lightly thru the opening on the outside.

Cheating just a bit?

- 03 holes.jpg (182.57 KiB) Viewed 1816 times
There, carefully done, twenty per side.

- 04 twenty per.jpg (149.31 KiB) Viewed 1816 times
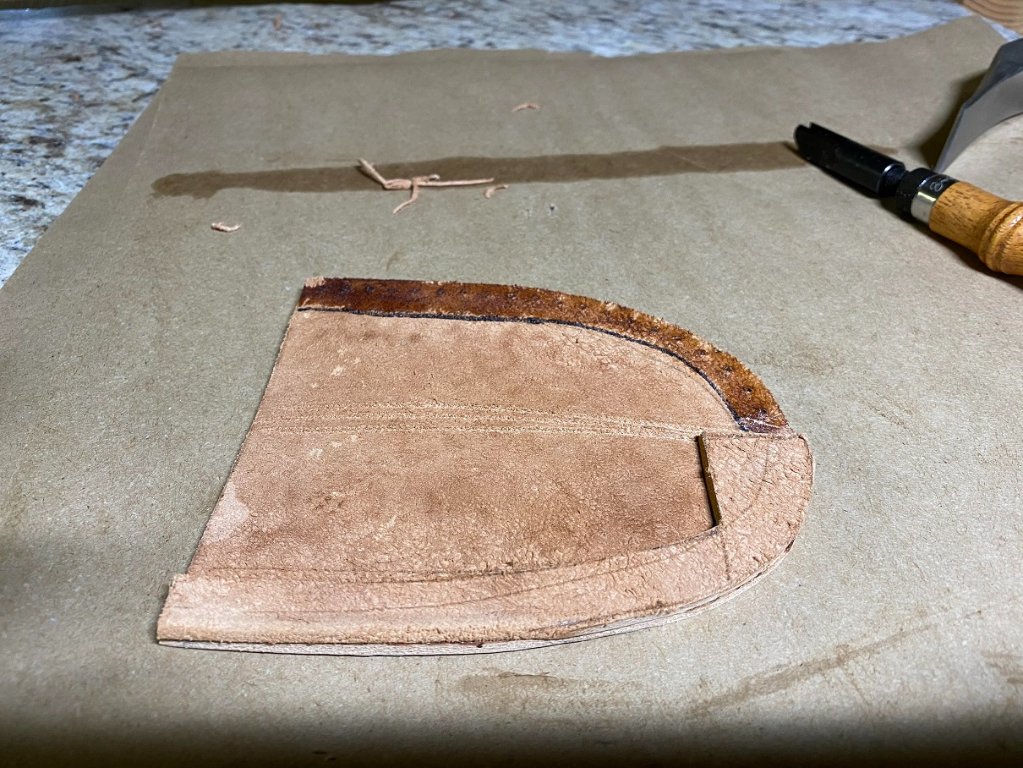
Using the welt itself, I drew the boundries for contact cement, on the off side, I just left off the extra area.

- 05 contact boundries.jpg (118.36 KiB) Viewed 1816 times
Once the cement was tacky, I applied the welt, and then hammered it with the leather working hammer to insure a good adhesion.
- 06 welt.jpg (192.33 KiB) Viewed 1816 times
Once that was done, I clamped it to set up and put it aside.
*** Note half the clamps HAVE leather sleeves, the others have a leather buffer under them to avoid marks on the leather.
I need to make a few more "leather booties" for the clamps, I use them enough.
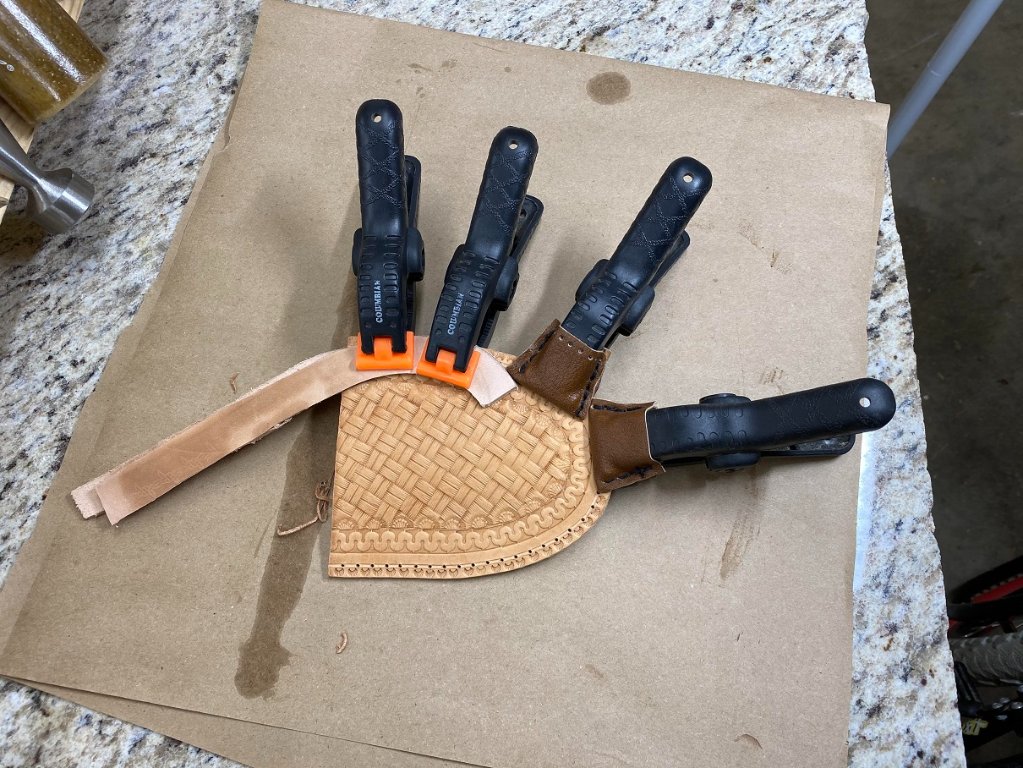
- 07 clamps.jpg (198.77 KiB) Viewed 1816 times
In an hour or so I'll go back out and redrill the holes on the welt side, using the existing holes as a guide.
Then I'll burnish the top edge. That is done BEFORE folding, gluing, and sewing the case as you don't have full access afterward.
I will also stain the inside of the case, and then stain the outside. I think, for a change, I'll use the yellow dye.
Not too much left to do and this will go in the Done file.
There is a trick to insure alignment when you fold this puppy over...
Watch this space for more action.
Watch the
HENRY Logo thread for Framing action....