Page 1 of 1
Leather... practice.
Posted: Thu Oct 26, 2017 11:59 pm
by BrokenolMarine
After the visit to Tandy... I had to get in some practice with the new tools.

Couldn't let them just sit there. That wouldn't be right.
I laid out a design for the replacement sheath for the daughter when she wears out her's... and worked on it. She wanted me to send her the practice piece so she could save it. It was about 2x3"... I laid out a larger one, 5x7, and stained and treated it when it was done and I'll mail it in the morning. Silly girl.
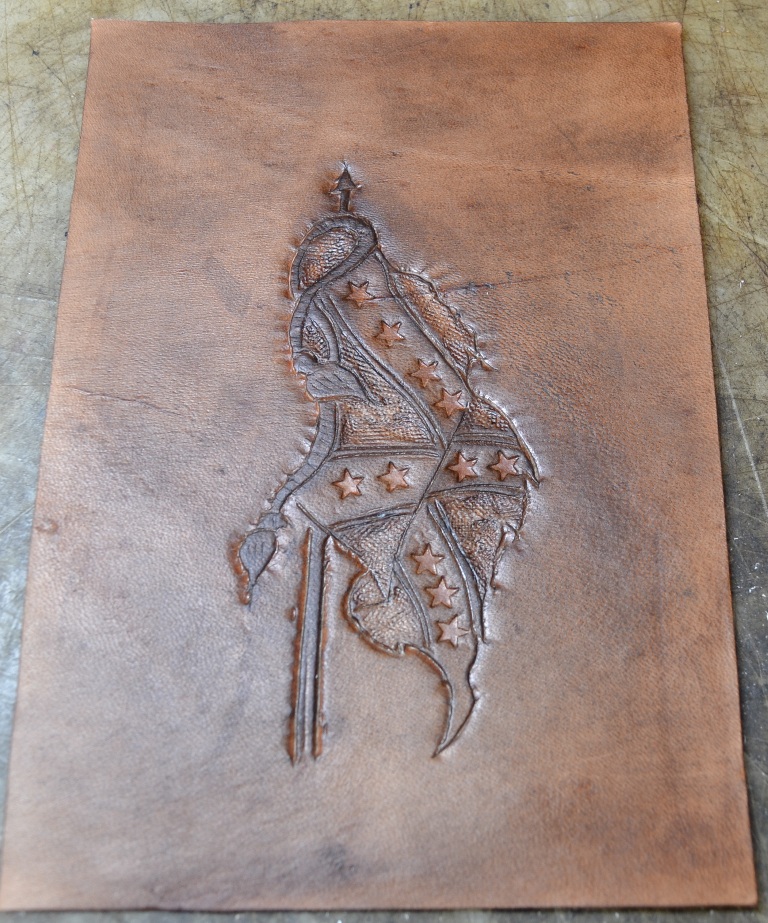
- practice piece 001.JPG (337.29 KiB) Viewed 1566 times
After a break, dinner, and a few chores, plus hydro-therapy on the deck... pain sucks....
I was back at it.. .this time a much more complicated pattern. Messed it up before I got started the first time, and tossed it. Luckily all this is being done on the scraps I got at Tandy. This time I went a LOT slower and got a good start.
I have a lot more work to do... but I am not too displeased. More work with the stamps will make this 3-D; hopefully.

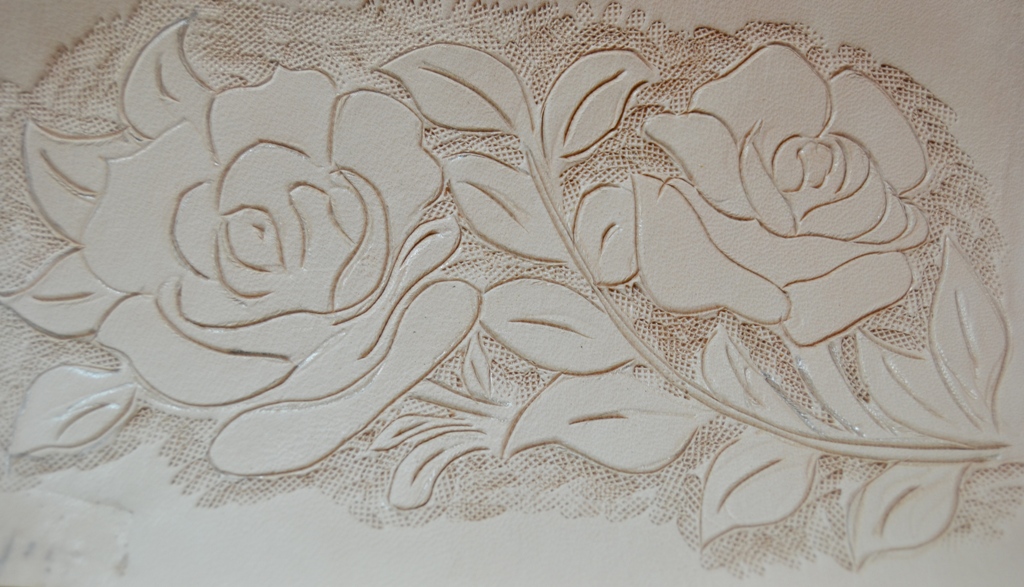
- Started a new practice piece.jpg (314.05 KiB) Viewed 1566 times
Watch this space. I have to go to the VA tomorrow, so the update may be late, or even sometime Saturday... but... I'll keep you posted. Or, I'll toss it and start over. Even if I end up tossing this one before it's finished as well, it's still of value. Every practice piece is a learning curve.

Some are smooth and gradual and you climb them. Some are short, with a steep drop off.

Sigh.

Re: Leather... practice.
Posted: Fri Oct 27, 2017 8:09 am
by Henry88
Wow, that is REALLY good........
Re: Leather... practice.
Posted: Fri Oct 27, 2017 8:27 am
by BrokenolMarine
Thanks, but when I see what someone who is "really good" can do...
I KNOW I am still just learning.

Some of the work you see from these guys on line is fluid, seems to have movement, it seems to pop off the leather.
The projects have shadows, and depth. All this gives them life.

That is something to work toward.
I know it takes time, and some never get there, but I'm enjoying the new journey.
In any case... it passes the time, And any way - my granddaughter liked it.
Now she wants leather art from "Grumpy" for Christmas.

Re: Leather... practice.
Posted: Fri Oct 27, 2017 8:50 am
by JEBar
you are an artists with talent in working with not only wood but now leather as well
Finished the Rose Panel
Posted: Fri Oct 27, 2017 6:35 pm
by BrokenolMarine
Don't know if it's Better
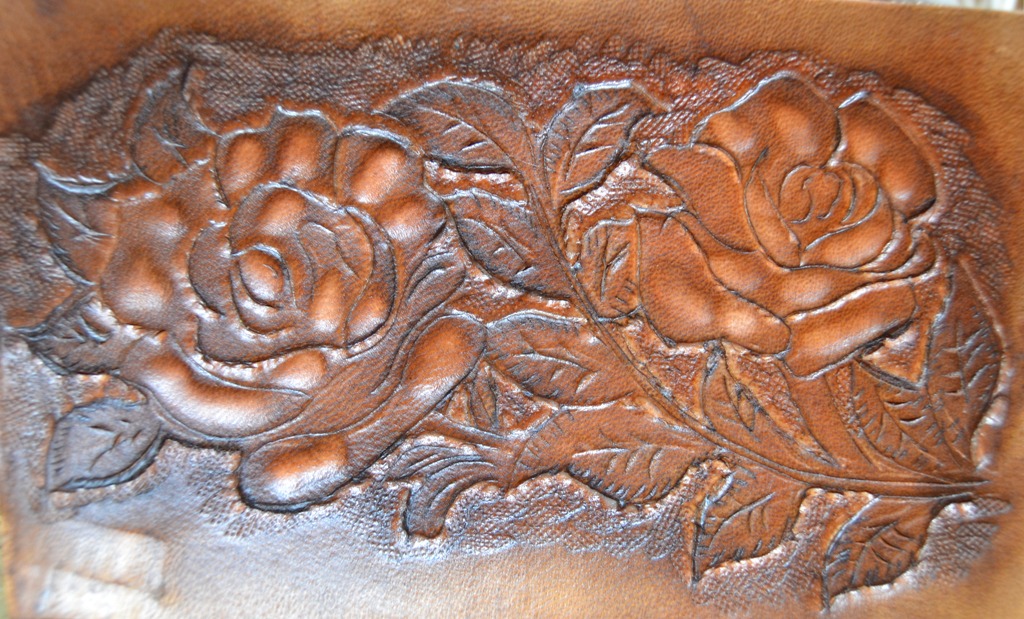
- better or worse.jpg (311.73 KiB) Viewed 1541 times
or worse.
Meh... it passed the time anyway... and I got to use a handful of the tools, follow the picture in the pattern book, and ... dye the tips of one hand brown. I only put the glove on one hand, thinking it's all I needed.
Wrong.
Some of the leaves look good, some need a lot of work. But it's practice. This would probably look fine from a distance.
Say, across the room. But seriously, I'm having a good time, learning as I go and the practice is important. When I started, the swivel knife used to cut the main patterns... went where it wanted.

I am getting MUCH better with that.
Fun anyhow.
Re: Leather... practice.
Posted: Fri Oct 27, 2017 6:48 pm
by clovishound
Looks good to me. Much better than some of my early wood turnings.
Re: Leather... practice.
Posted: Fri Oct 27, 2017 7:22 pm
by BrokenolMarine
Turnings? I thought about a lathe for the new shop.... then saw the pics of lathes with all the tools behind them...
Ah.. nope. I still have a few regular woodworking tools I want... a couple guns on the buckets list... and food to buy now and then.
Try it, sometimes it works...
Posted: Sat Oct 28, 2017 12:55 pm
by BrokenolMarine
I played with something that came to me from working Ceramics as a young Marine... my ex-wife's mom owned a ceramic shop.
I took a q-tip and put leather dye on the areas I wanted to be darker and left it to sit and soak in for about ten minutes. Then I dipped a cloth in the brown dye and rubbed the entire panel with the dye ensuring complete coverage. I left it to dry and came back about a half hour later. I applied a generous coat of mink oil and rubbed it in....
Worked like a champ... darkened the background areas making the leaves and roses stand out more. Another tool for the quiver...

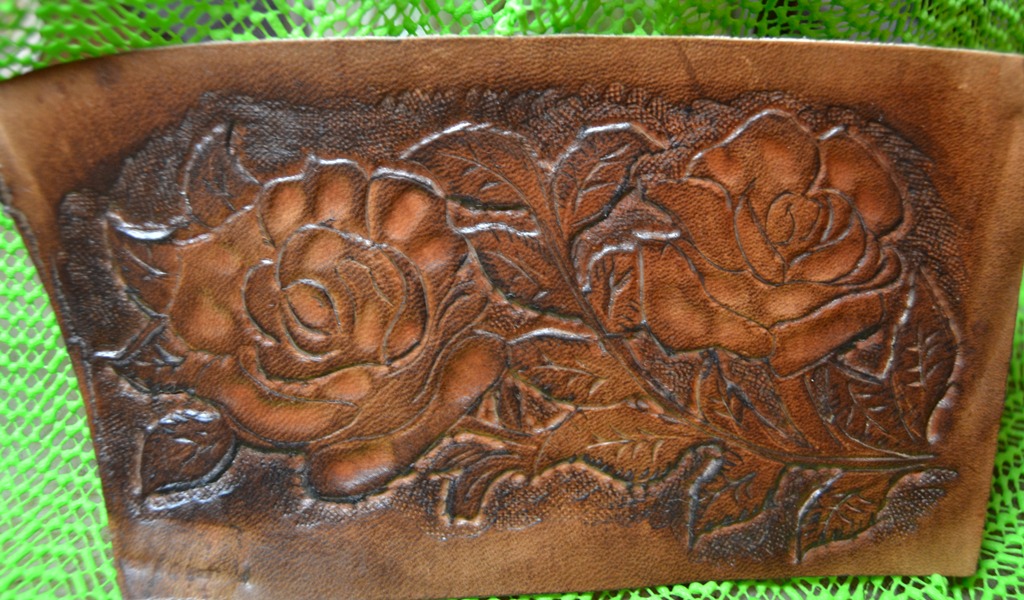
- More Finishing Antiqued the Roses.jpg (274.4 KiB) Viewed 1532 times
On a critical piece, I would use a paint brush for more control, and might even use BLACK dye to increase the contrast.. I'll test that theory on another practice piece when I have one that is appropriate. More learning opportunities...
This is interesting.
More Masculine and somewhat seasonal?
Posted: Sat Oct 28, 2017 5:02 pm
by BrokenolMarine
Thought I'd try something somewhat more masculine after doing those roses. Don't get me wrong... Tina laid out the landscaping here since SHE worked as a landscaper as a young gal, and was a certified landscape planner for years. BUT, I'm the one that insisted on all the roses... I love them. Climbing roses, Bushes, minis, all of them... but...
I thought I'd carve something more seasonal, and Manly for my next practice session, and add the "Running W" or "Serpentine" border.
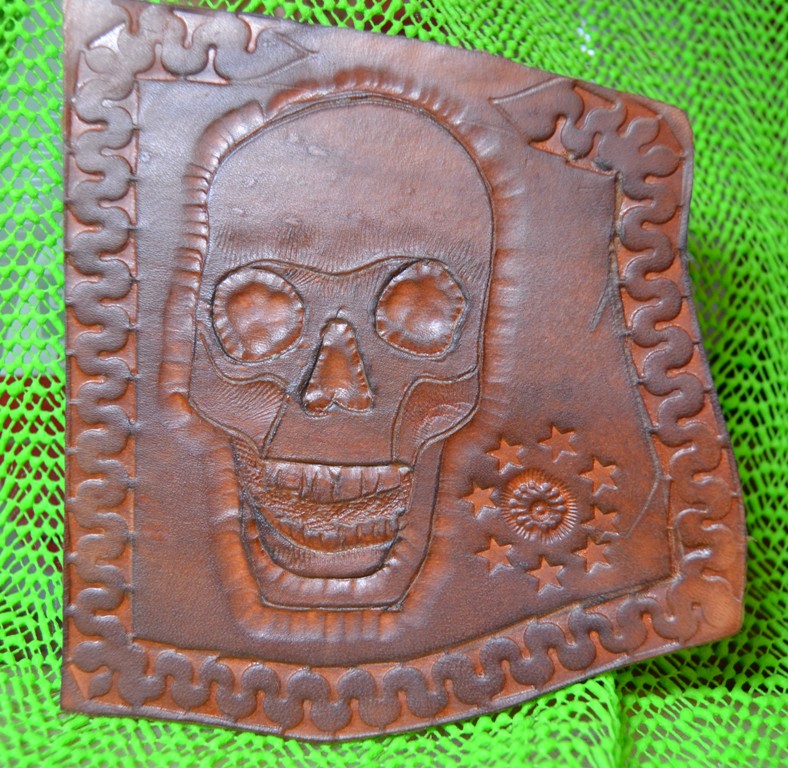
- halloween isn't it.jpg (260.93 KiB) Viewed 1524 times
Still needs work... I'll always say that of course... but it's true in this case. But I like it.
As my skills improve I'll add more detail and tackle more intricate projects. I saw a guy carving dragons... Just the head took him two hours. All those scales, each individually carved by hand.

Would take me DAYS.. my arthritis would curse me for weeks.
But, you crawl, before you walk, and walk before you run.
Dragon? That would be Bitc... ah... cool.