As promised, pics and a more detailed narrative. First up, the PVC rack for glue up and clamping.

Miss Tina had picked up the 6" pvc pipe for me and I set it aside until I had time to make use of it. I got that window yesterday and cut it in half, which would give me plenty of room to work with wide cutting boards or serving trays, or things I needed to glue at an angle. First step was to drill the holes to screw the pipe to a base to hold them steady. I have seen them with individual bases, or on single. I decided to space them about 12" apart and go with the single spaced base.
I drilled a top hole large enough to admit a screwdriver. The lower hole just needed to pass thru a screw.

Then came the issue. I didn't have a bit long enough to go thru the pvc and hit the bottom of the pipe.

What to do here. The pipe was too thick to drive a spike thru without cracking and I don't have a torch. (I thought of heating a rod and melting thru.) Then I saw the bag of rubber bands on the shelf.

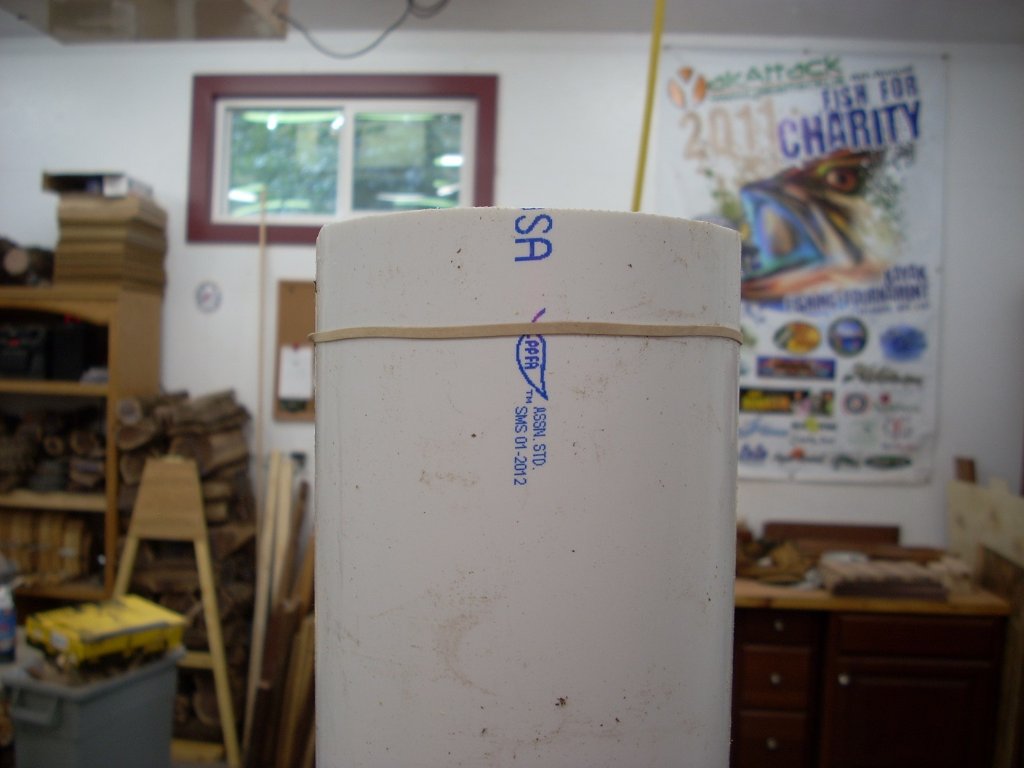
I put a rubber band around the pipe and leveled it as best I could. NO bolt would pass thru, and it needn't be perfect alignment. I was just going to have to screw the dang thing down. I used the rubber band as a guide, turned the top hole to 6 o'clock on the base and used the band to find the alignment on the bottom. Boom, drill the screw hole.

- 01 mark the front.jpg (112.04 KiB) Viewed 3732 times
- 02 rotate to the back.jpg (112.46 KiB) Viewed 3732 times
Once all the holes were drilled, I aligned the pipes on the bases and squaring them up with the bases and the workbench, screwed them down. Worked like a champ.

- 03 screw down.jpg (89.58 KiB) Viewed 3732 times
This is only a mock up as the components for the next two cutting boards have NOT been properly prepared, but as you can see, you can slide the segments along the PVC to align, then slip clamps easily under the components of the cutting board and tighten. Then you can place clamps over the top and do the same while they are held perfectly level. You can also place cauls above and below and clamp those in place, then lift the complete assembly off and set aside moving to the next project, wiping away any glue and starting fresh. No need for paper or protection.

- 04 clamp down and use.jpg (166.93 KiB) Viewed 3732 times

- 05 side view.jpg (153.7 KiB) Viewed 3732 times
After the various woods are planed and jointed I will use this setup for real and get to test it in the glue up. I plan to rip the purple heart and maple from 3/4 to 3/8 as it's meant only as an accent. I feel it's too thick to serve in that capacity in this application. Thoughts?