THE PICS

Went out in the shop after dinner and got ready to install the pull handles and hinges. First step? Gather all the tools I would need.

- 80 gather up tools.jpg (203.18 KiB) Viewed 3727 times
The first thing I did was to place each bin in the bench vise with the top edge facing me, which placed it upside down. No matter, the handles were going to be centered in the 1" wide rail.
Next I covered the rail with blue painters tape, to give me a surface to right freely on without worrying about having to damage the finish.
Next I broke out the centering rule... I love this thing and use it a lot.
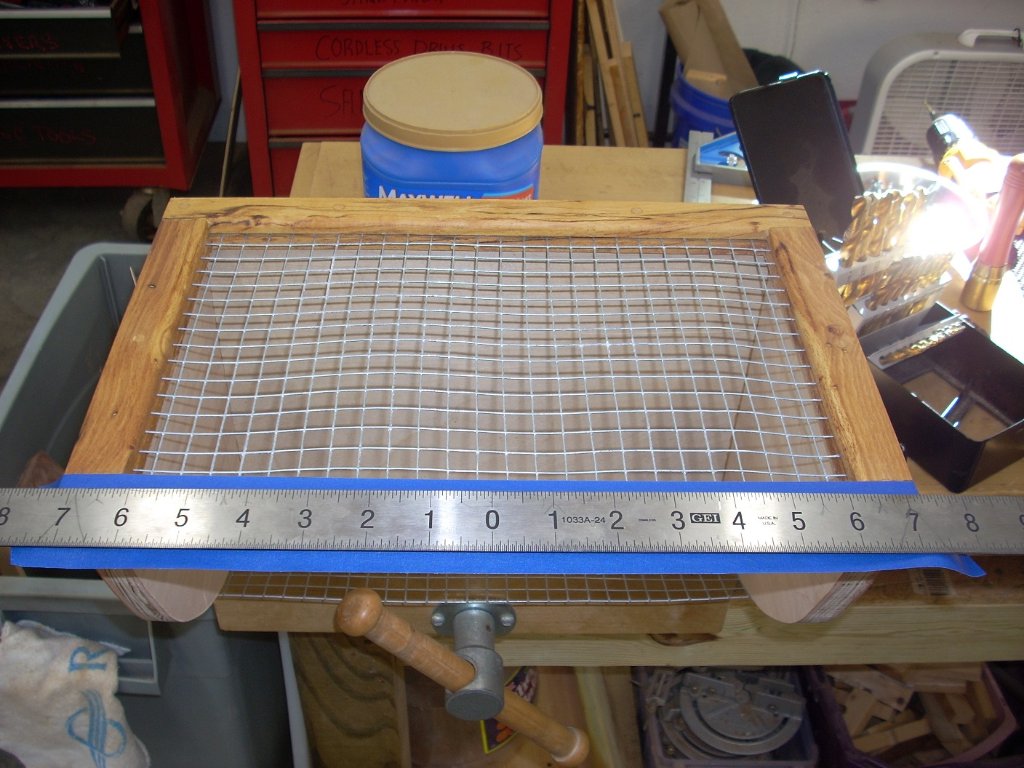
- 81 centering rule.jpg (187.18 KiB) Viewed 3727 times
Place this on something you need to find the center of, and then when the same measurement is indicated on both edges, mark the zero in the center. Done.
I also marked 1-1/2 inches in both directions since the handles screws were 3" on center apart. I then used my pocket square, to mark those locations, then 1/2" up from the edge.
I marked those with the center punch.
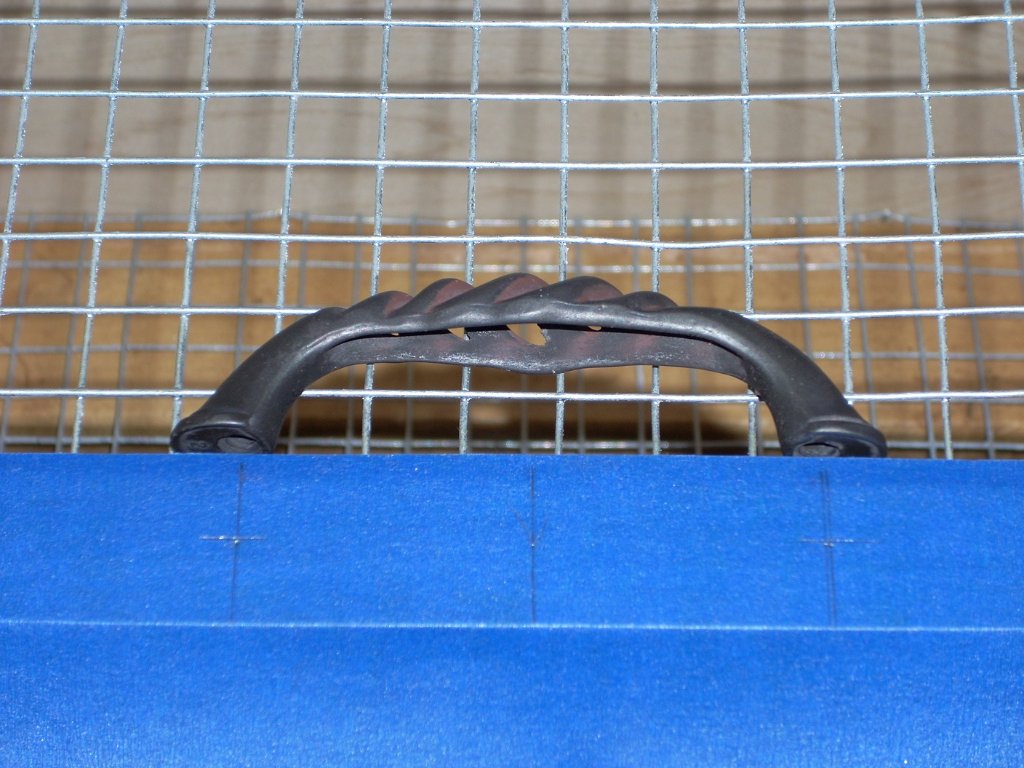
- 82 marked for drilling.jpg (173.77 KiB) Viewed 3727 times
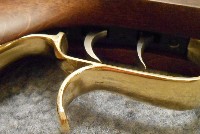
After I rechecked all the measurements... I drilled thru with a 1/16" bit as a pilot hole, then drilled thru with the proper sized bit for the screw for the handles. Perfect alignment on each handle. Slow and steady wins the game. I got all the handles installed and prepared to move to the hinges. Here is the info on the handles as promised.

- 83 info for handles.jpg (98.57 KiB) Viewed 3727 times