Had a late session, though fairly short, last night. Back at it after breakfast this morning. I can tell you that I am working hard, but in blocks of time as the doctor ordered. Sometimes I stretch it, but then I pay.

Last night, I took the Mahogany Block out of the clamps, it turned out great.
Too bad Miss T was pushing me to make a different style box than I originally planned. Some of you may have noticed the printed dolphin shape on the bench. I was going to make a dolphin box similar, but not exactly like I had made for my youngest daughter. The middle daughter remembered it and thought that HER daughter would like it. I made the mistake of showing Miss T another design I thought was cool... halfway thru making the prep for the box I was already making. "That IS nice. Make that one."


- 03 Mahogany Blank.jpg (235.59 KiB) Viewed 4105 times
This blank will go on hold and perhaps I'll still make the dolphin box. It might sell pretty quick. LOL. I'll need the funds to restock consumables and perform a repair on a piece of equipment.

Anywho... where was I... oh yeah. Last night....
I cut that walnut board I brought in, into four twelve inch sections, then ripped it to width, added a piece of ash to the mix. Then I planed them all. (During this process, the 15 year old dust cover, which the dust collector attaches to, cracked where one side of it screws to the planer.) $75 with shipping for the new one. I'll see if I can re-engineer an adequate fix.

It still works, sorta, but leaks both pressure, and dust/shavings.
Once all that was done, I glued them up to form the blank needed to make the walnut and ash bandsaw box in the style Miss T wanted me to make. Gotta keep mama happy. "If she ain't happy, ain't noone happy."

- 01 Prepping the Walnut Blank.jpg (284.58 KiB) Viewed 4105 times

- 02 Front view.jpg (278.47 KiB) Viewed 4105 times
I thought the contrasting strip would look good against the walnut.
It was getting late and this needed to cure. Lights out.
This morning, took off the clamps and put them away.
Then I jointed the edges. One for it to ride on, and one to mark so I could cut off the back.

- 04 Jointed Edges.jpg (258.82 KiB) Viewed 4105 times
- 05 Reference Line.jpg (264.34 KiB) Viewed 4105 times
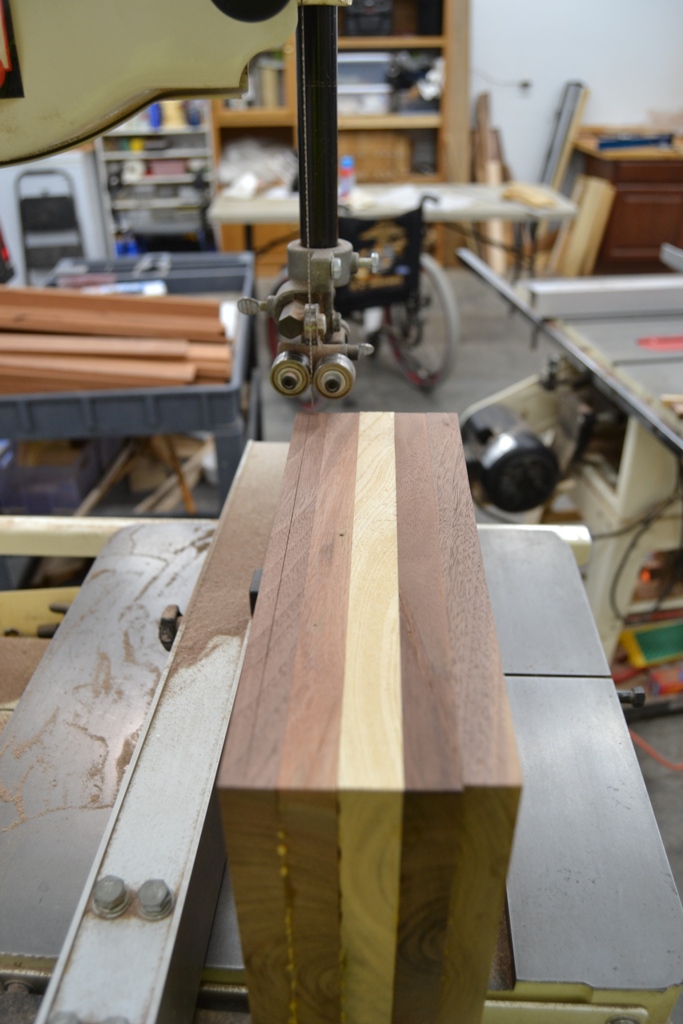
The bandsaw was set up and ready to run, and I cut the back off the block.

- 06 set up.jpg (295.77 KiB) Viewed 4105 times

- 07 back face off.jpg (264.15 KiB) Viewed 4105 times
Once this was done, I used the temp adhesive to attach my template.

- 08 template.jpg (274.41 KiB) Viewed 4105 times
Now it was a matter of cutting it all out. This was easier said than done. When I started cutting, I didn't get far before I realized the blade was dull and this caused it to wander.

You CAN'T have that on a bandsaw box. The cuts have to be clean and sharp. I changed blades. Back at it. I was using a 1/4" blade, and needed a 1/8" blade for the tight turns in the design Miss T had chosen. No matter, the guidelines are just that, guidelines. You go where you can and make it work. I think it will still turn out sweet. Or not. If not, it will be really NICE firewood, and I'll start over... with a more open design. I have several.

What I have for sure, is a box full of blanks for really sweet looking dowel pins once I get the a Dowel Forming Plate made... but that is a subject for another post if anyone would be interested in that... (BTW, it's too cool.)

- 09 dowel pin blanks.jpg (308.12 KiB) Viewed 4105 times
Next I glued up the slots I cut into the frame to cut out the drawers, (forgot to take that picture) and then glued the frame onto the back panel.

- 10 back glue up.jpg (269.35 KiB) Viewed 4105 times
Then I glued all the drawers back together after cutting out the cavities in the drawers. One drawer got a double cavity just to be different so he could feel special.
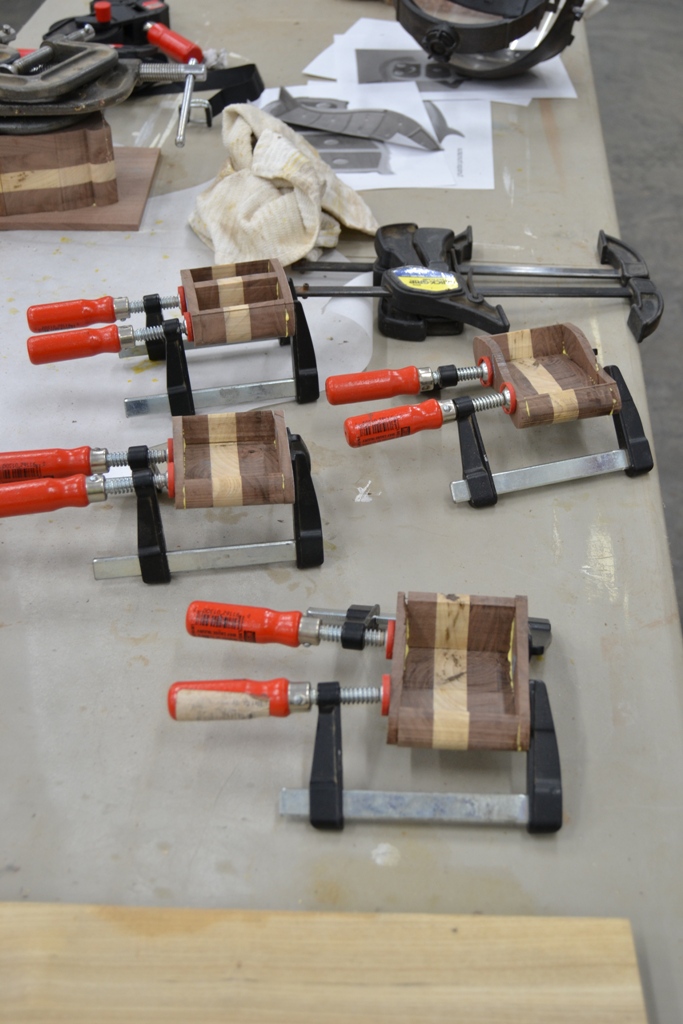
- 11 drawer glue ups.jpg (272.45 KiB) Viewed 4105 times

- 12 double slots.jpg (215.83 KiB) Viewed 4105 times
All that gets to cure until tomorrow.
Meanwhile, I took the lid for my daughter's box out of the band clamp. IT looks pretty good, and is rock solid.

- 13 out of the clamps.jpg (286 KiB) Viewed 4105 times

- 14 out of the clamps 2.jpg (292.13 KiB) Viewed 4105 times
* The bandsaw box has LOTS of sanding to do... LOTS.. boring donkey work.
* The box for my daughter has the box portion to build, in Mahogany, and the base and trim in Walnut. Interesting, and I'll be doing the beautification of the trim with the molding planes. I watched a video on that.. and learned some new techniques for using these classic tools... anxious to try them.

I'll also have to cut the slots for the bottom to ride in, and mortise for the hinges. Sweet.